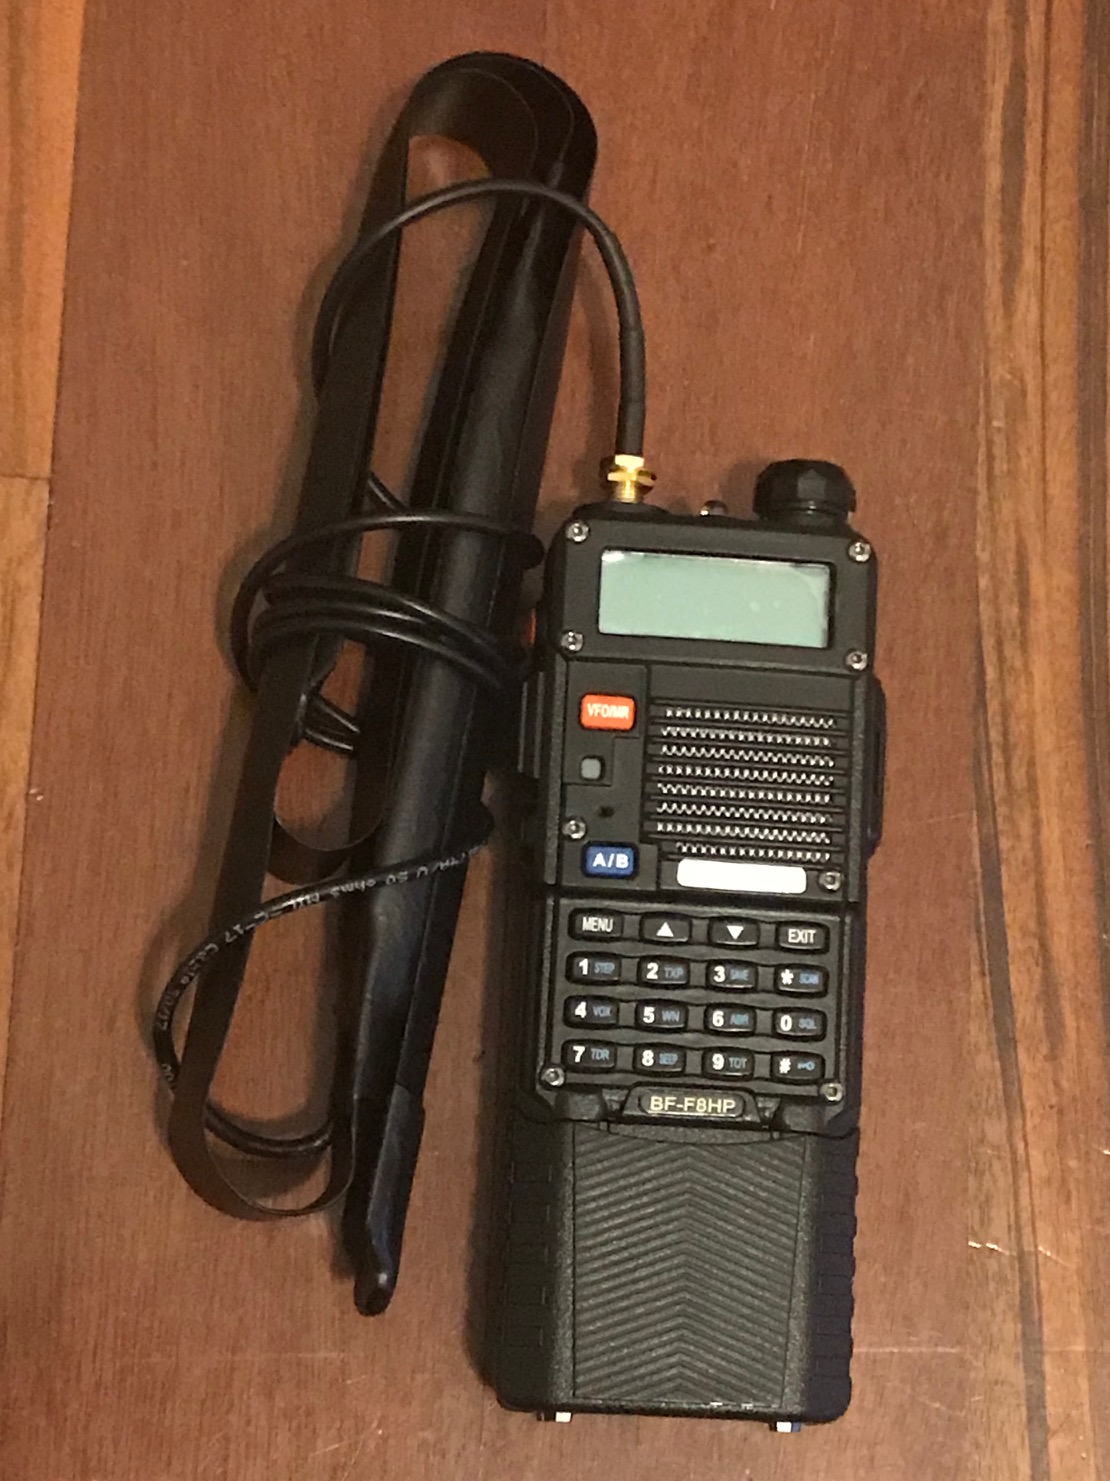
| How I Mounted a Baofeng UV-5R Platform Radio (the BF-F8HP) in my TJ Wrangler |
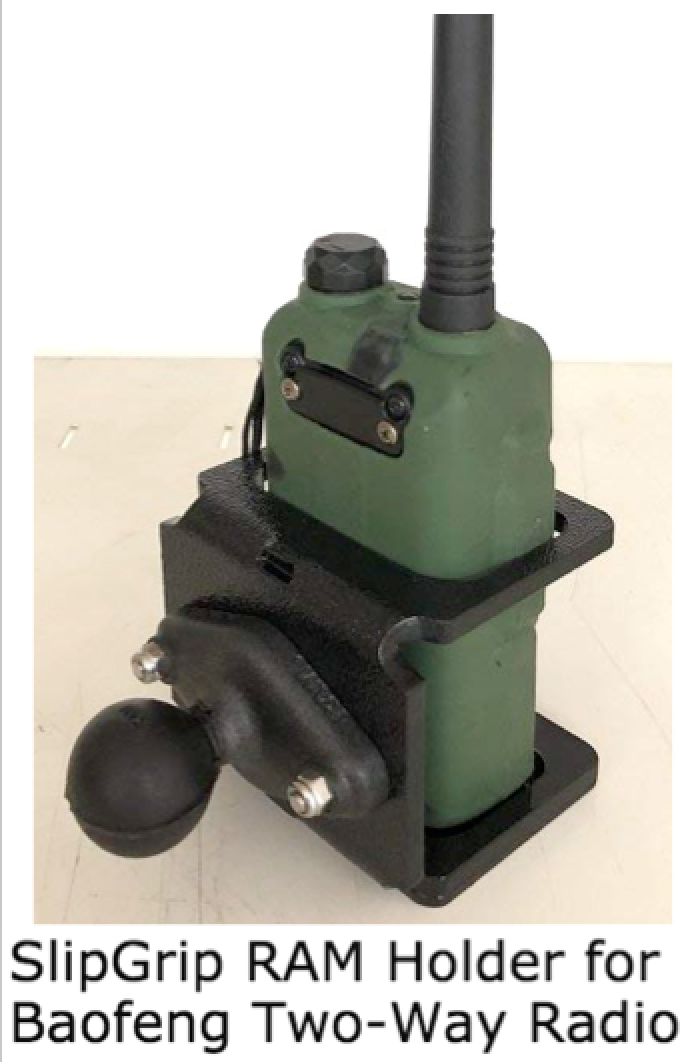
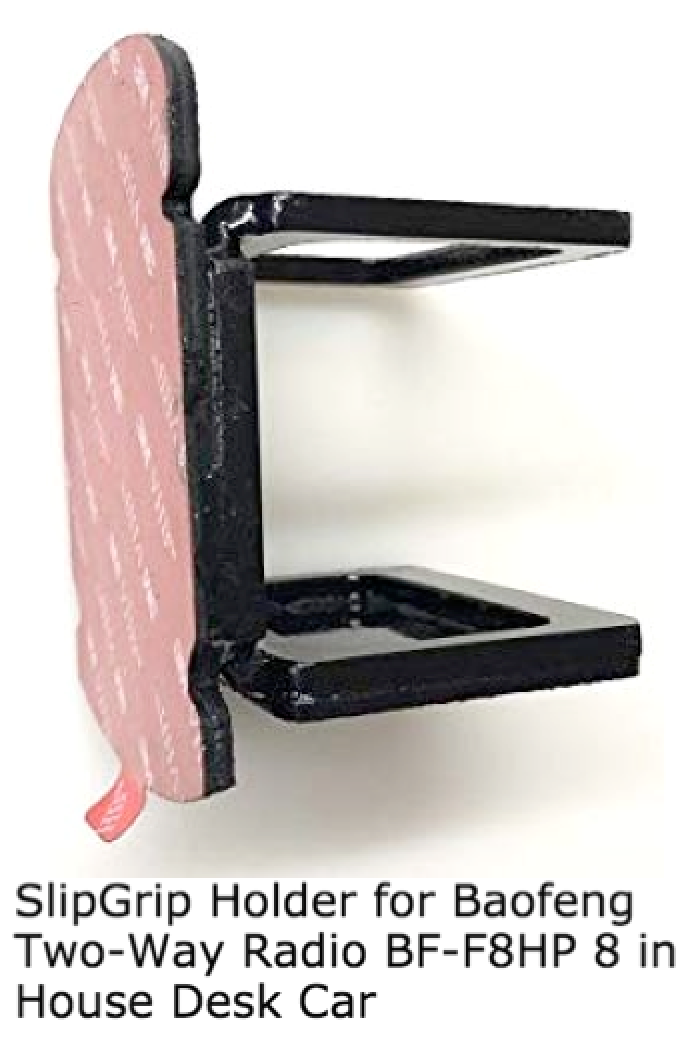
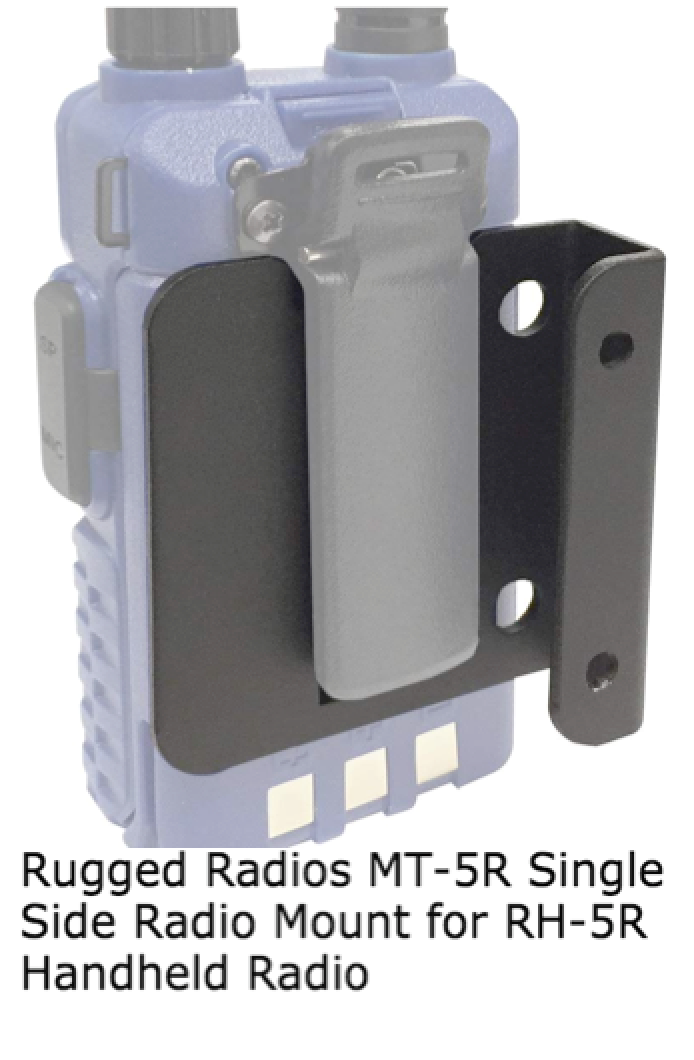
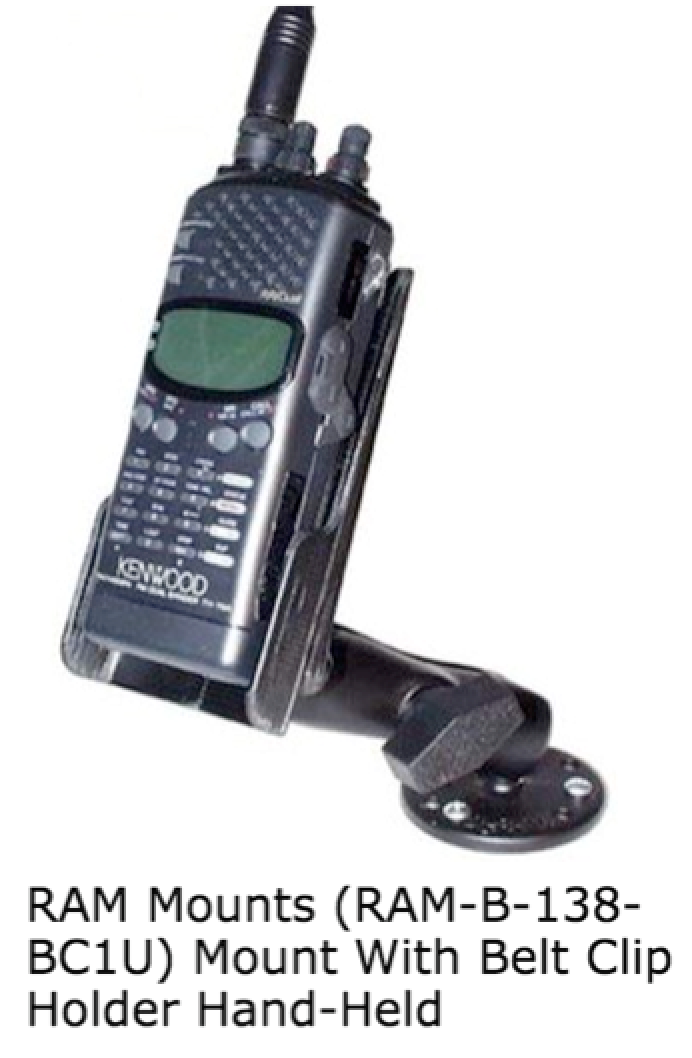
I wanted a way to mount the inexpensive Baofeng radios in my Jeep Wrangler, but I had some design criteria that steered me away from some of the simpler methods, like the Rugged Radios Single Side Radio Mount or the Slip Grip RAM Holder.
Design Criteria:
- Hold the radio stable on Jeep trails and Forest Service roads
- Clean and clutter-free installation
- No significant permanent alterations
- Able to remove radio easily from the mount use use outside the vehicle
- Easy to manipulate buttons while mounted (eliminating the Slip Grip)
- Accommodate externally-mounted antenna and hand mic (see my Wrangler Antenna Install instructions)
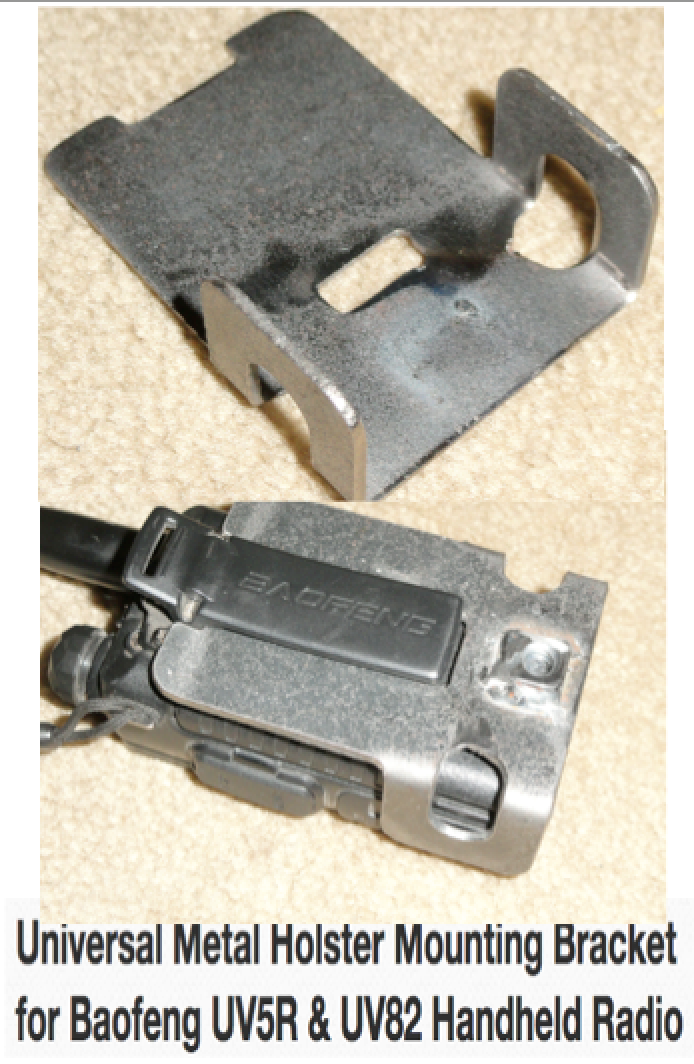
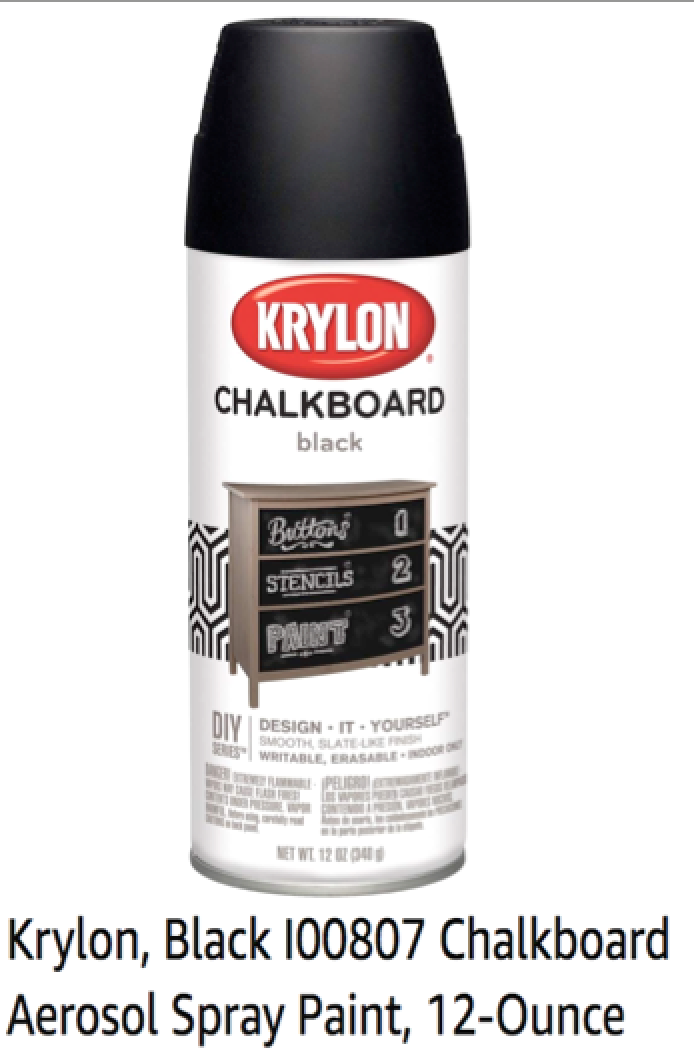
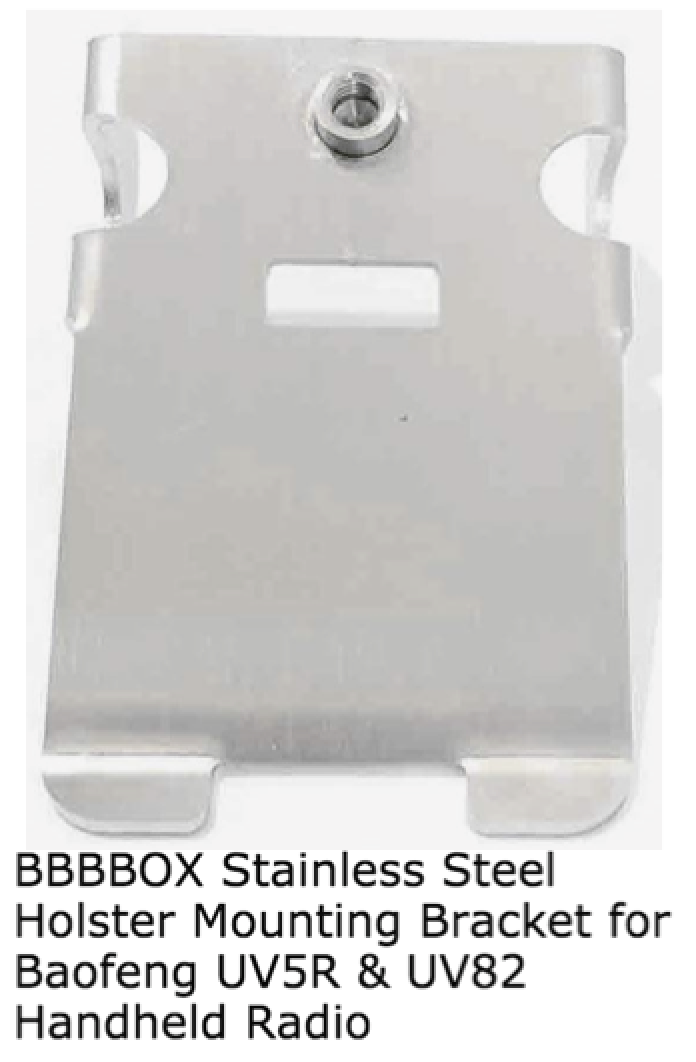
I searched for a long time to find a solution that satisfied these criteria me, and I settled on the Universal Metal Holster Mounting Bracket for Baofeng UV5R & UV82 Handheld Radio from eBay. I haven't found it for sale anywhere else, but I found a very similar one on Amazon. I can't speak to the quality of the Amazon version but I'm very happy with the three I bought from eBay. They come unpainted, so I just used a rattle can of black Chalkboard paint.
Instructions
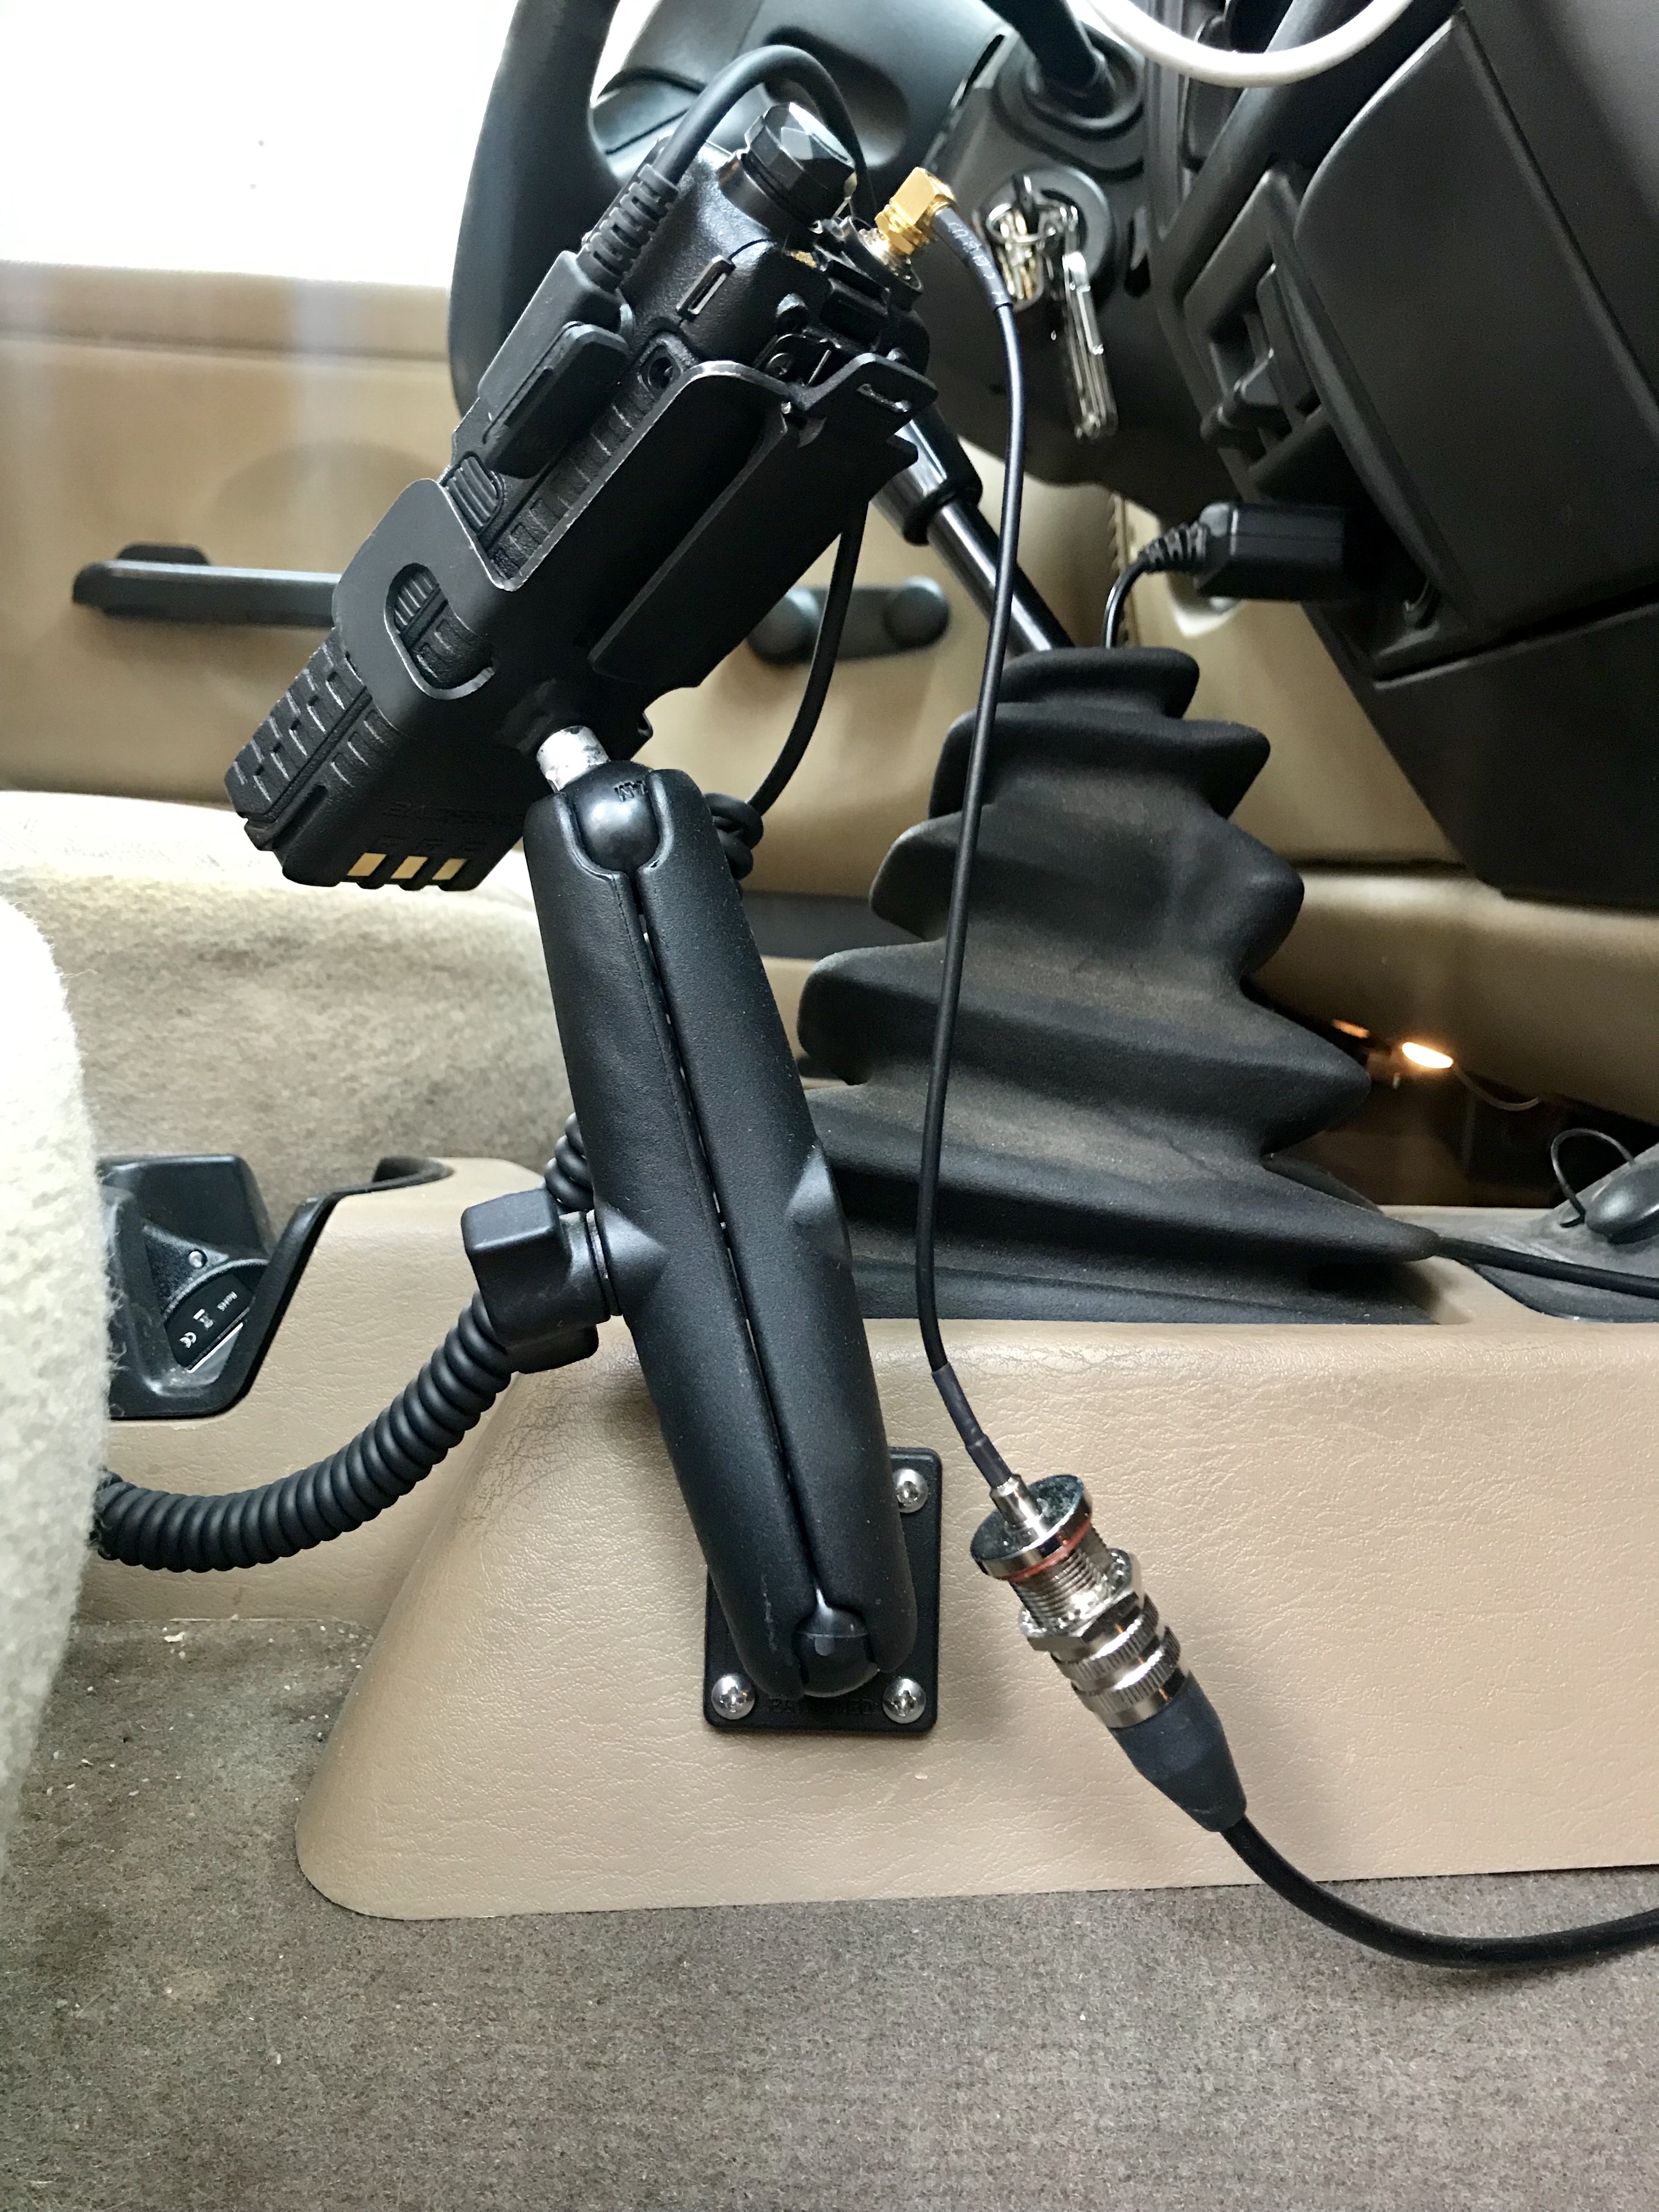
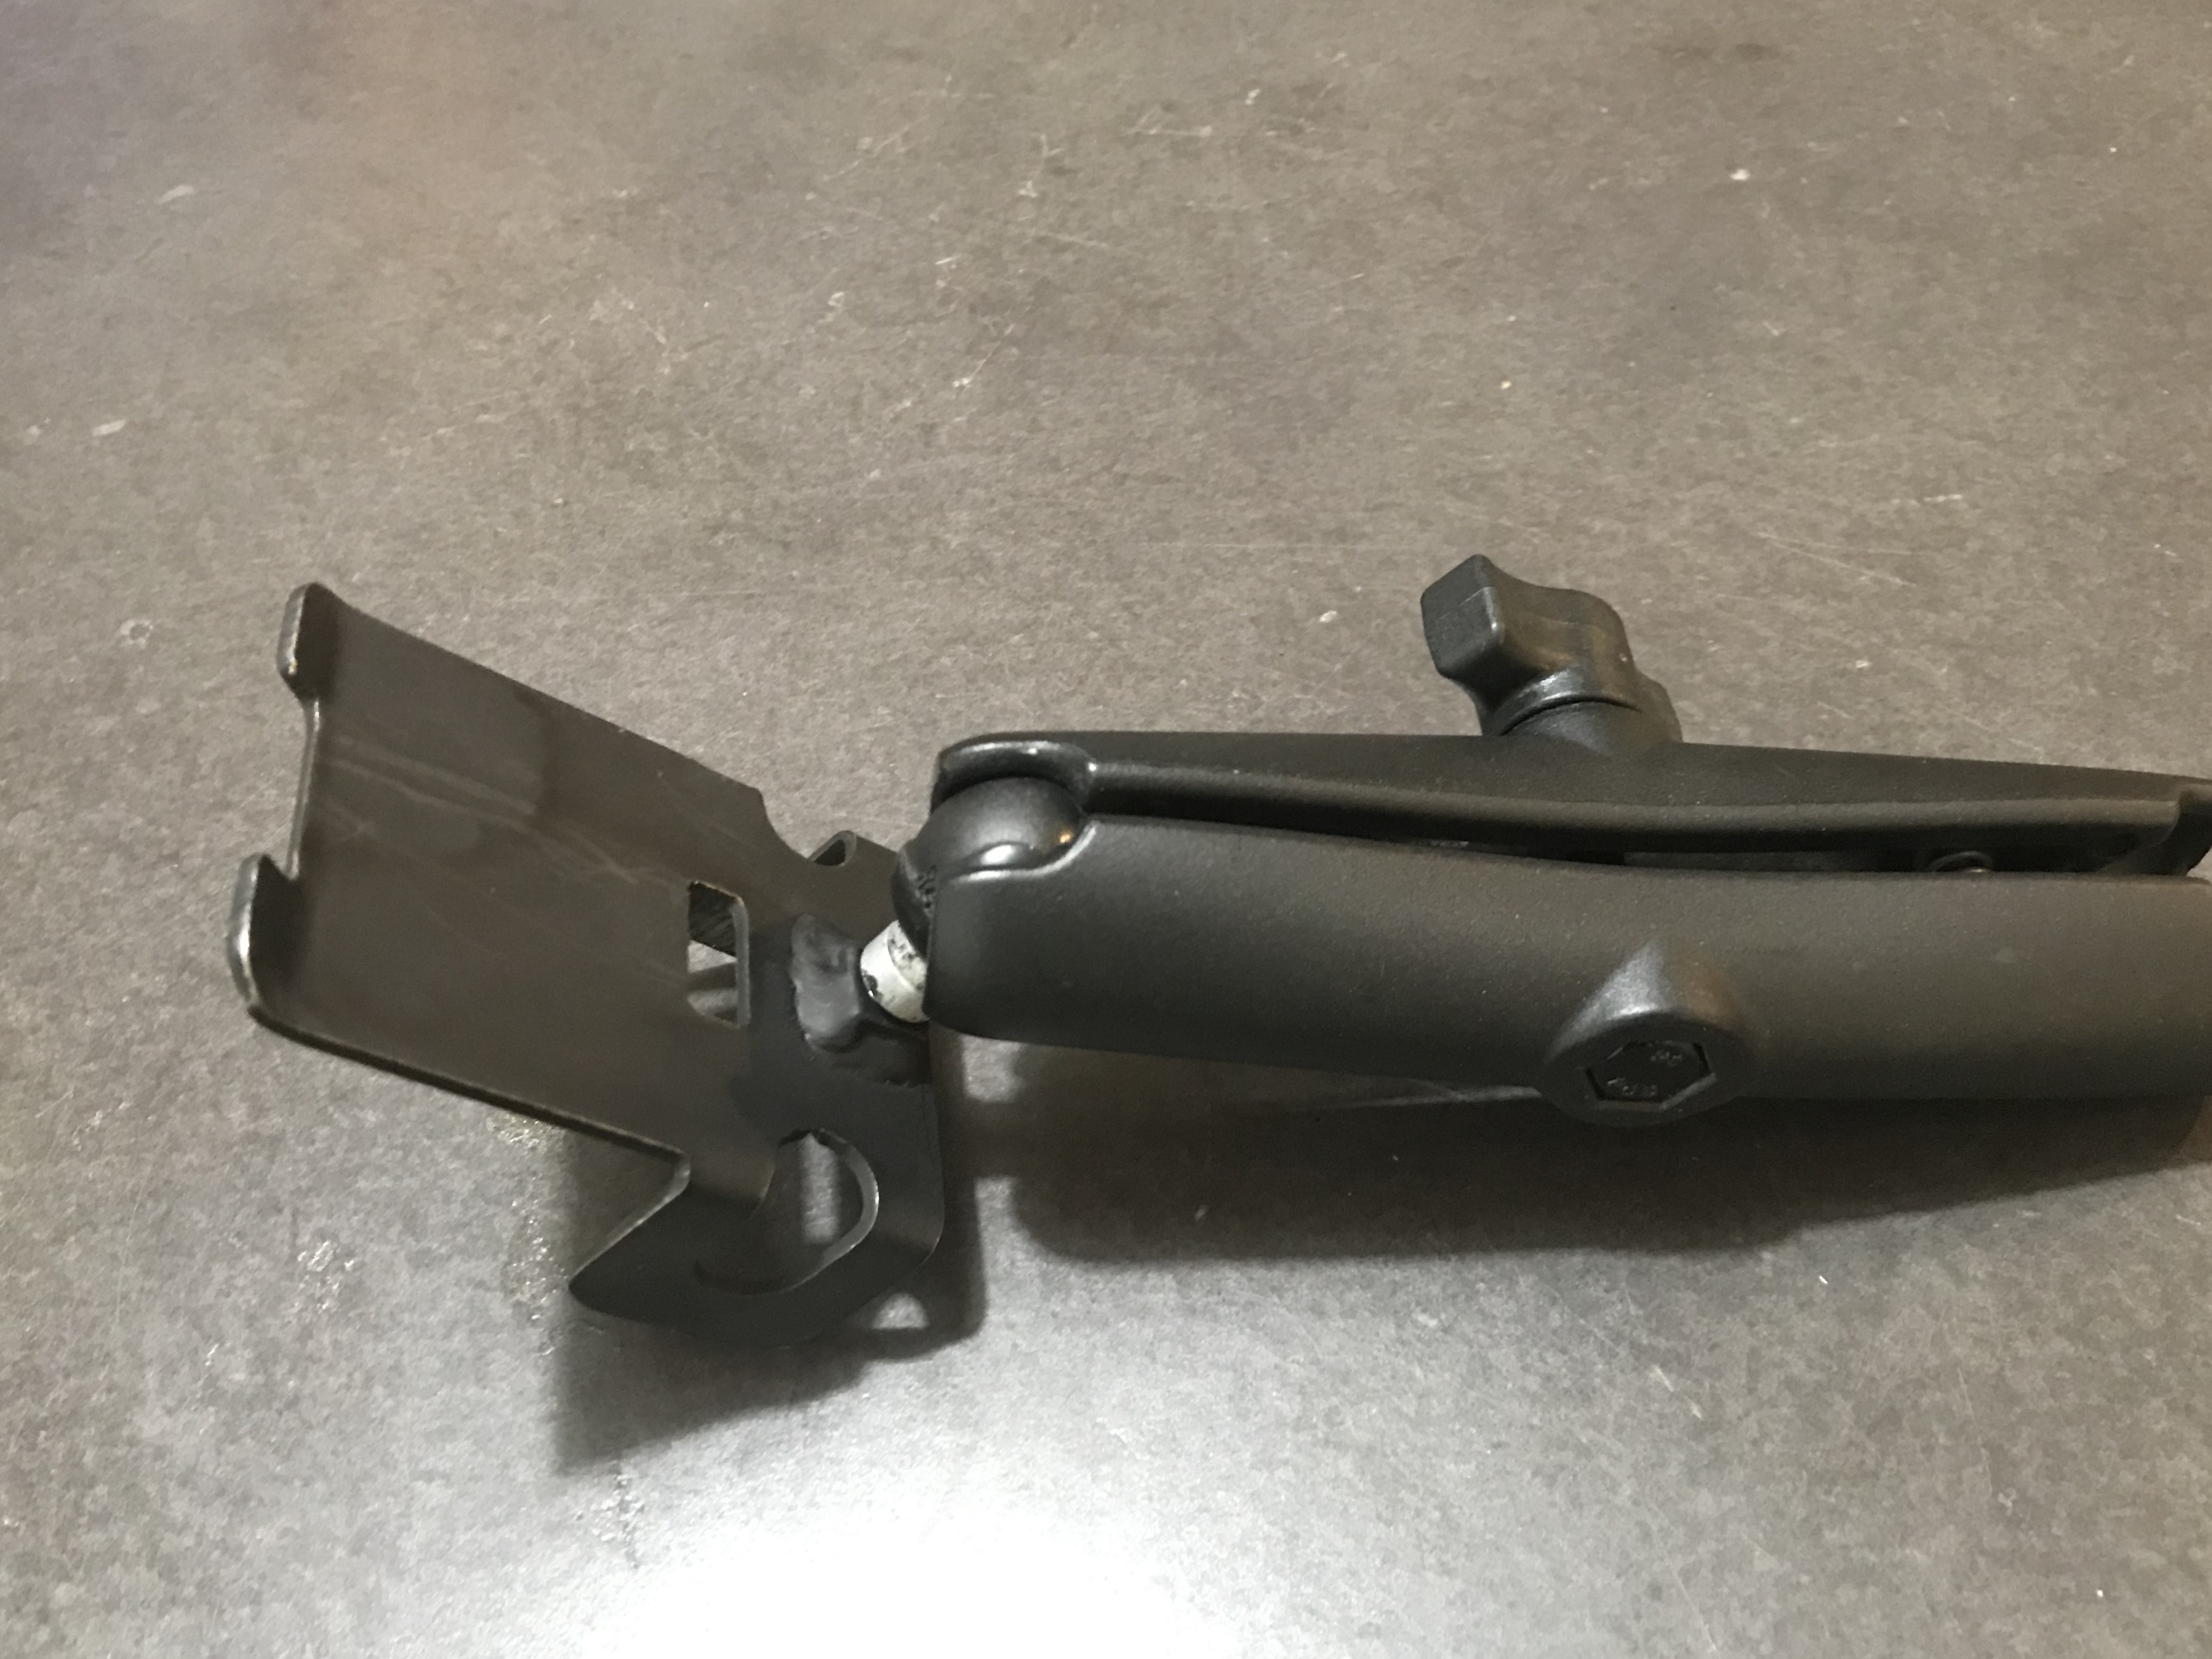
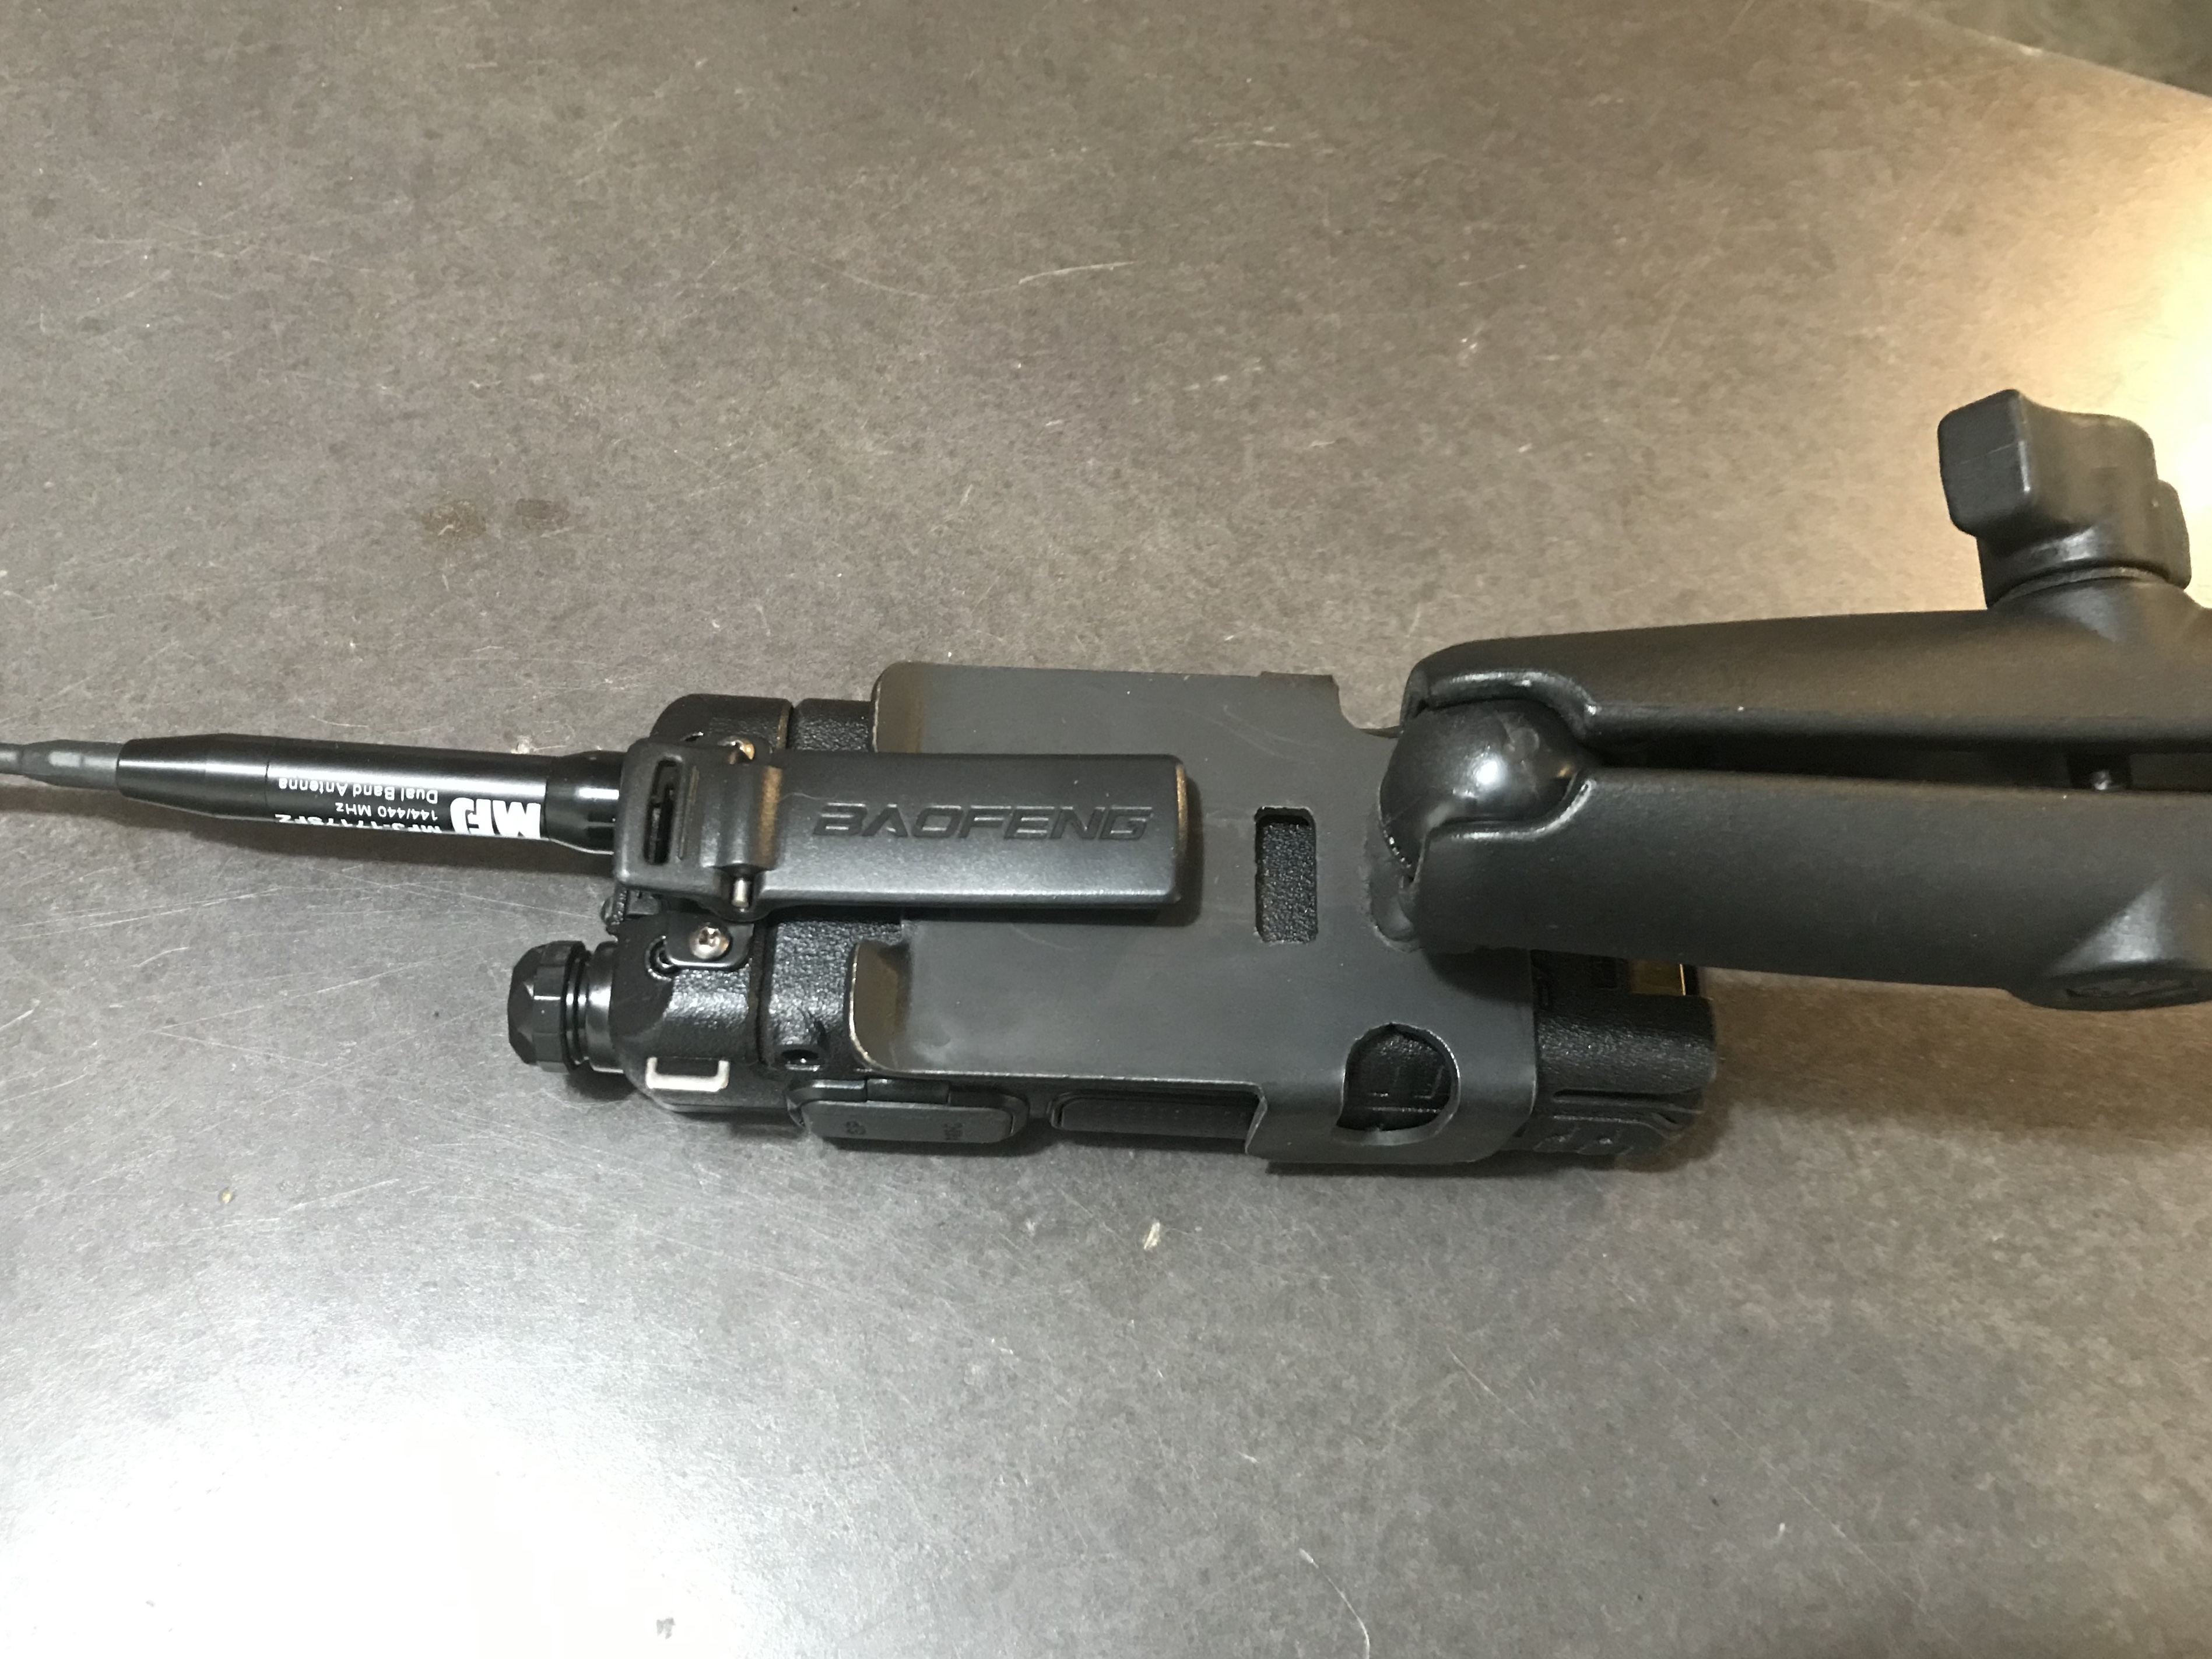
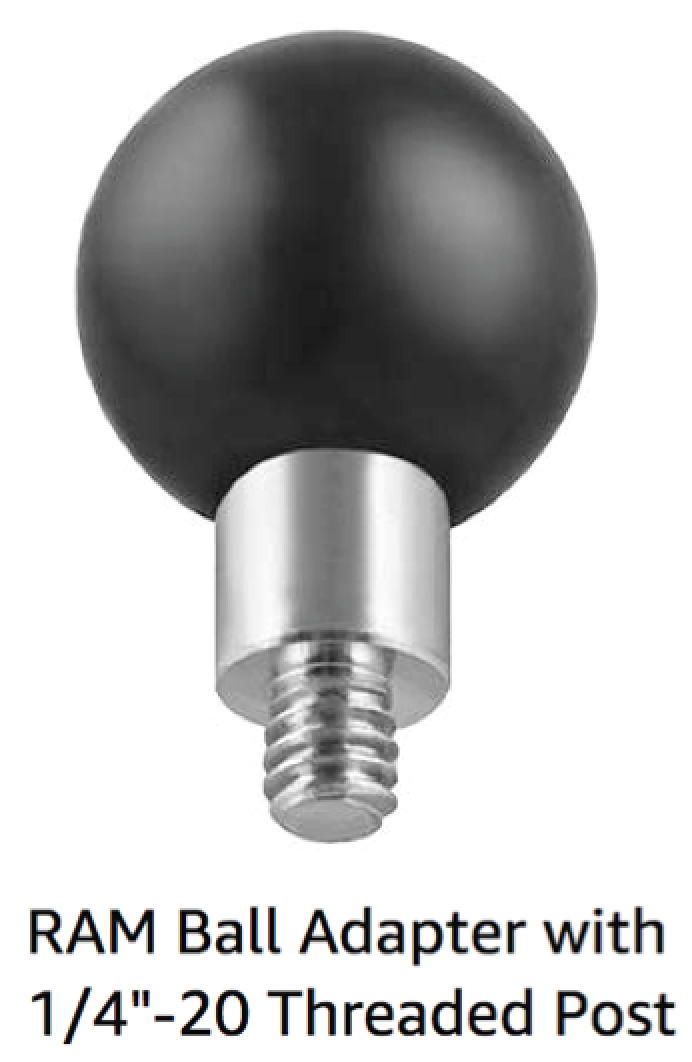
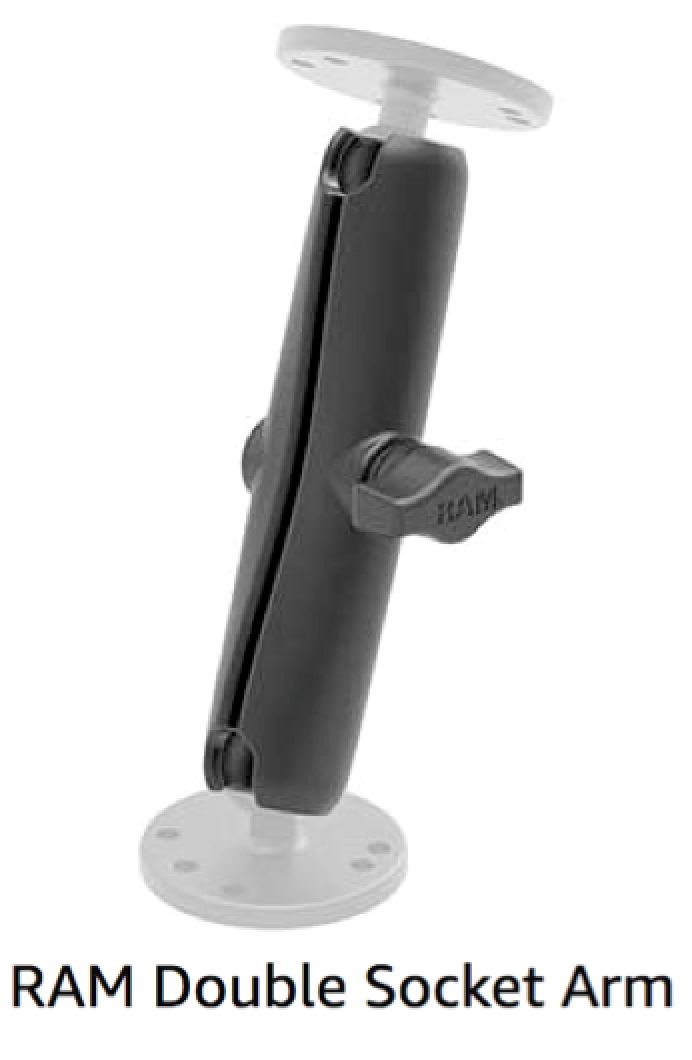
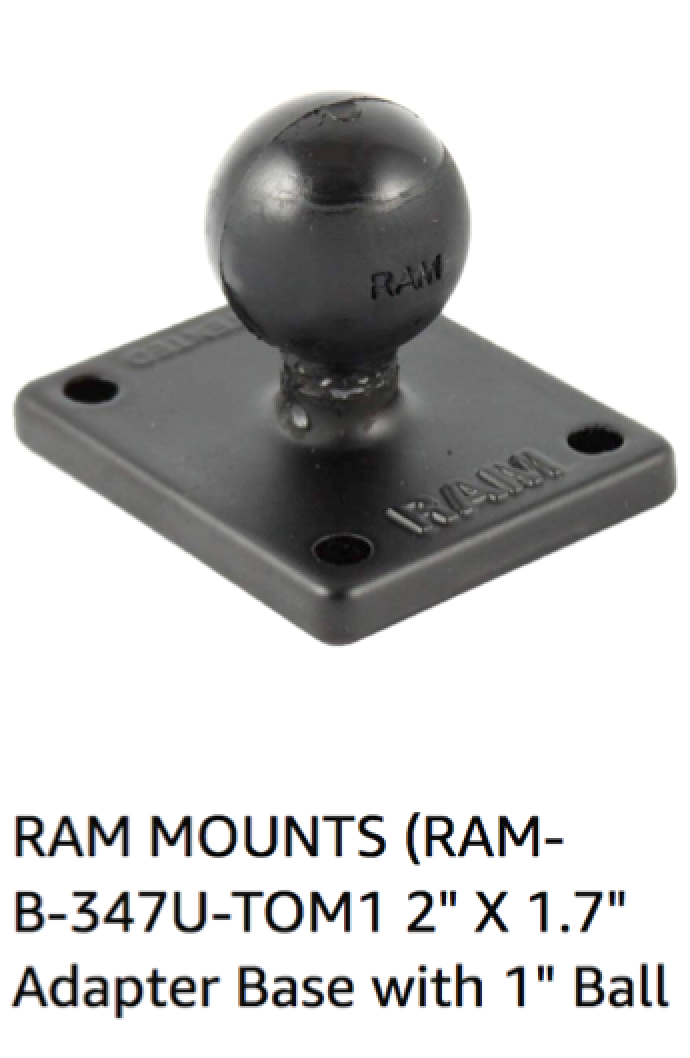
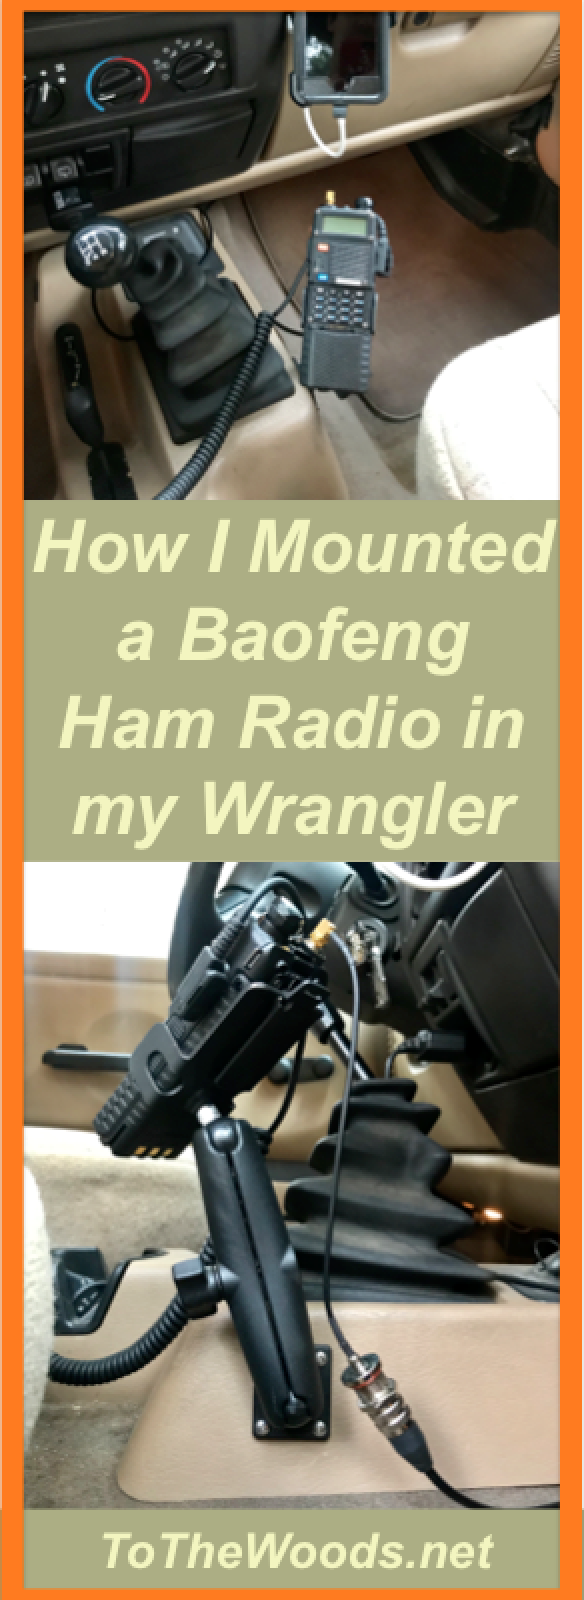
To secure it, I screwed a 1" RAM Ball Adapter with 1/4"-20 Threaded Post onto the back of the Metal Holster, connected that to a RAM Double Socket Arm (Long, for 1" Ball Bases), and then connected this Long Arm to a RAM Mount Plate (2" x 1.7" with 1" Ball).
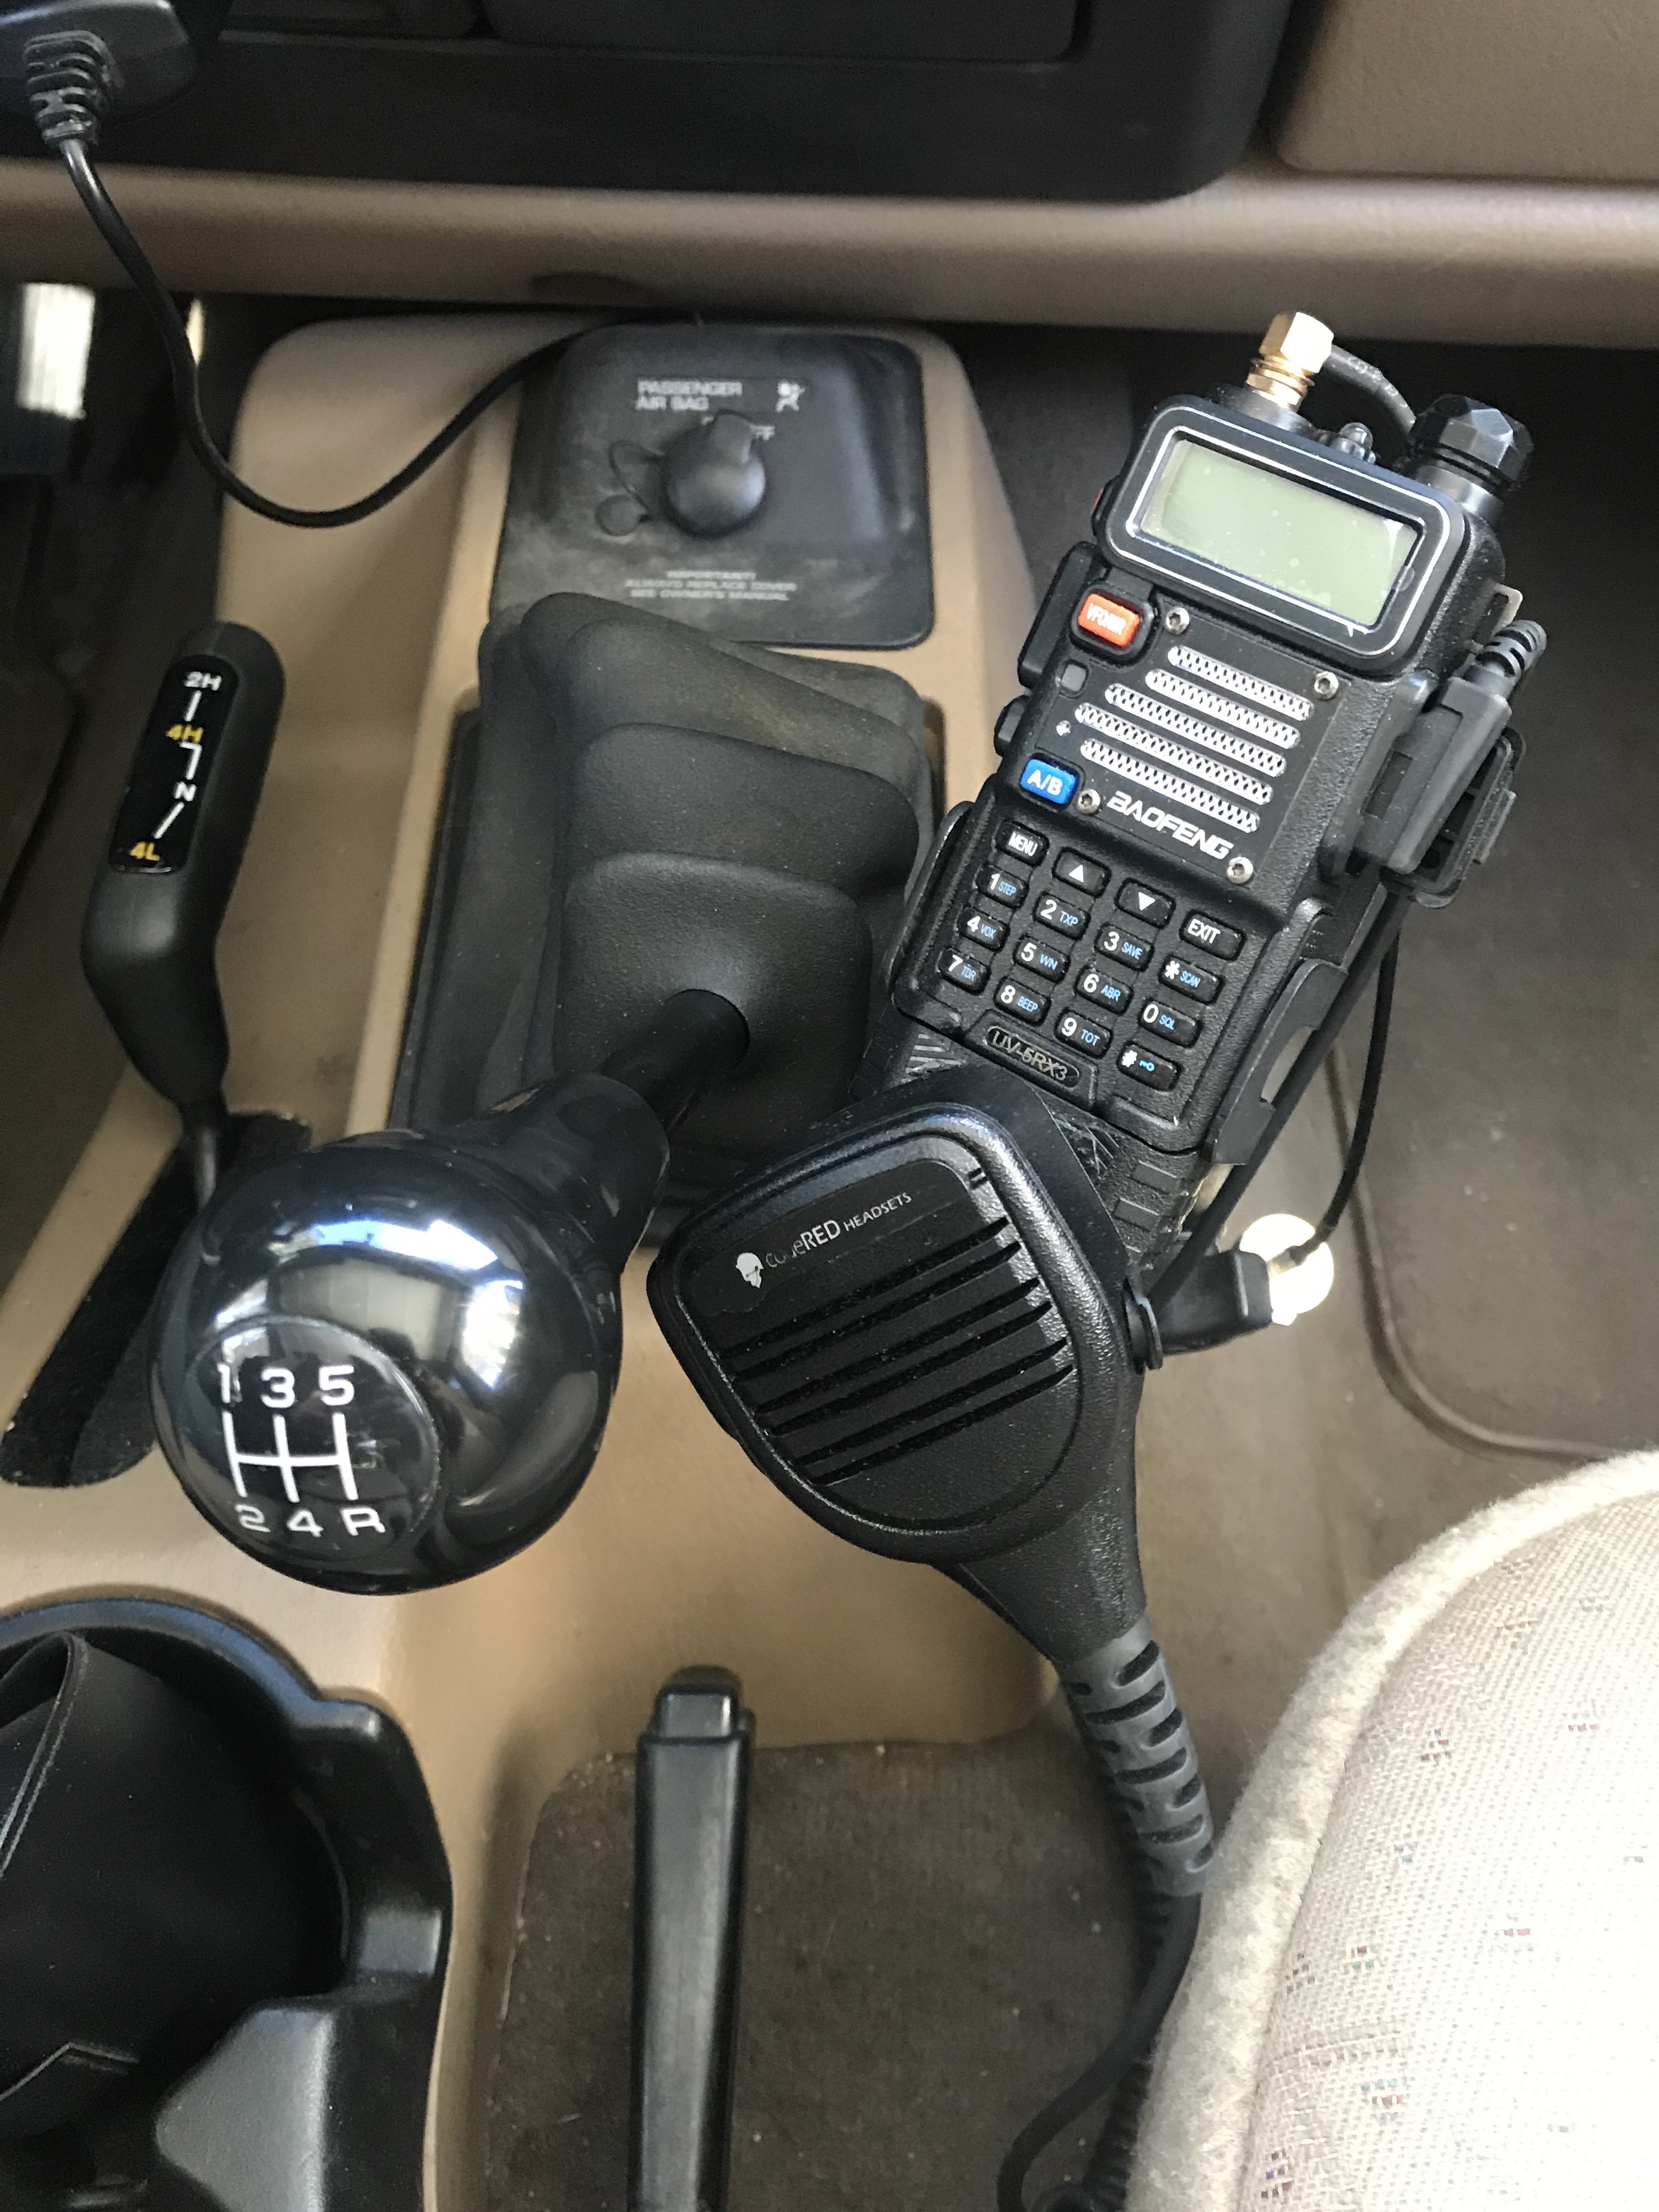
To mount the plate, I removed the rubber boot from the gear shift so I could access the inside of the center console. Then I just positioned the radio where I wanted it, marked the holes to drill into the console, drilled, and inserted the screws. I used washers on the nuts inside the console. Then I reinstalled the boot, adjusted the RAM arm so I could shift into 5th gear and reverse without bumping the radio, and called it good.
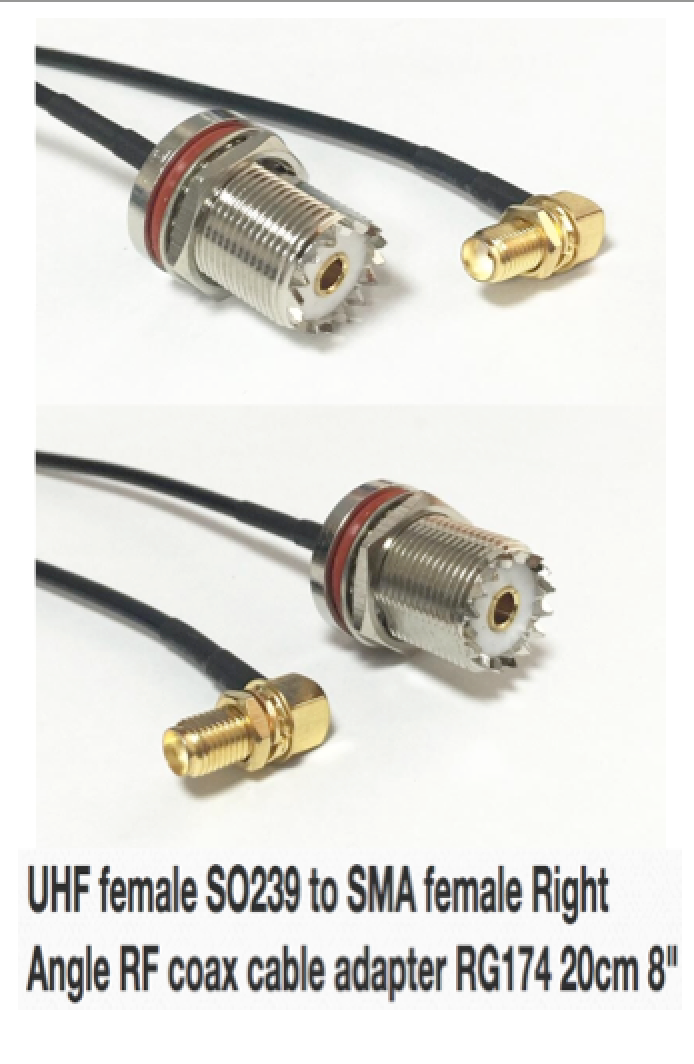
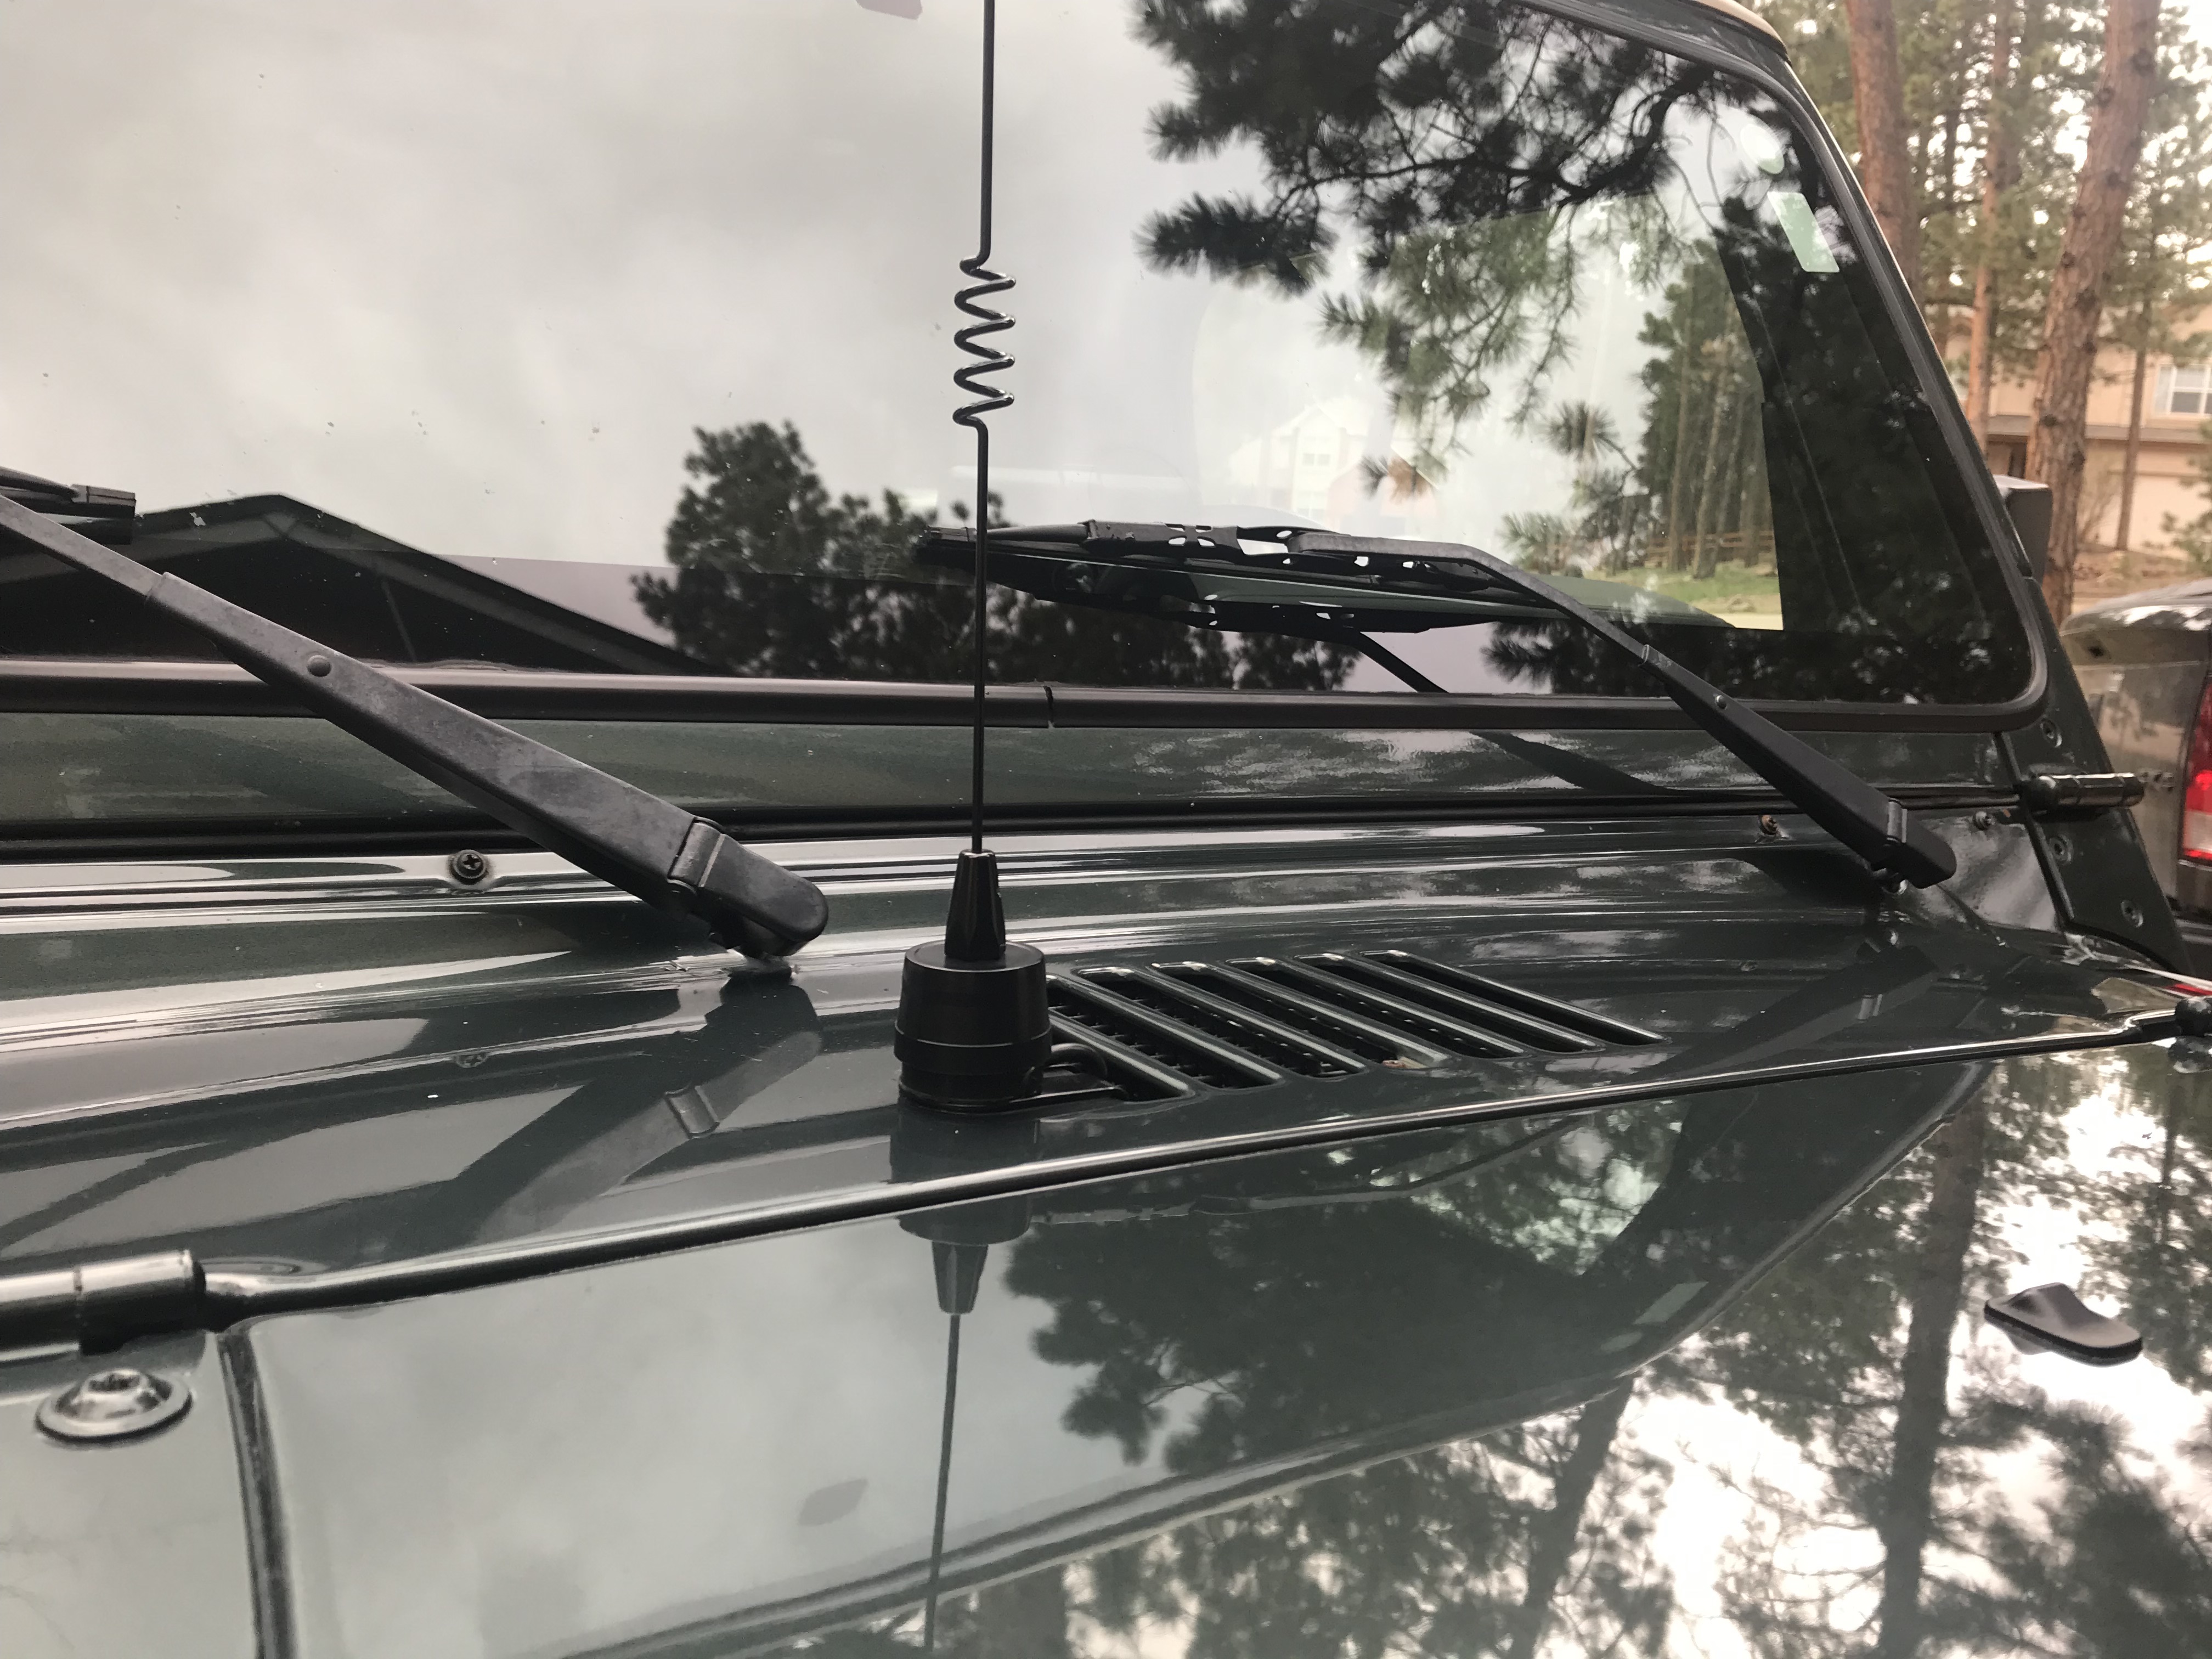
Since I used an external antenna mounted to the hood cowl for better propagation (install instructions here), using a standard straight SMA coax connection would put more stress on the small RG-174 cable than I wanted. A simple right-angle adapter relieves a lot of the stress, so I used the Right-Angle Adapter you see in the picture. This makes it much more convenient to use. The antenna kit I used terminated in the UHF connector so my adapter has the matching female SO-239.
There's a full parts list below, as well as some other options for mounting a handheld transceiver that might work better for you than my method. For transparency, sometimes links like the Amazon and eBay ones are affiliate links, meaning I'll get a few cents if you buy something from there...but it doesn't change your costs at all because it comes from advertizing budgets. It helps pay hosting costs for the page.
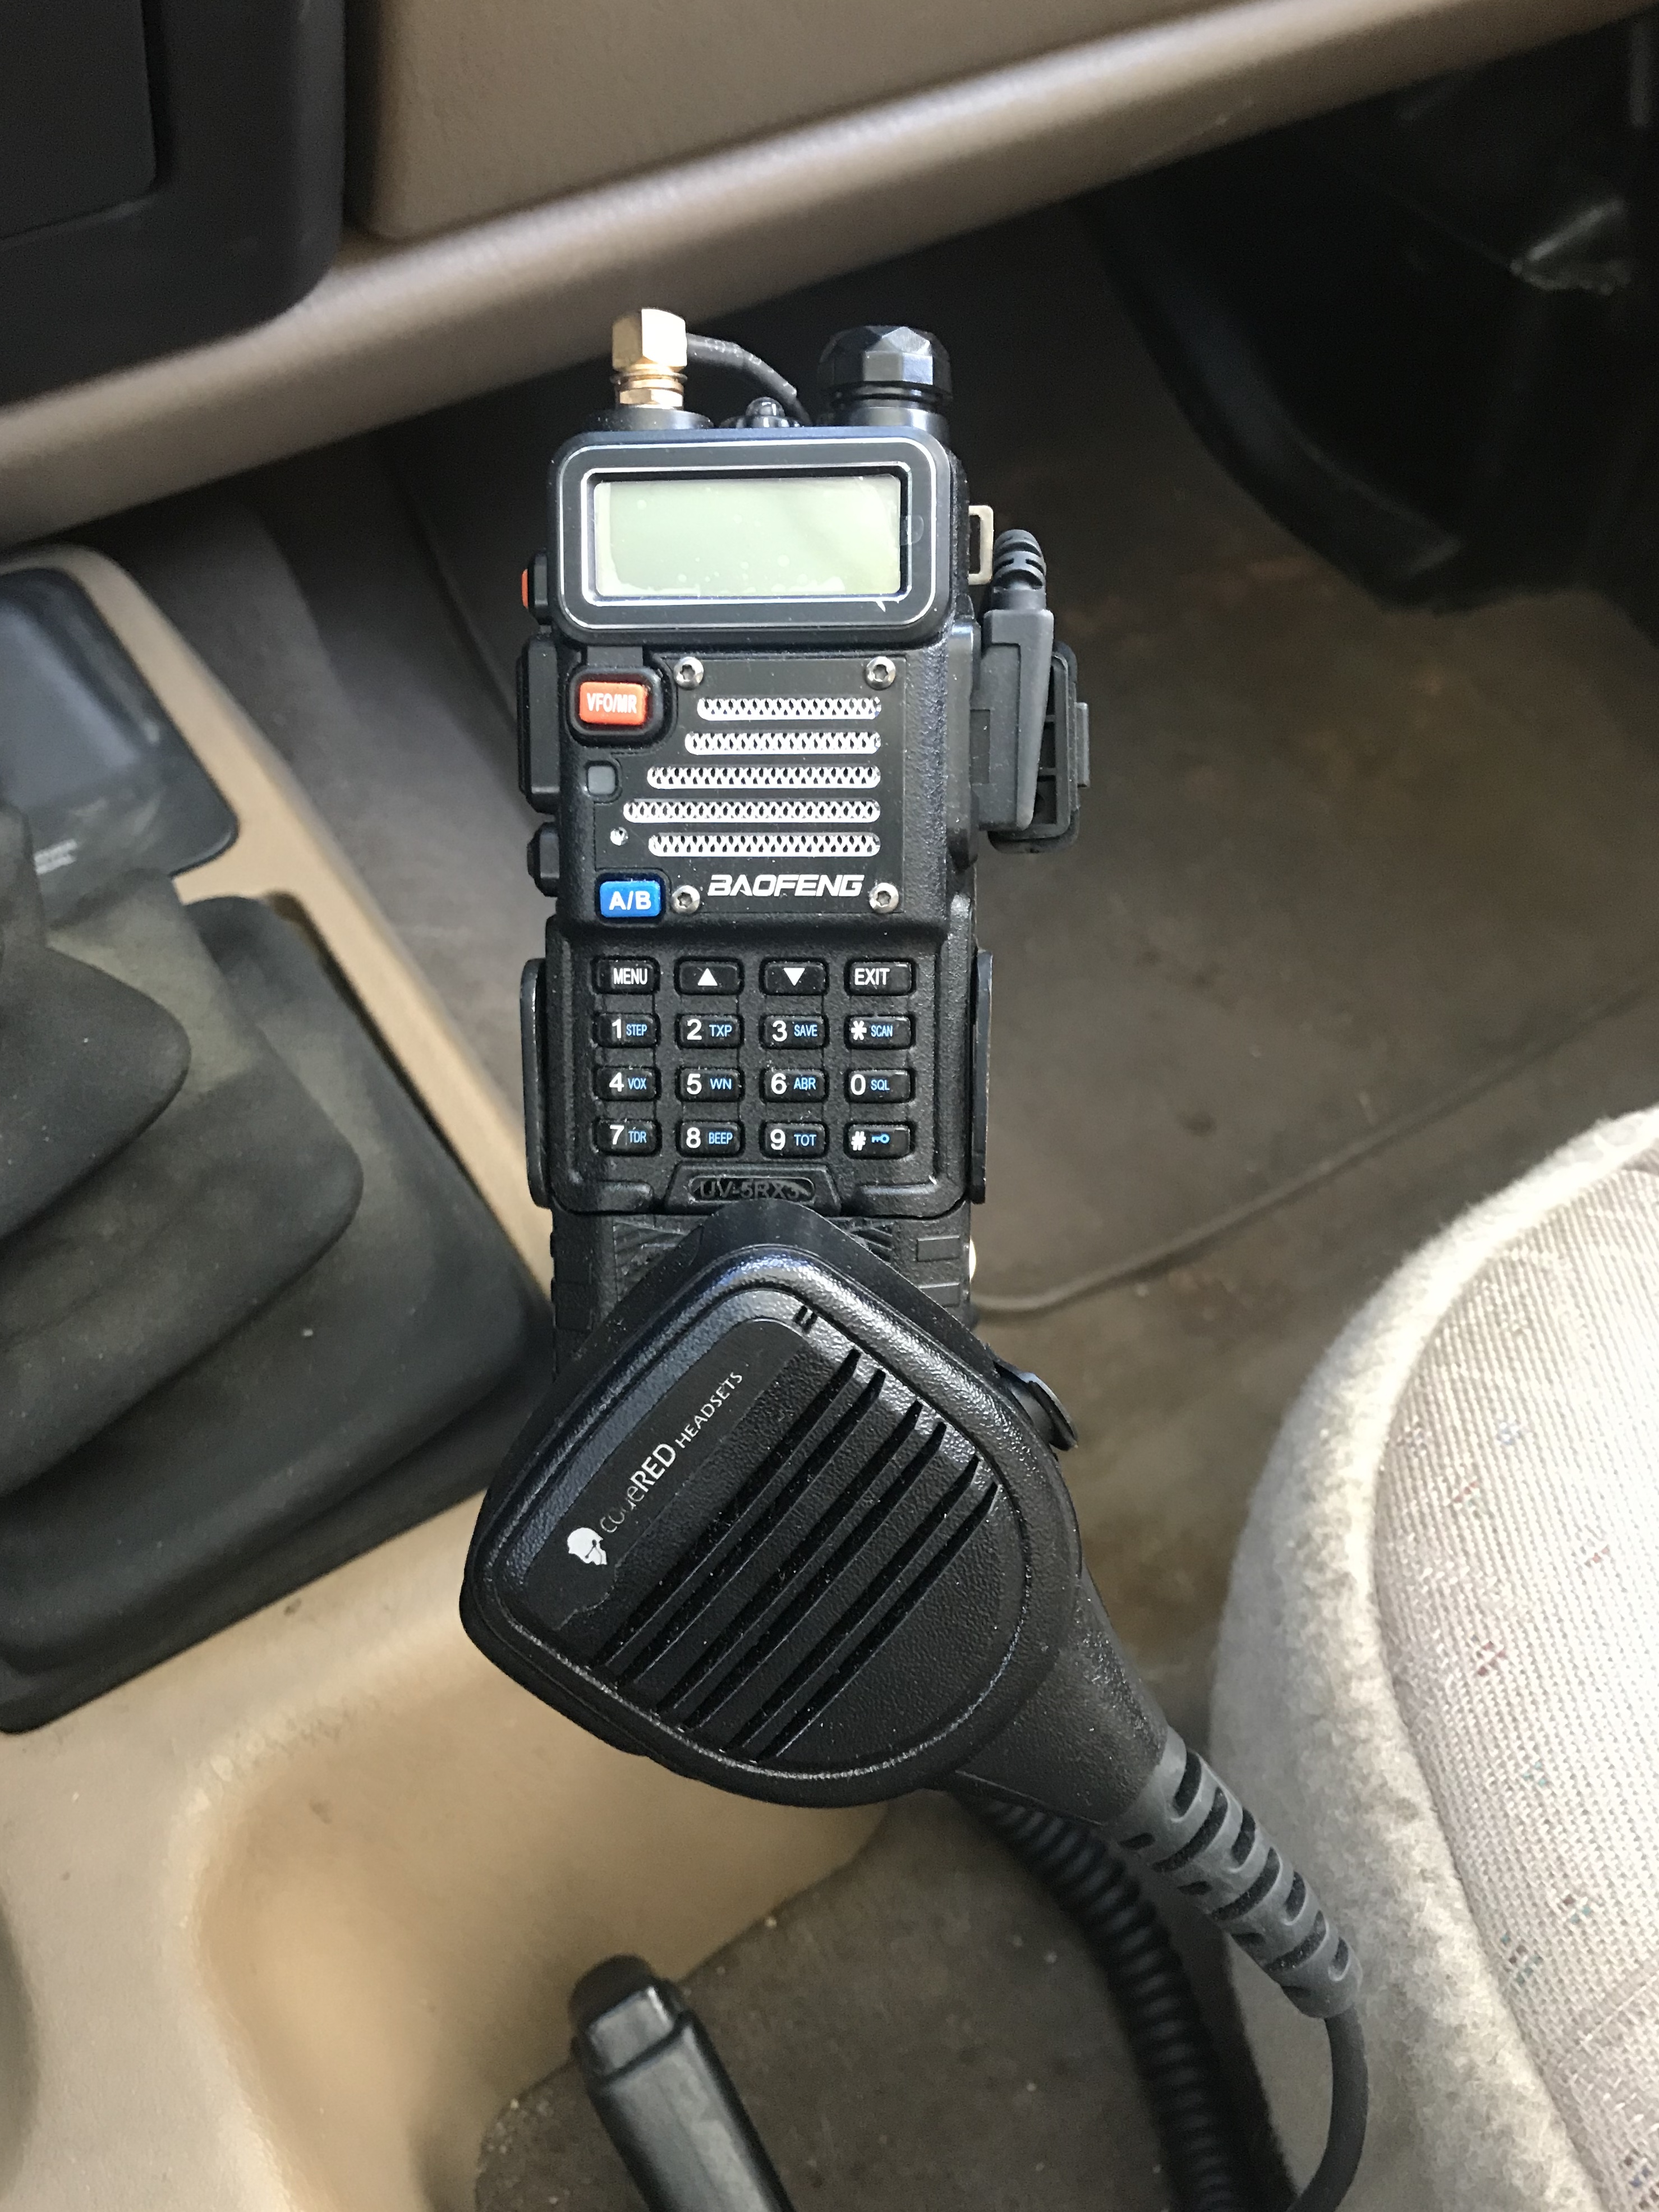
As I said above, I connect this radio to an antenna mounted on the hood cowl, so the coax would make it cumbersome to take the radio off the mount to speak into it. A hand mic solves this problem. The hand mic is also useful for leaving the radio in the EMDOMM pouch or pack, or clipped to a belt, and putting the hand mic on a shoulder strap.
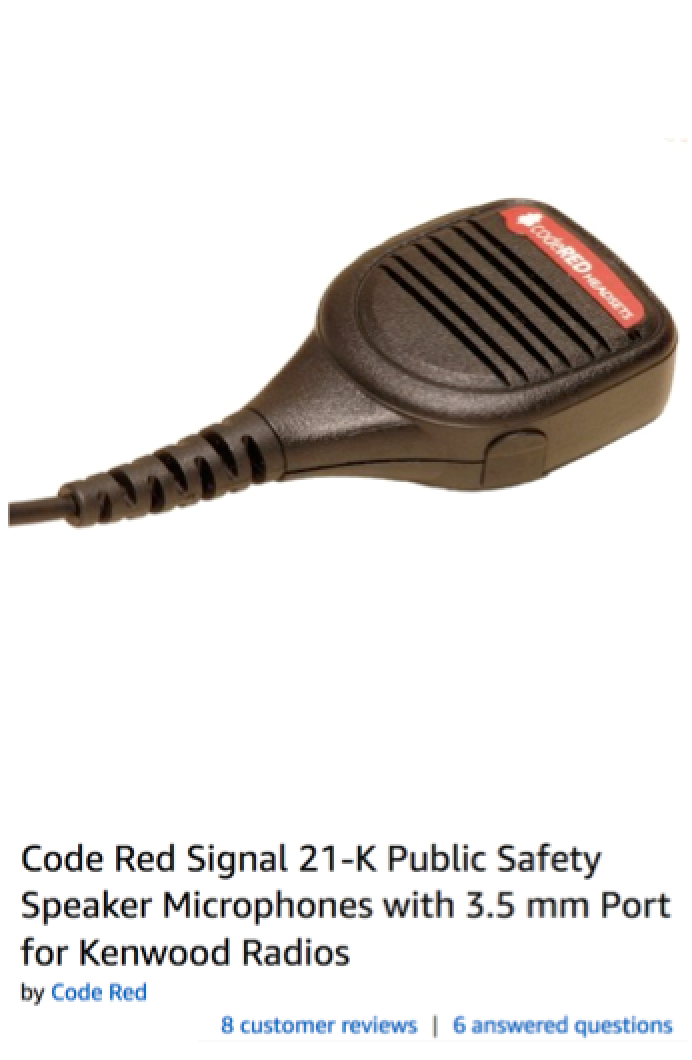
I use the Code Red Signal 21-K. (The "K" means it fits Kenwoods, and they have models for other radio brands.) It's a little spendy because it has electronics to improve the audio on both transmit and receive, which is good for Jeeps because it's loud and clear enough to overcome most road and wind noise.
Unlike many hand mics, the Code Red has a clip on the back instead of a button hanger. I like this a lot because I clip the mic to my seatbelt when I'm driving, putting the speaker right by my face so it's easier to hear when the doors are off. I can speak into the mic without taking it off the seatbelt, too. And if I need to drop it to shift gears real quick, it stays right on the seatbelt.
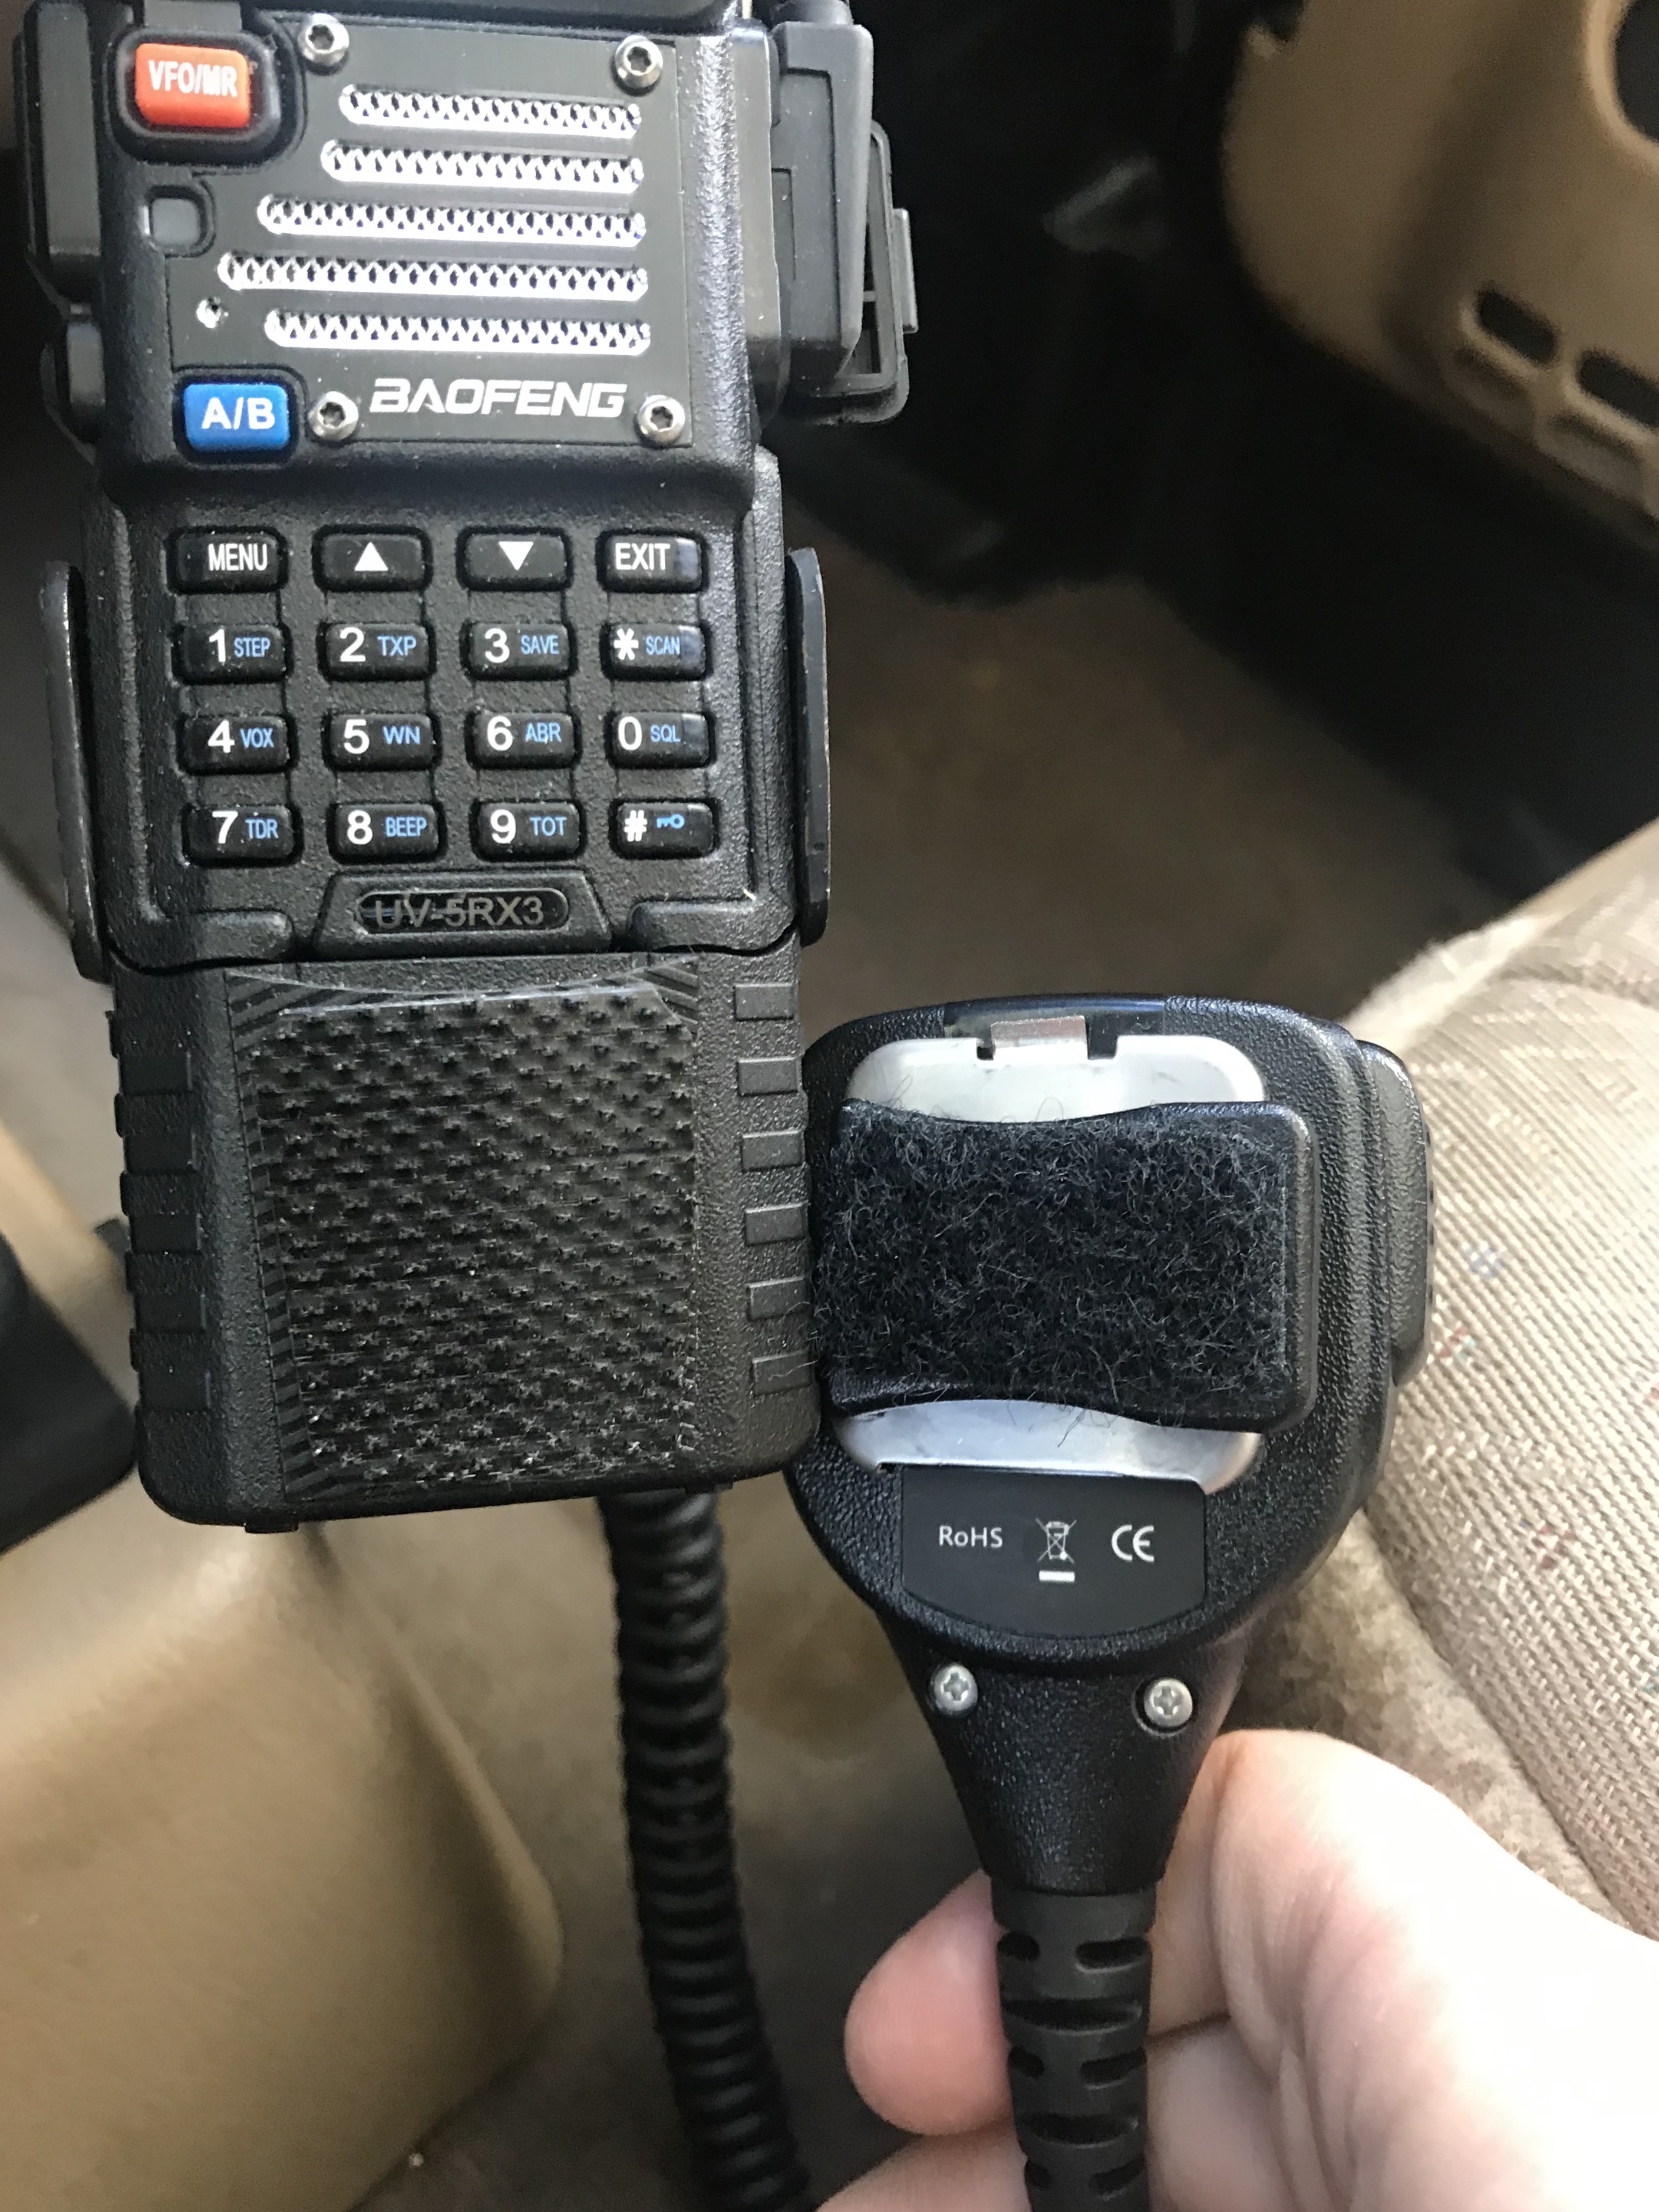
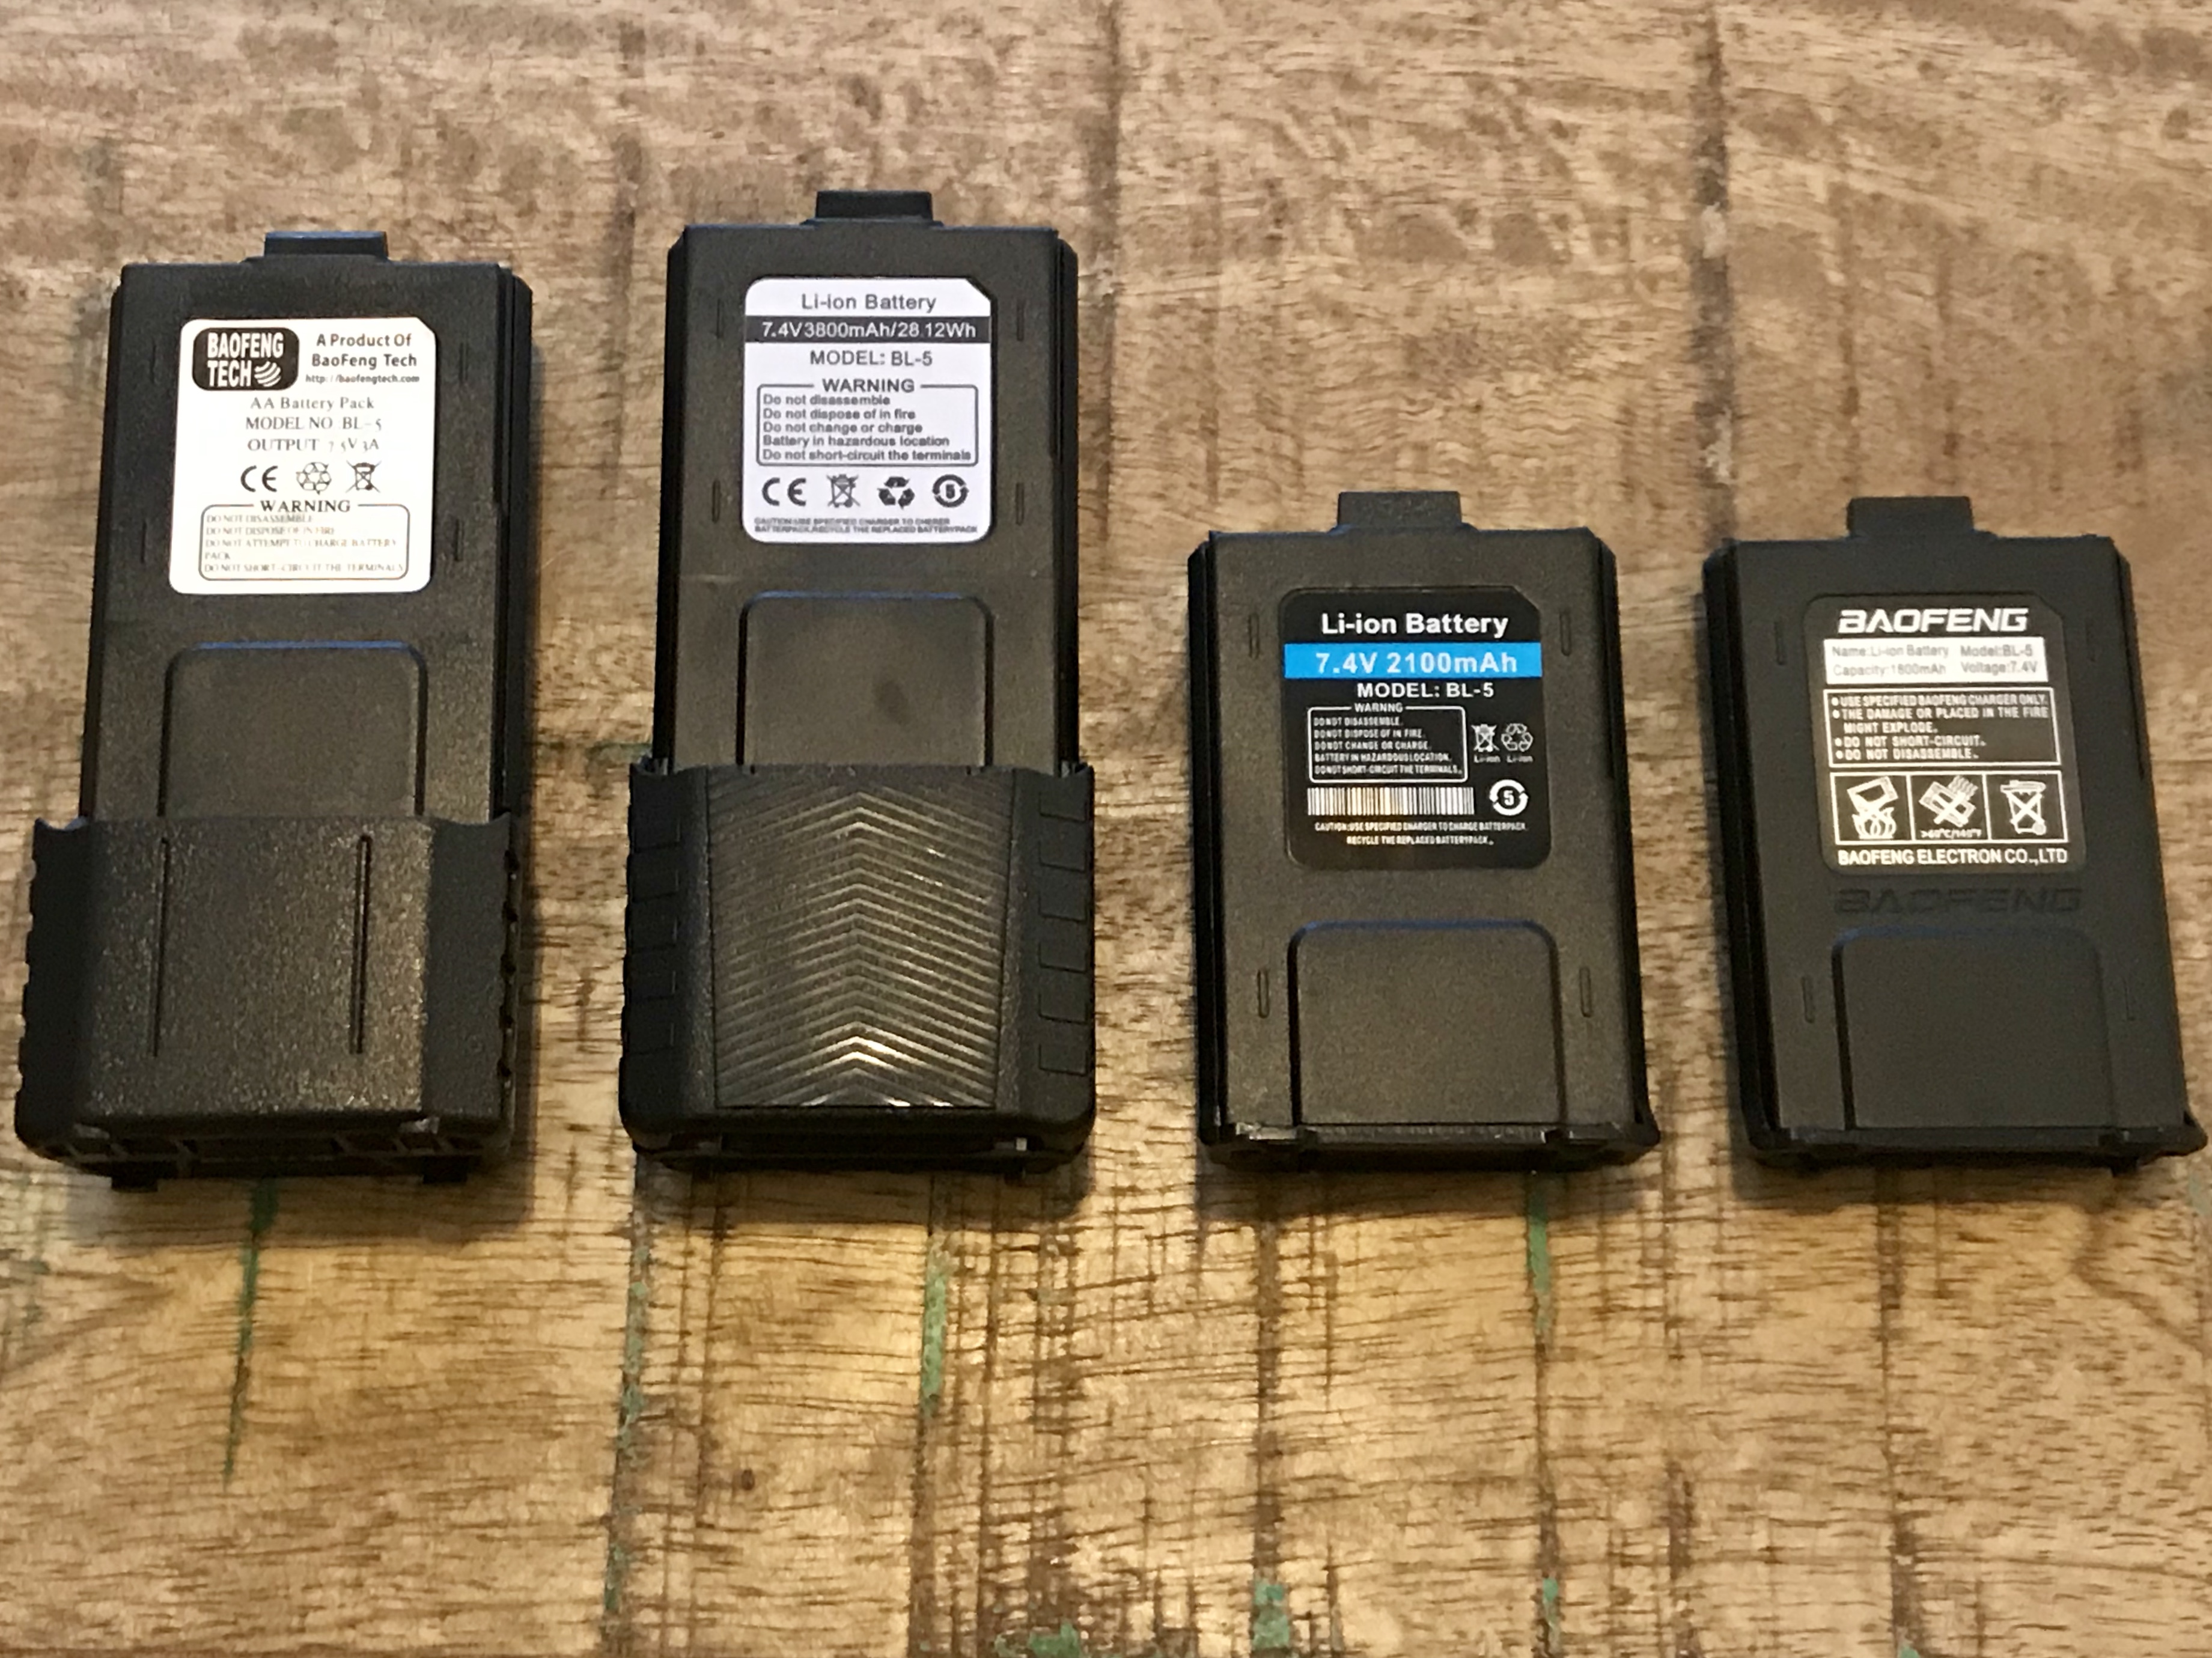
But I needed a place to hang store it when it's not clipped, and the putting a hand mic into the cup holder or on the seat is a good way to accidentally key the repeater or tie up the group's assigned simplex frequency, which tends to irritate people and is not good ham practics. So I put trimmed some two-inch wide strips of Extreme Outdoor Velcro to put on the Baofeng's BL-5 extended battery, and now I have a place that's super simple to stow and retrieve it. Even better, the speaker is still aimed at my face so I can hear it easily when I'm scanning without the mic on the seatbelt.
The Velcro's loop side goes on the hand mic's clip because I wanted the soft part against my shirt when it's clipped to my seatbelt.
The third picture above shows how much clearance I have when I put the Jeep in reverse--just enough where I don't bump the radio. But I can stick the hand mic onto the Velcro at any angle and the radio is adjustable at the RAM mount, so you could make room for it no matter how big your hands are. I just wanted it to be as close as possible so passengers wouldn't hit the radio with their knees.
I later got the 10-foot by 1-inch version of the Extreme Outdoor Velcro because I ended up using it for more things, like when I upgraded the radio in this Wrangler for the Baofeng UV-25X4 Install. It's thinner but you get a lot more area of Velcro for a much cheaper price.
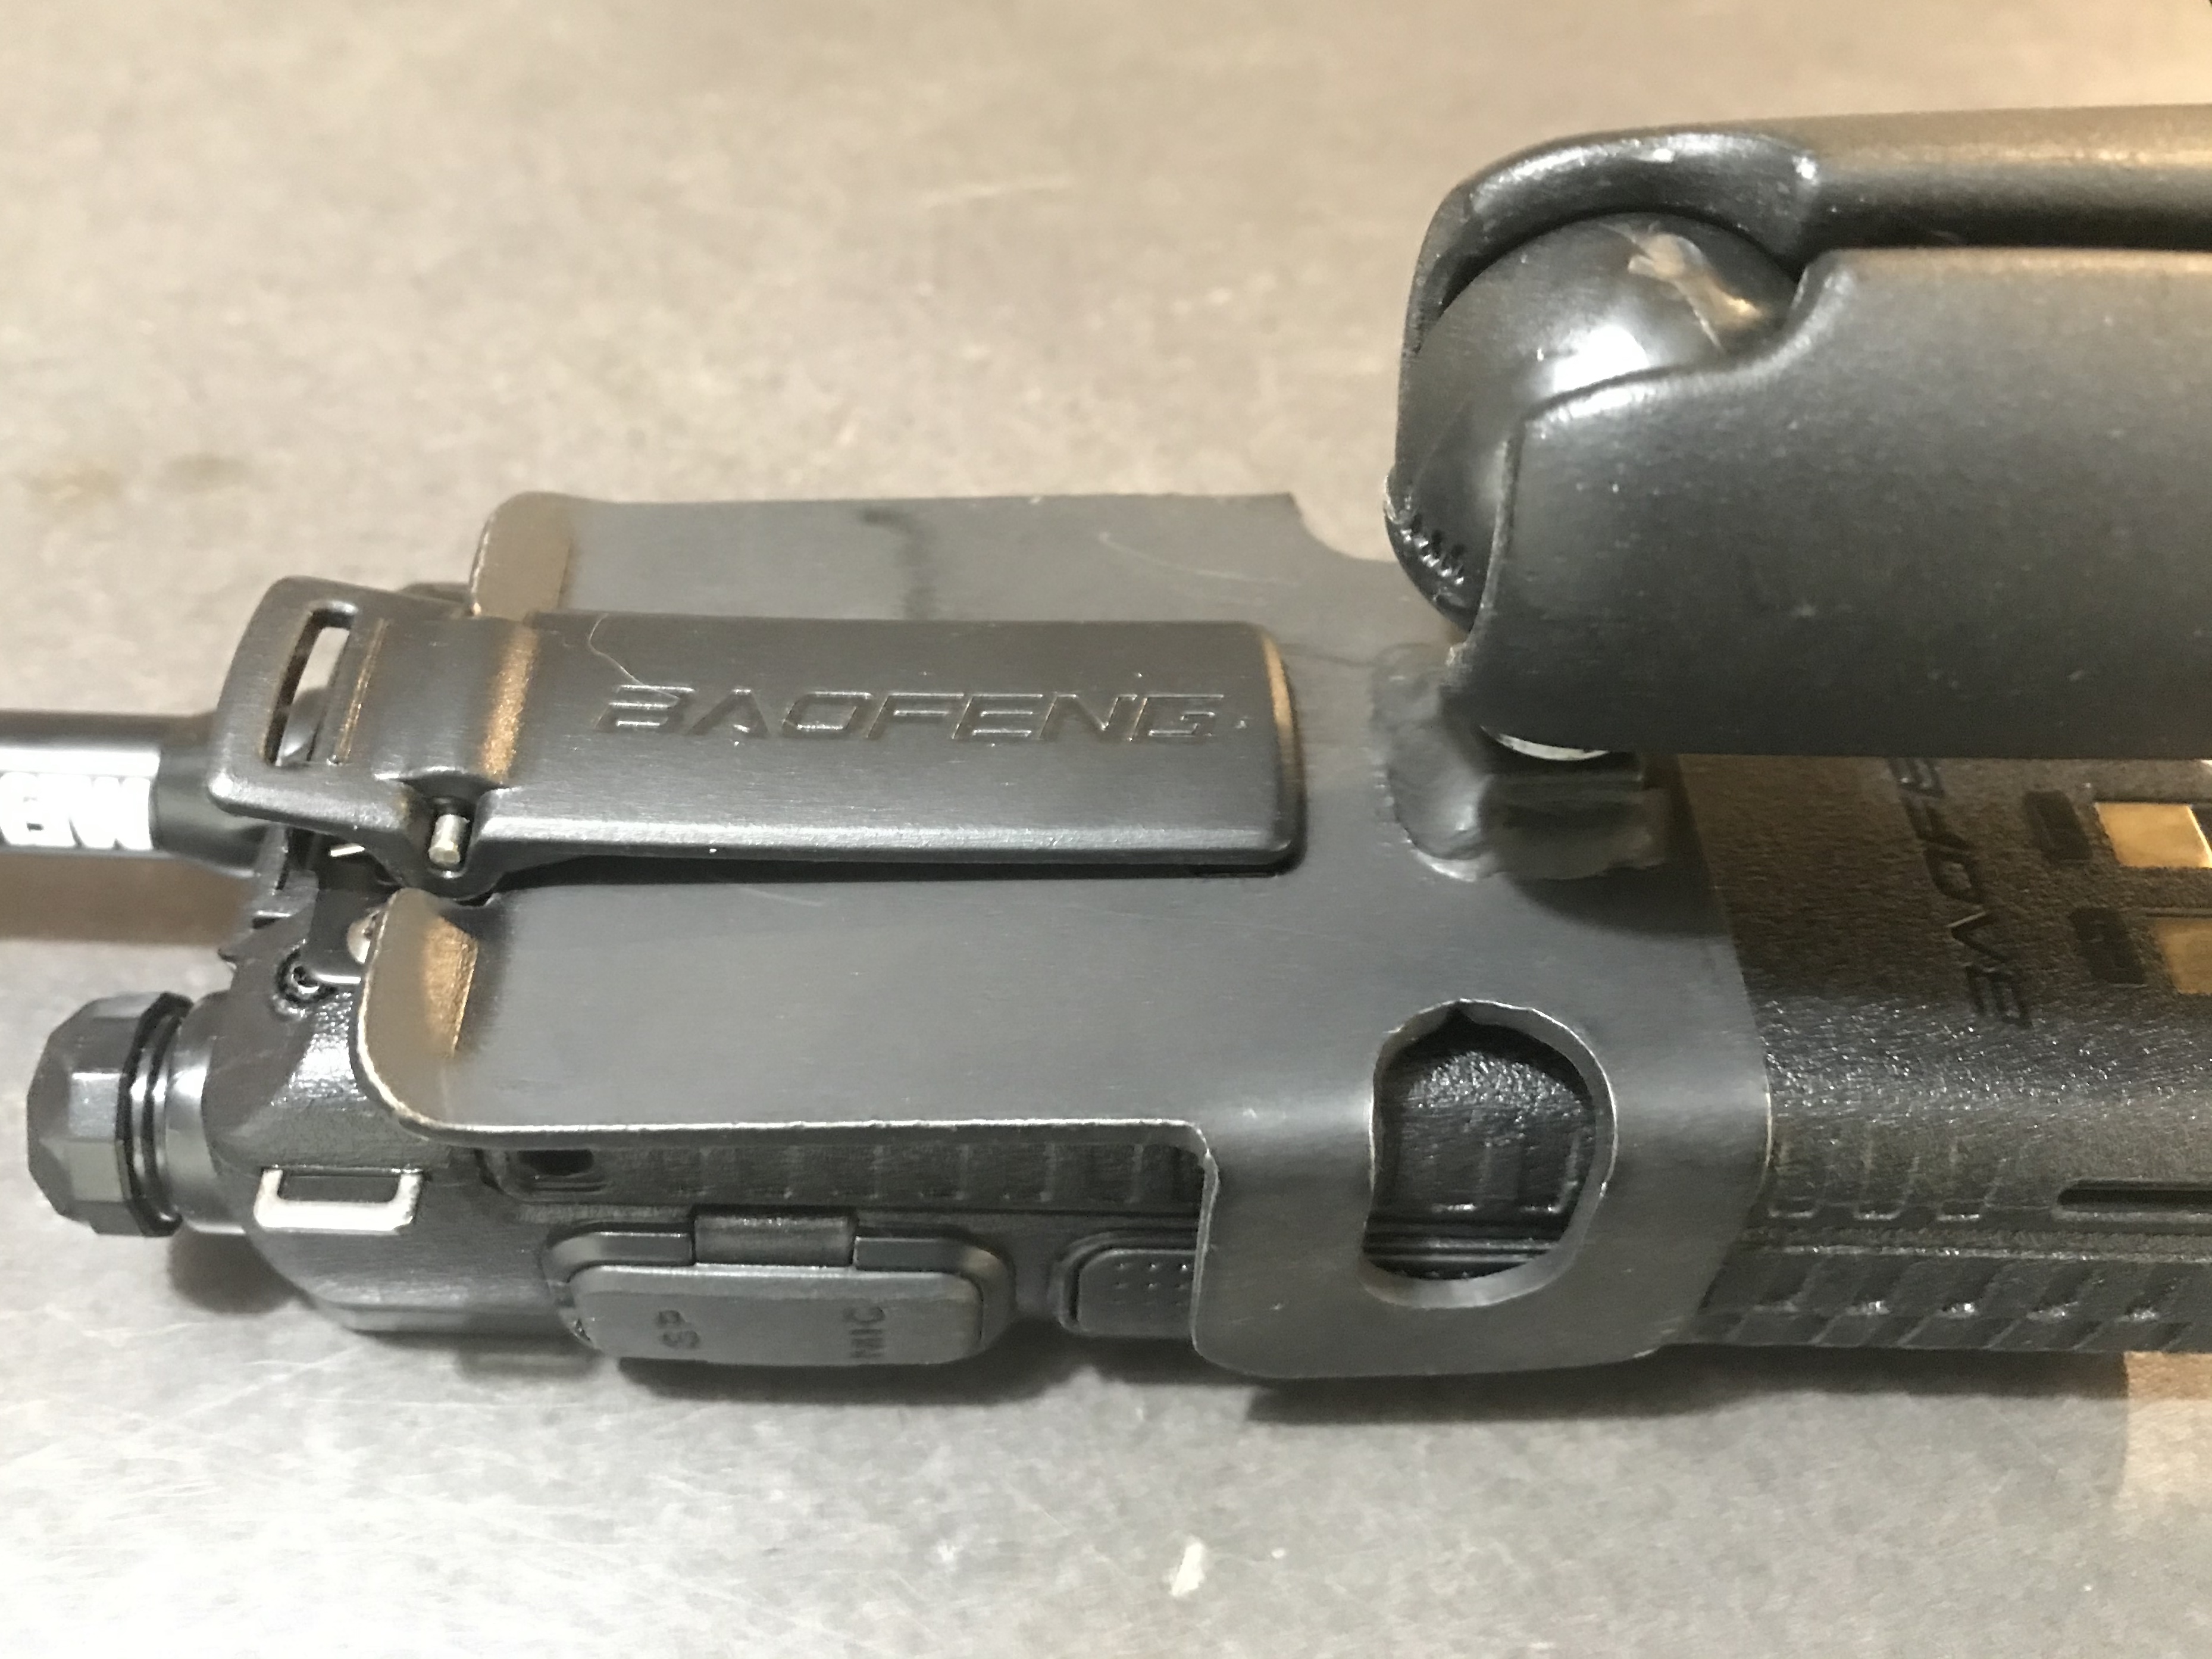
Here are some more pics of the painted hoslter and RAM hardware. In the second pic, the radio isn't completely inserted into the holster so you can see the hole where the clip latches. In the third picture, you can see how the clip seats fully into the holster. This keeps it held solidly while bouncing along Forest Service roads.
| See How I Installed the Ham Antenna on the Jeep Wrangler! |
I had basic criteria for my TJ Wrangler antenna install: very little permanent alteration, clutter-free install, and effective. I put it on the hood cowl and ran the coax through an existing grommet in the firewall. It works well, but the propagation pattern is probably a little weak toward the rear of the vehicle. (I included charts to illustrate why.)
This install included the same Nagoya NMO-72 19.25" NMO Mount Dual Band Antenna as the truck install, but instead of the multi-axis mount I used a Tram 1246B NMO Trunk Lip Mount.
Check out the Pics and Step-by-Step Instructions!
Please email me with any questions about this project and I'll try to answer them!
Back to the Amateur Radio Homepage

