Just Jeff's Outdoors Page

"Going to the woods is going home, for I suppose we came from the woods originally." ~John Muir

Portable Ham Radio Kit for Backpacking or Emergency Communications (EMCOMM) Kit (VHF/UHF)
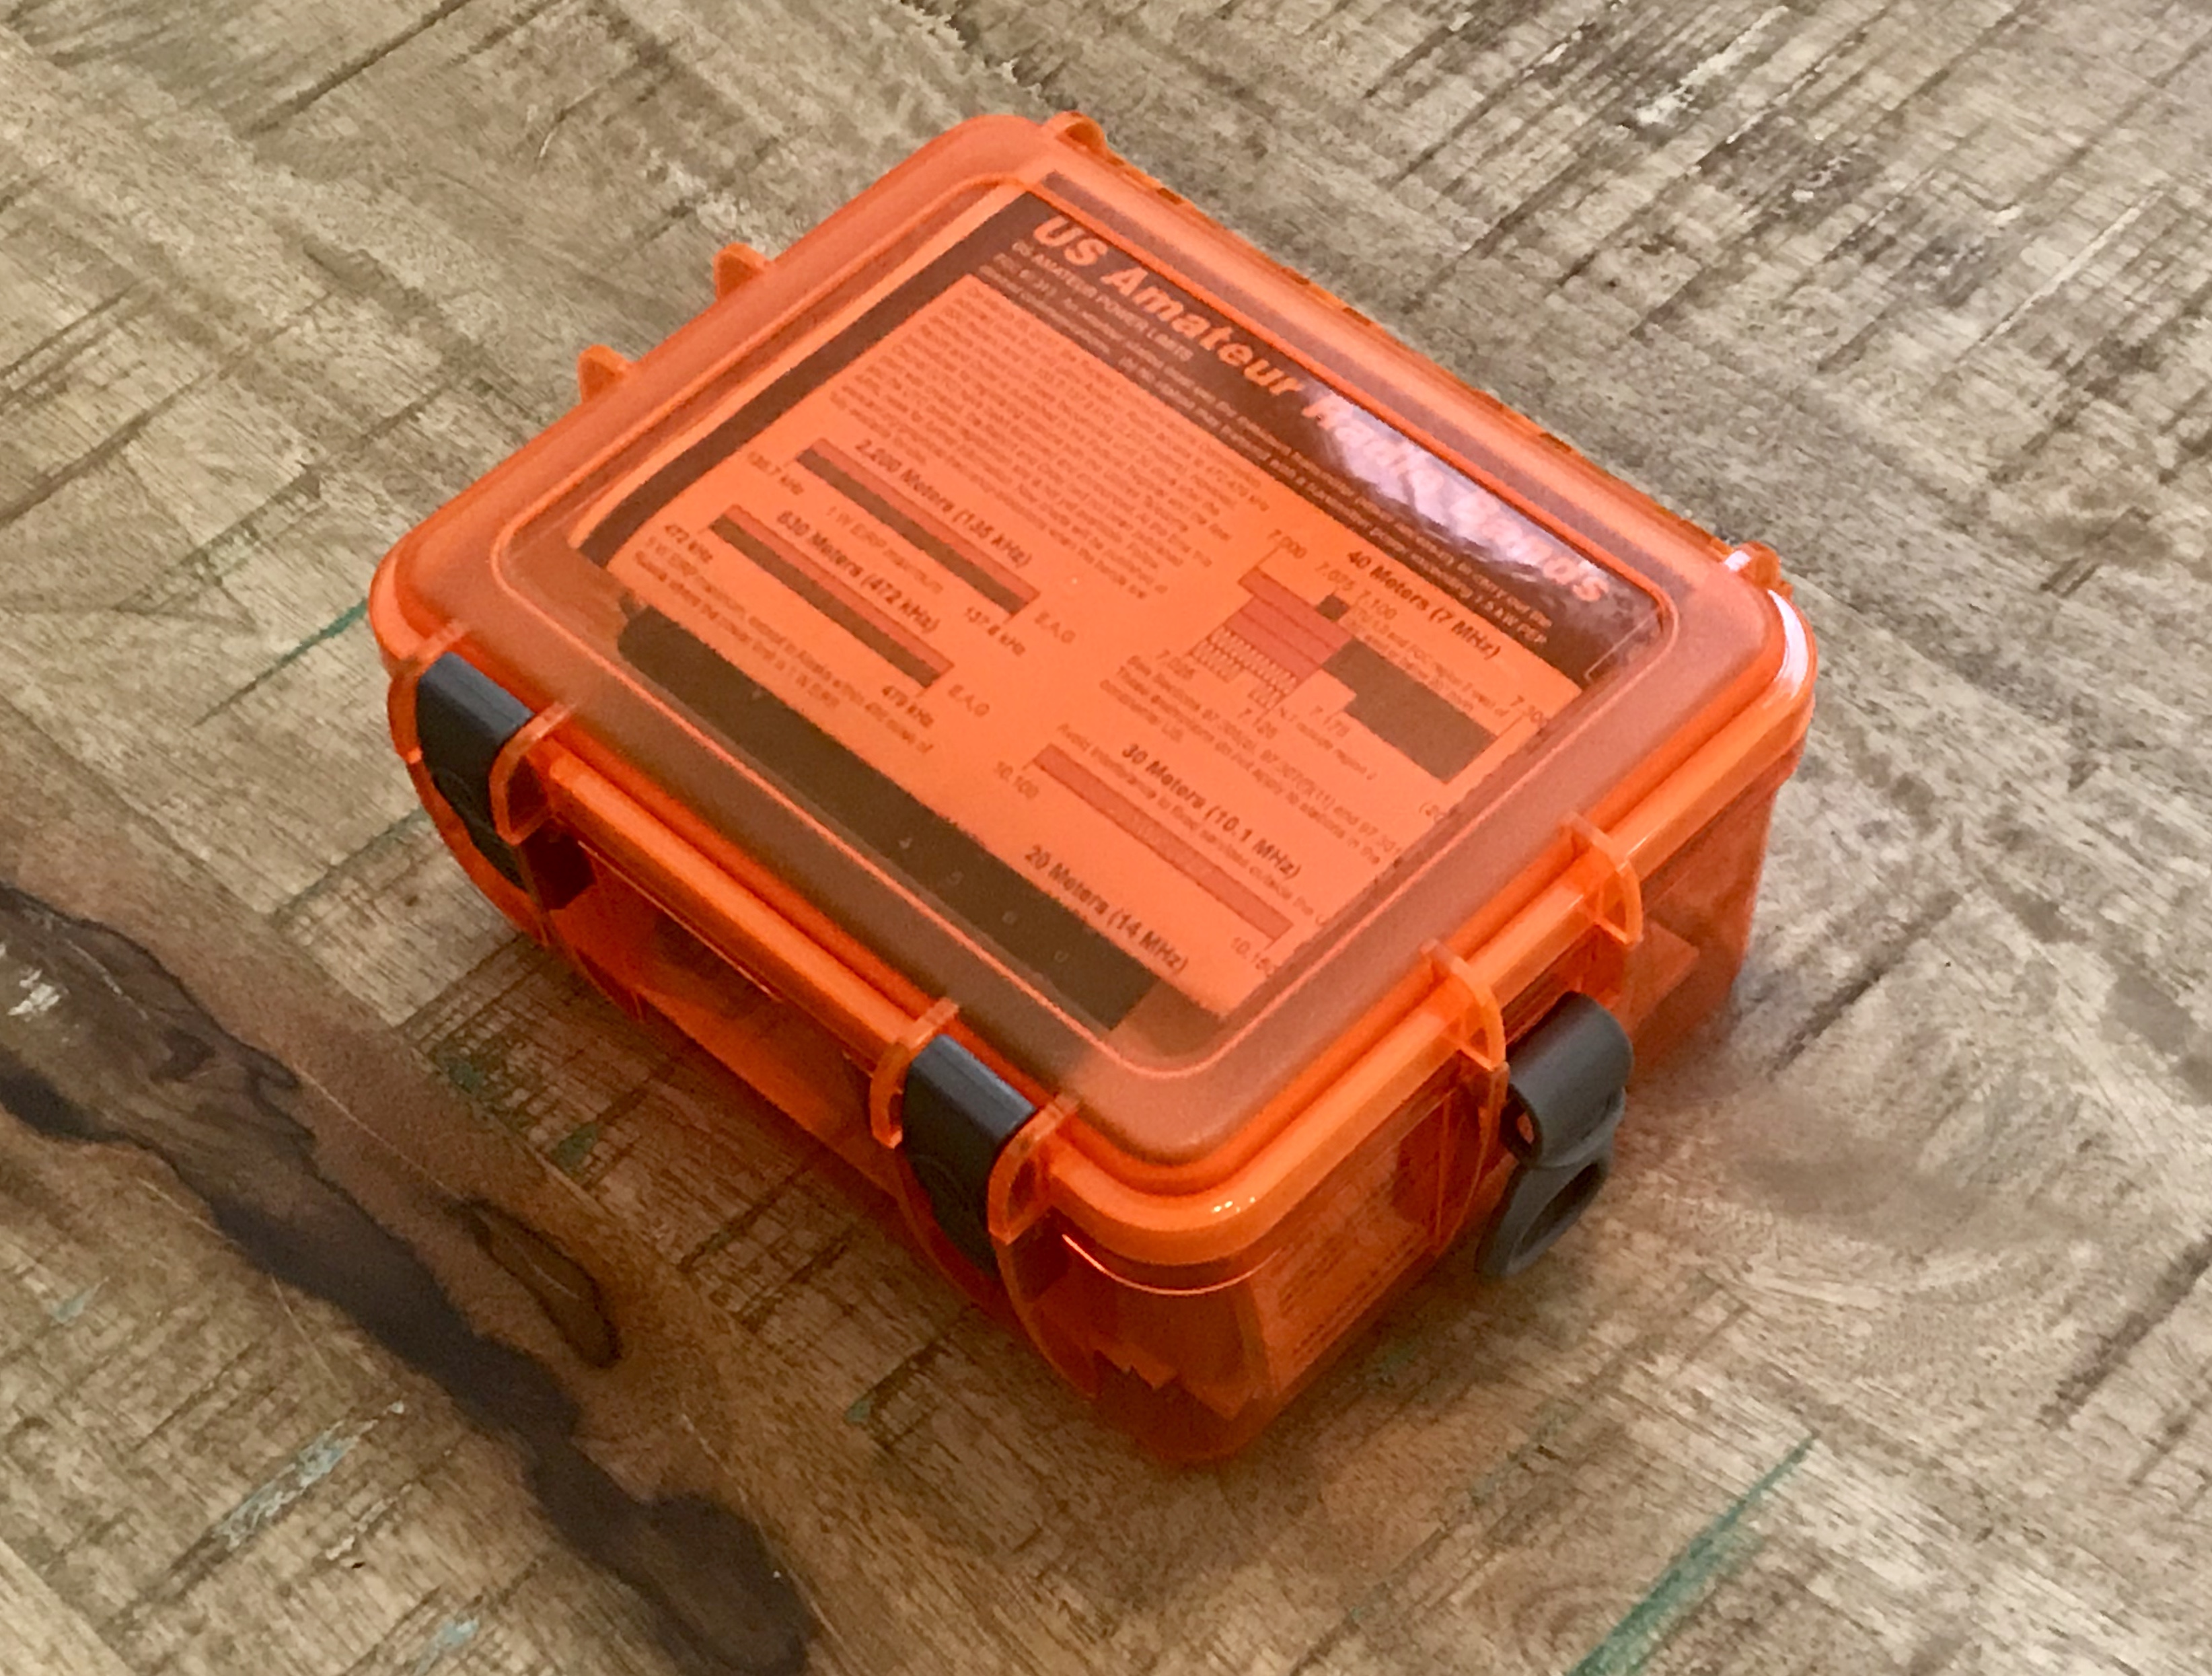

Small Kit, Ready to Go

As the common ham radio saying goes, everything is a compromise of competing goals--and building a portable emergency communications (EMCOMM) kit is no exception. I build this kit for my vehicles but it will fill the role for hiking, camping, or backpacking just as well.

For EMCOMM, the primary decisions invovled balancing function, convenience, and cost. This article provides options for a very basic (i.e., inexpensive) foundation from which to begin building the capability to communicate over ham radio when the cell phone network is not available--when in the backcountry or after a major storm, for example.

I plan to get a nice handheld transceiver (HT, or Handy Talky) in the future, but my first priority was to implement an immediate plan for communicating during emergencies, and I wanted more than the ability to call over a repeater. I wanted two radios in each vehicle in case I couldn't contact a repeater and one of us had to walk for help. For us, that meant ten radios because my kids have vehicles, too. So I was faced with a decision: I could buy two Yaesu handhelds for about $300, or ten Baofengs for about the same price. I chose the latter, for now.

Be advised that you need a license to transmit legally on these radios, and even with a license it is not legal to transmit with them on FRS and GMRS. Even though you can program these frequencies into your Baofeng and listen, it's against FCC regulations to transmit with this much power on FRS and GMRS, and FRS radios cannot have removable antennas.

Also, be advised that you'll need to program these radios (or any ham radio) after you receive them. The easiest way is to use the CHIRP software and an aftermarket programming cable.

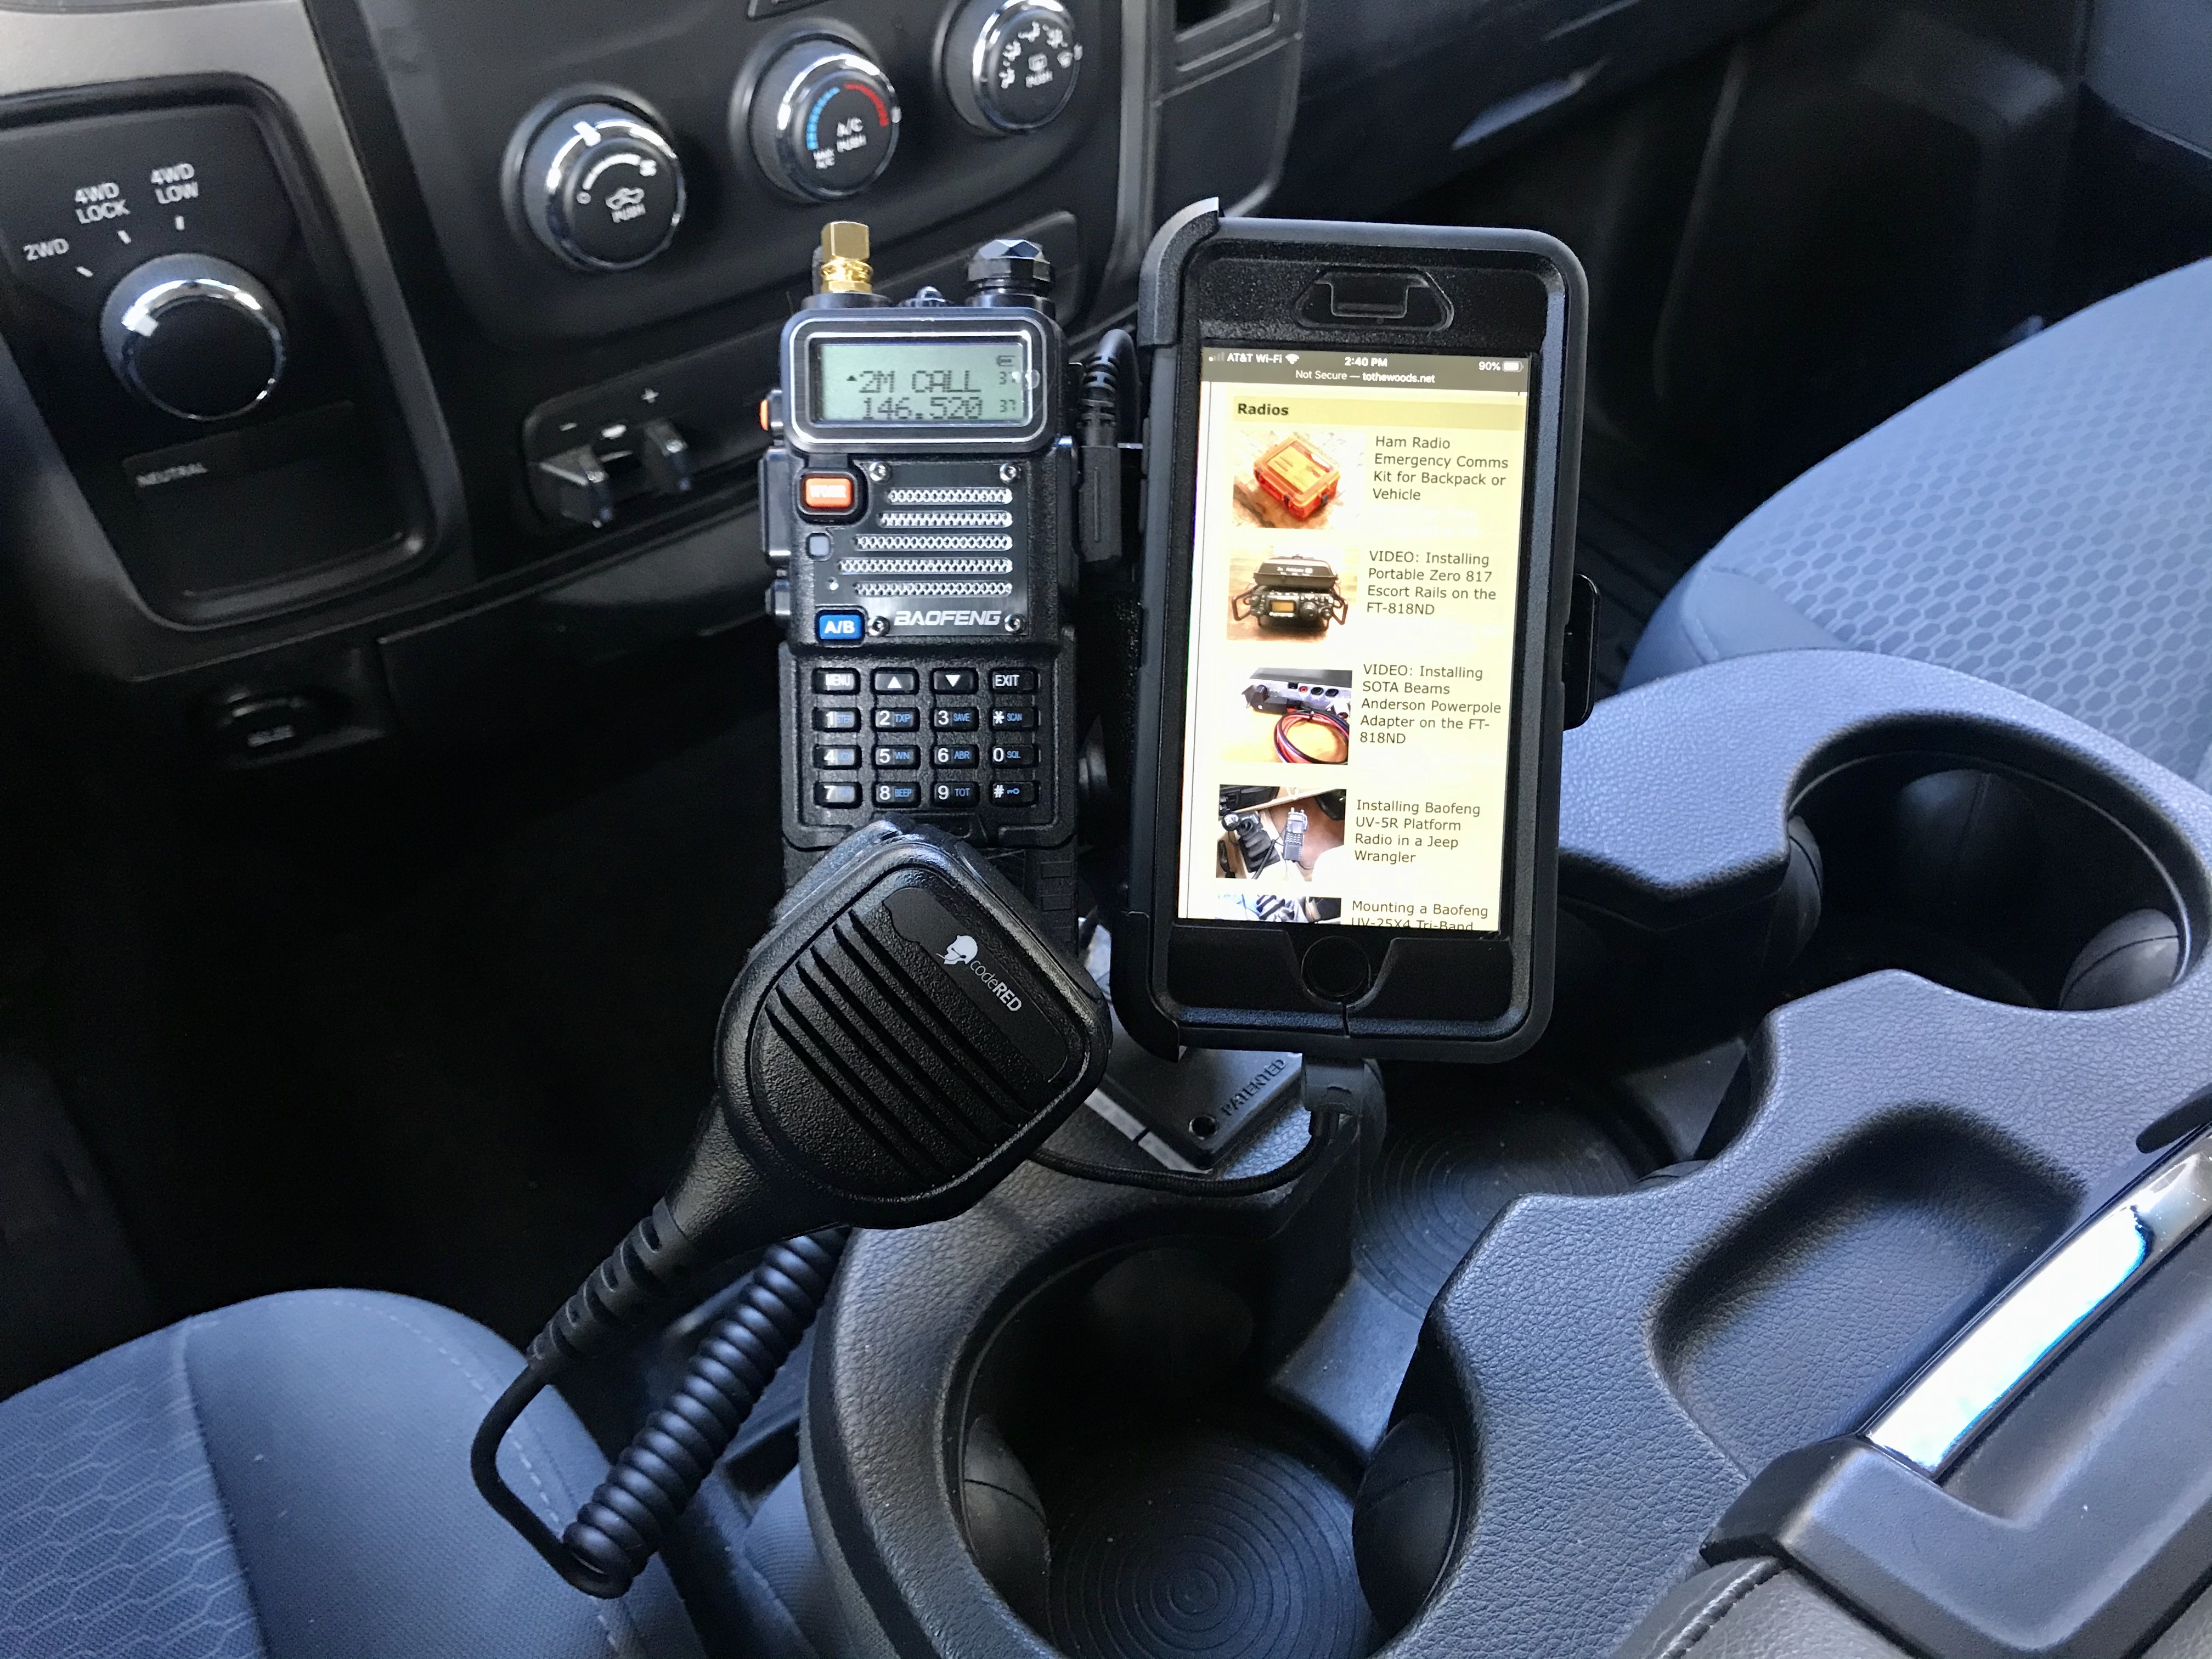
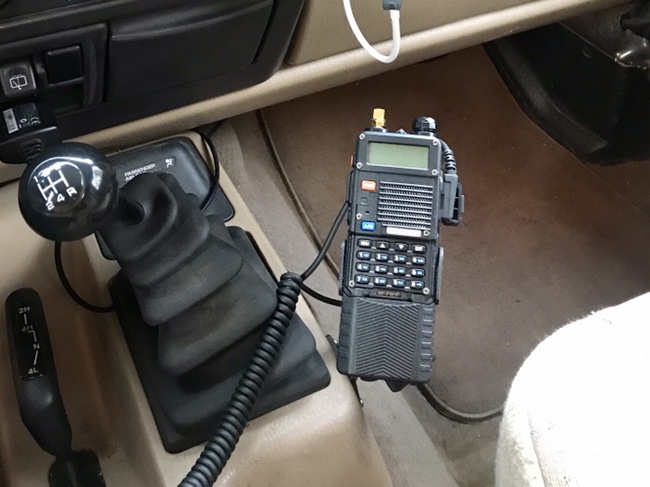
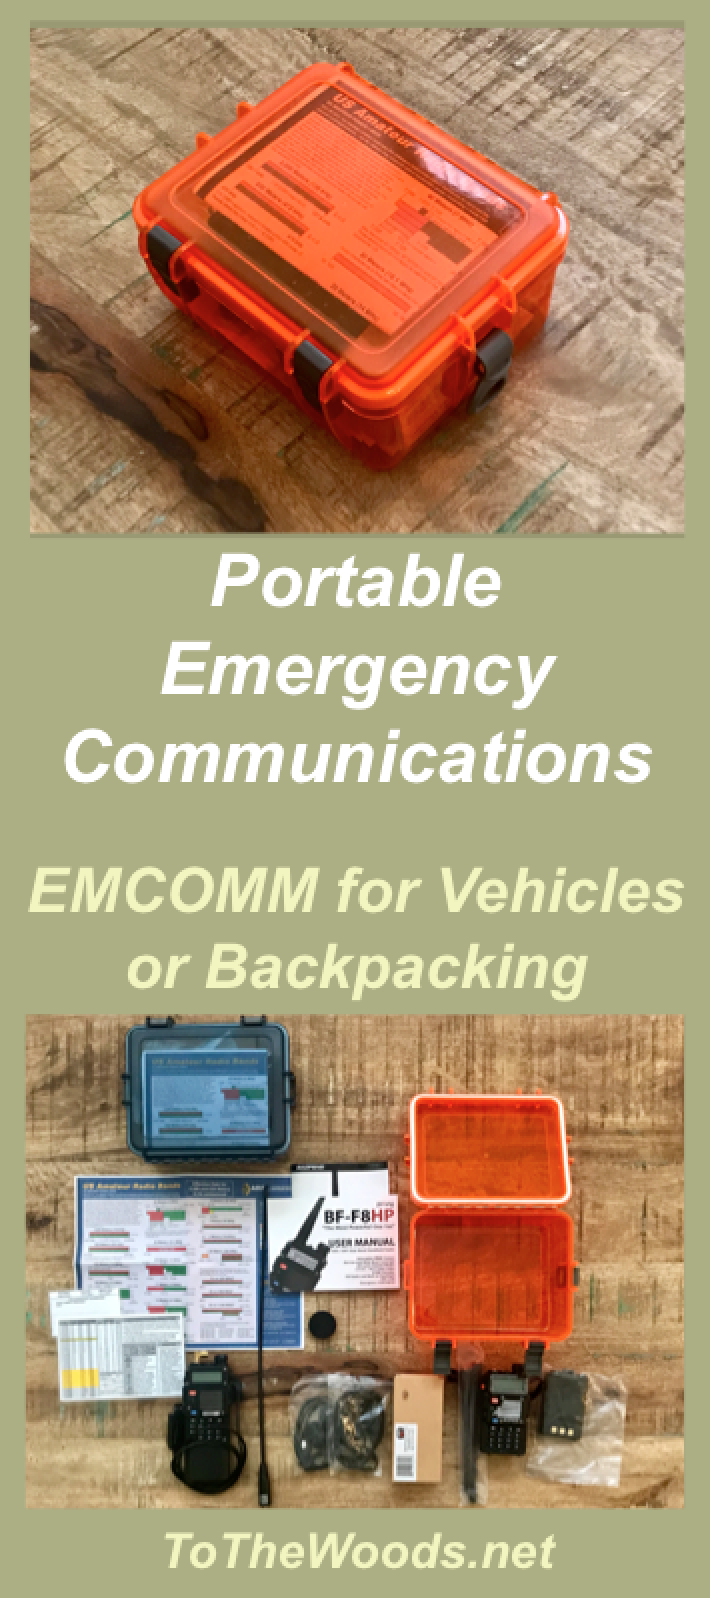
I'll start this article with a simple kit that balances capability with cost and convenience, and then include options to upgrade for additional capabilities. The images below show what I have in two of my kits, which includes some extras from experimenting with the products discussed below as I settled on what works for me. I have experience with almost all of the products I discuss below, and attempt to provide the pros and cons for each one.

Lastly, a disclosure because an honest penny is better than a dishonest dollar. The Amazon links below are affiliate links, so I might earn a small fee if you use them to purchase a product. It does not change the consumer's cost because it comes from Amazon's advertising budget, but it helps me cover the site's operating costs.
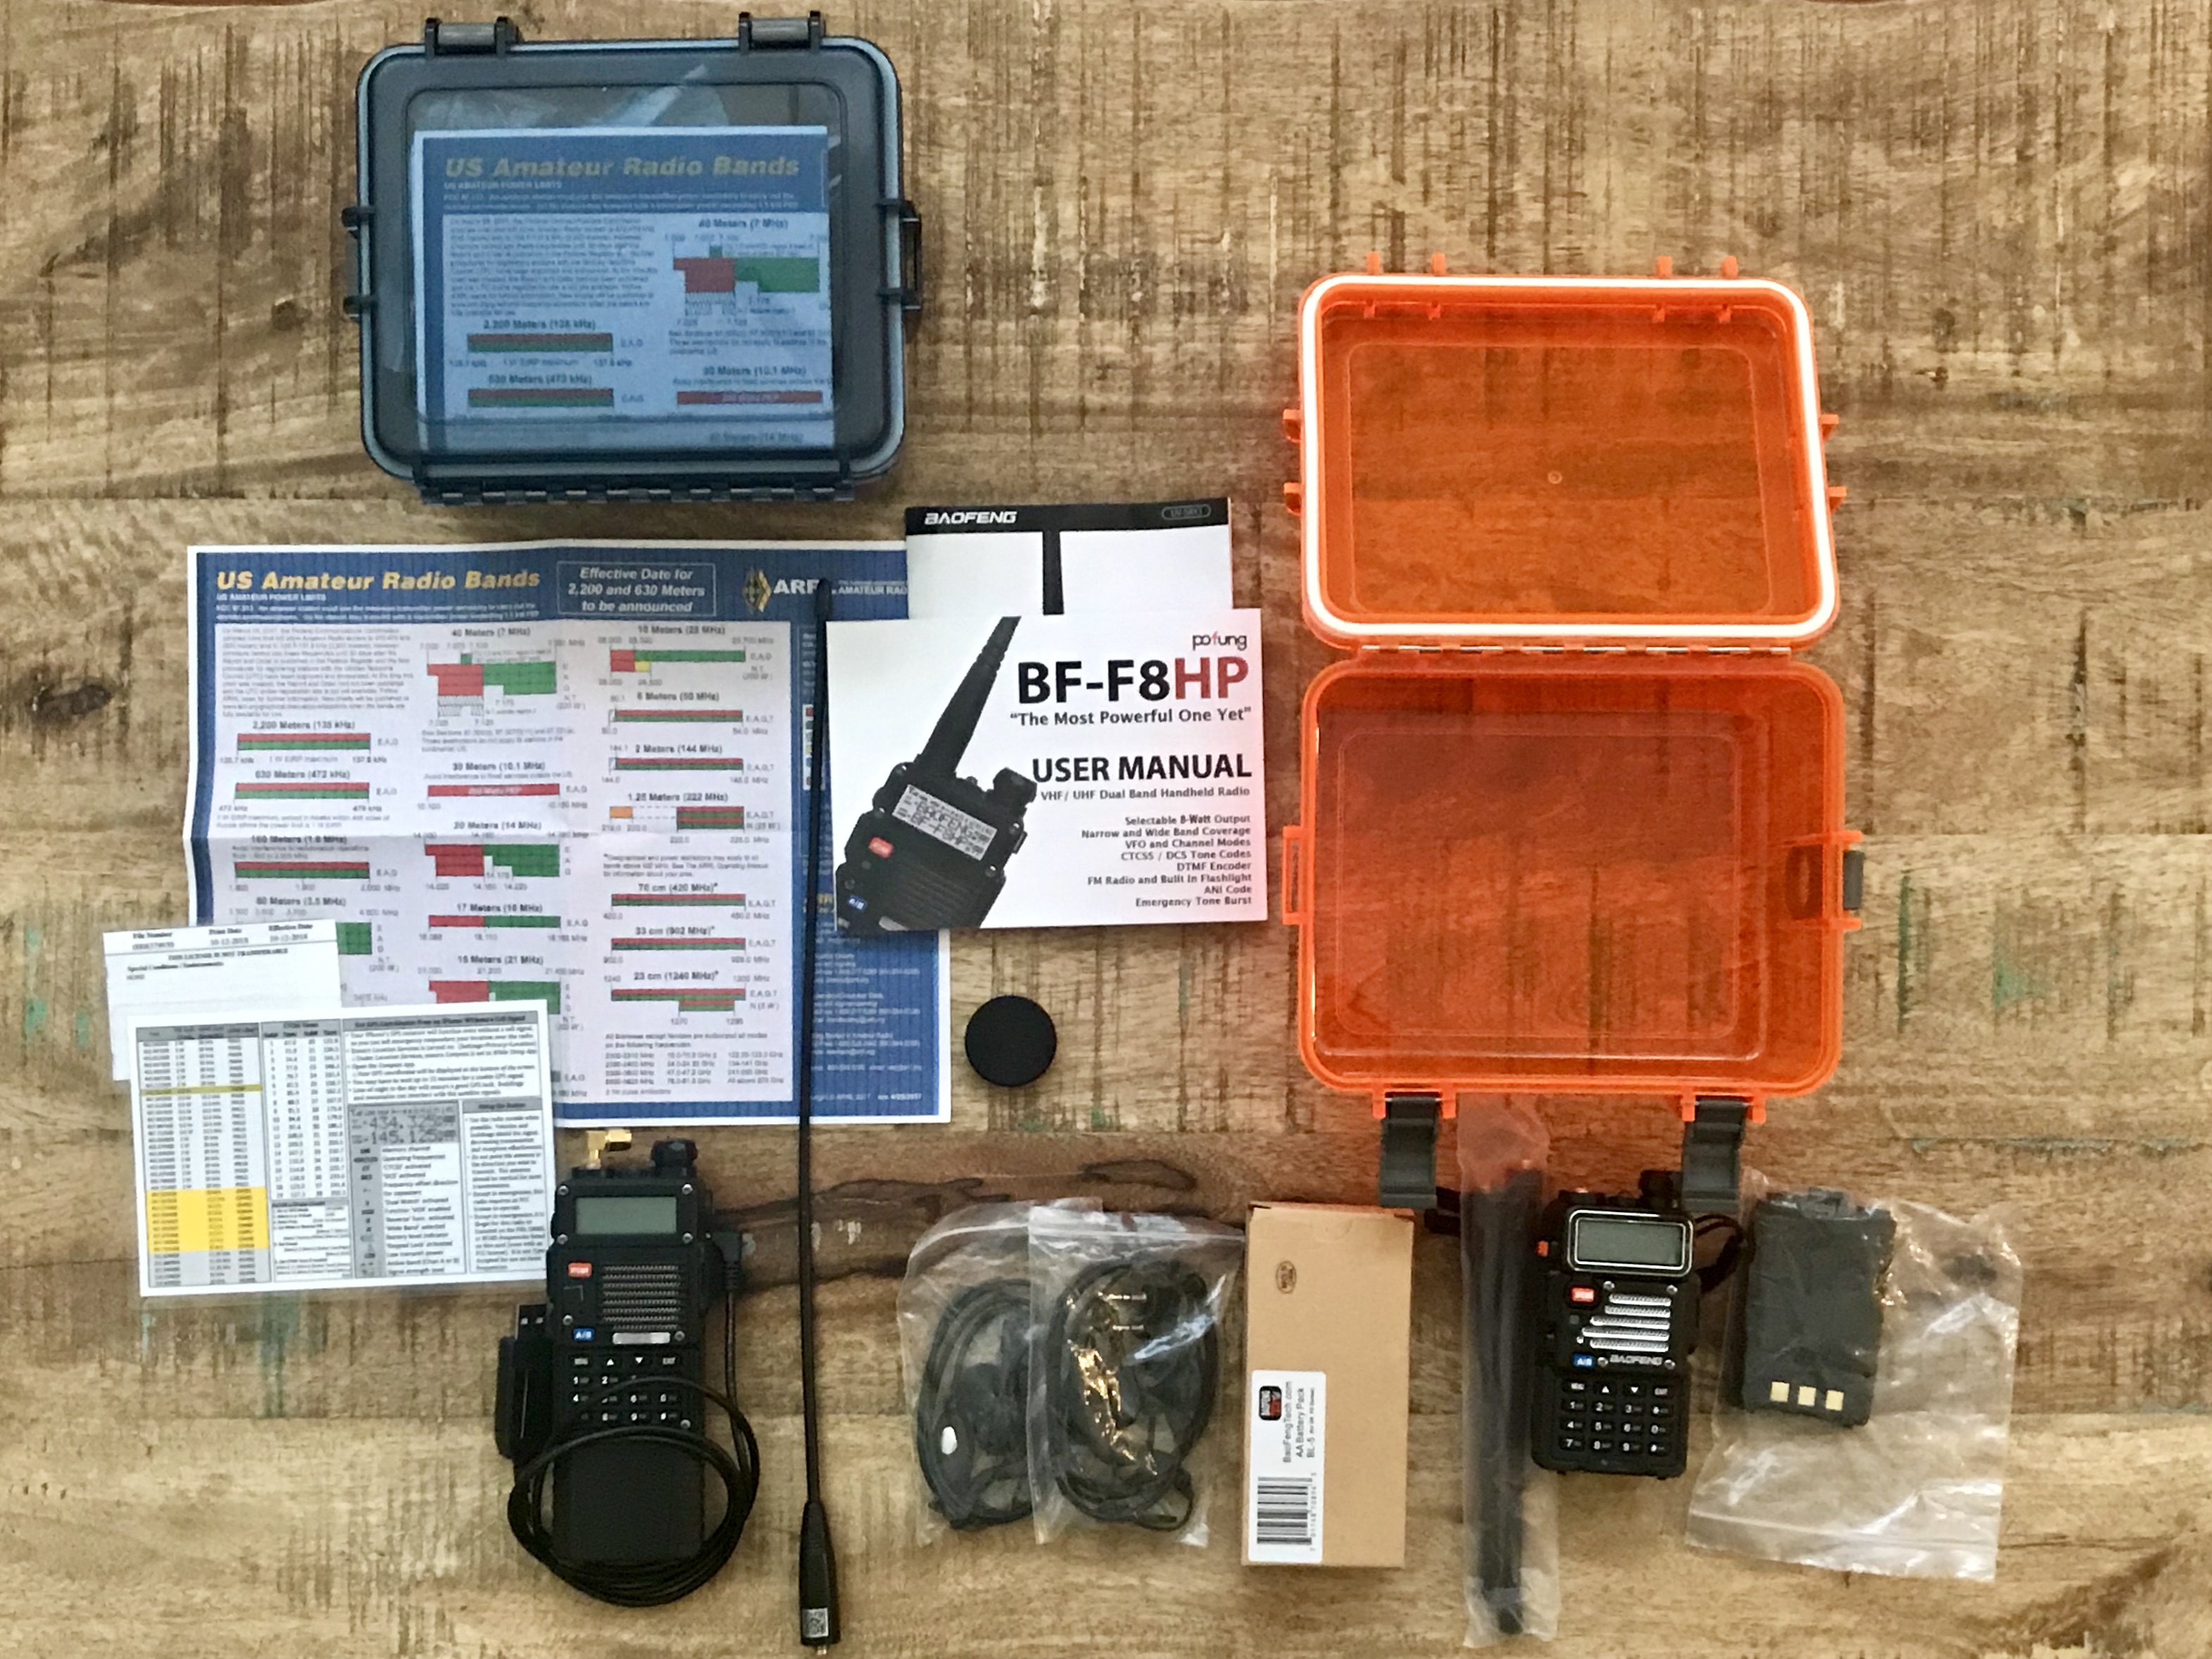
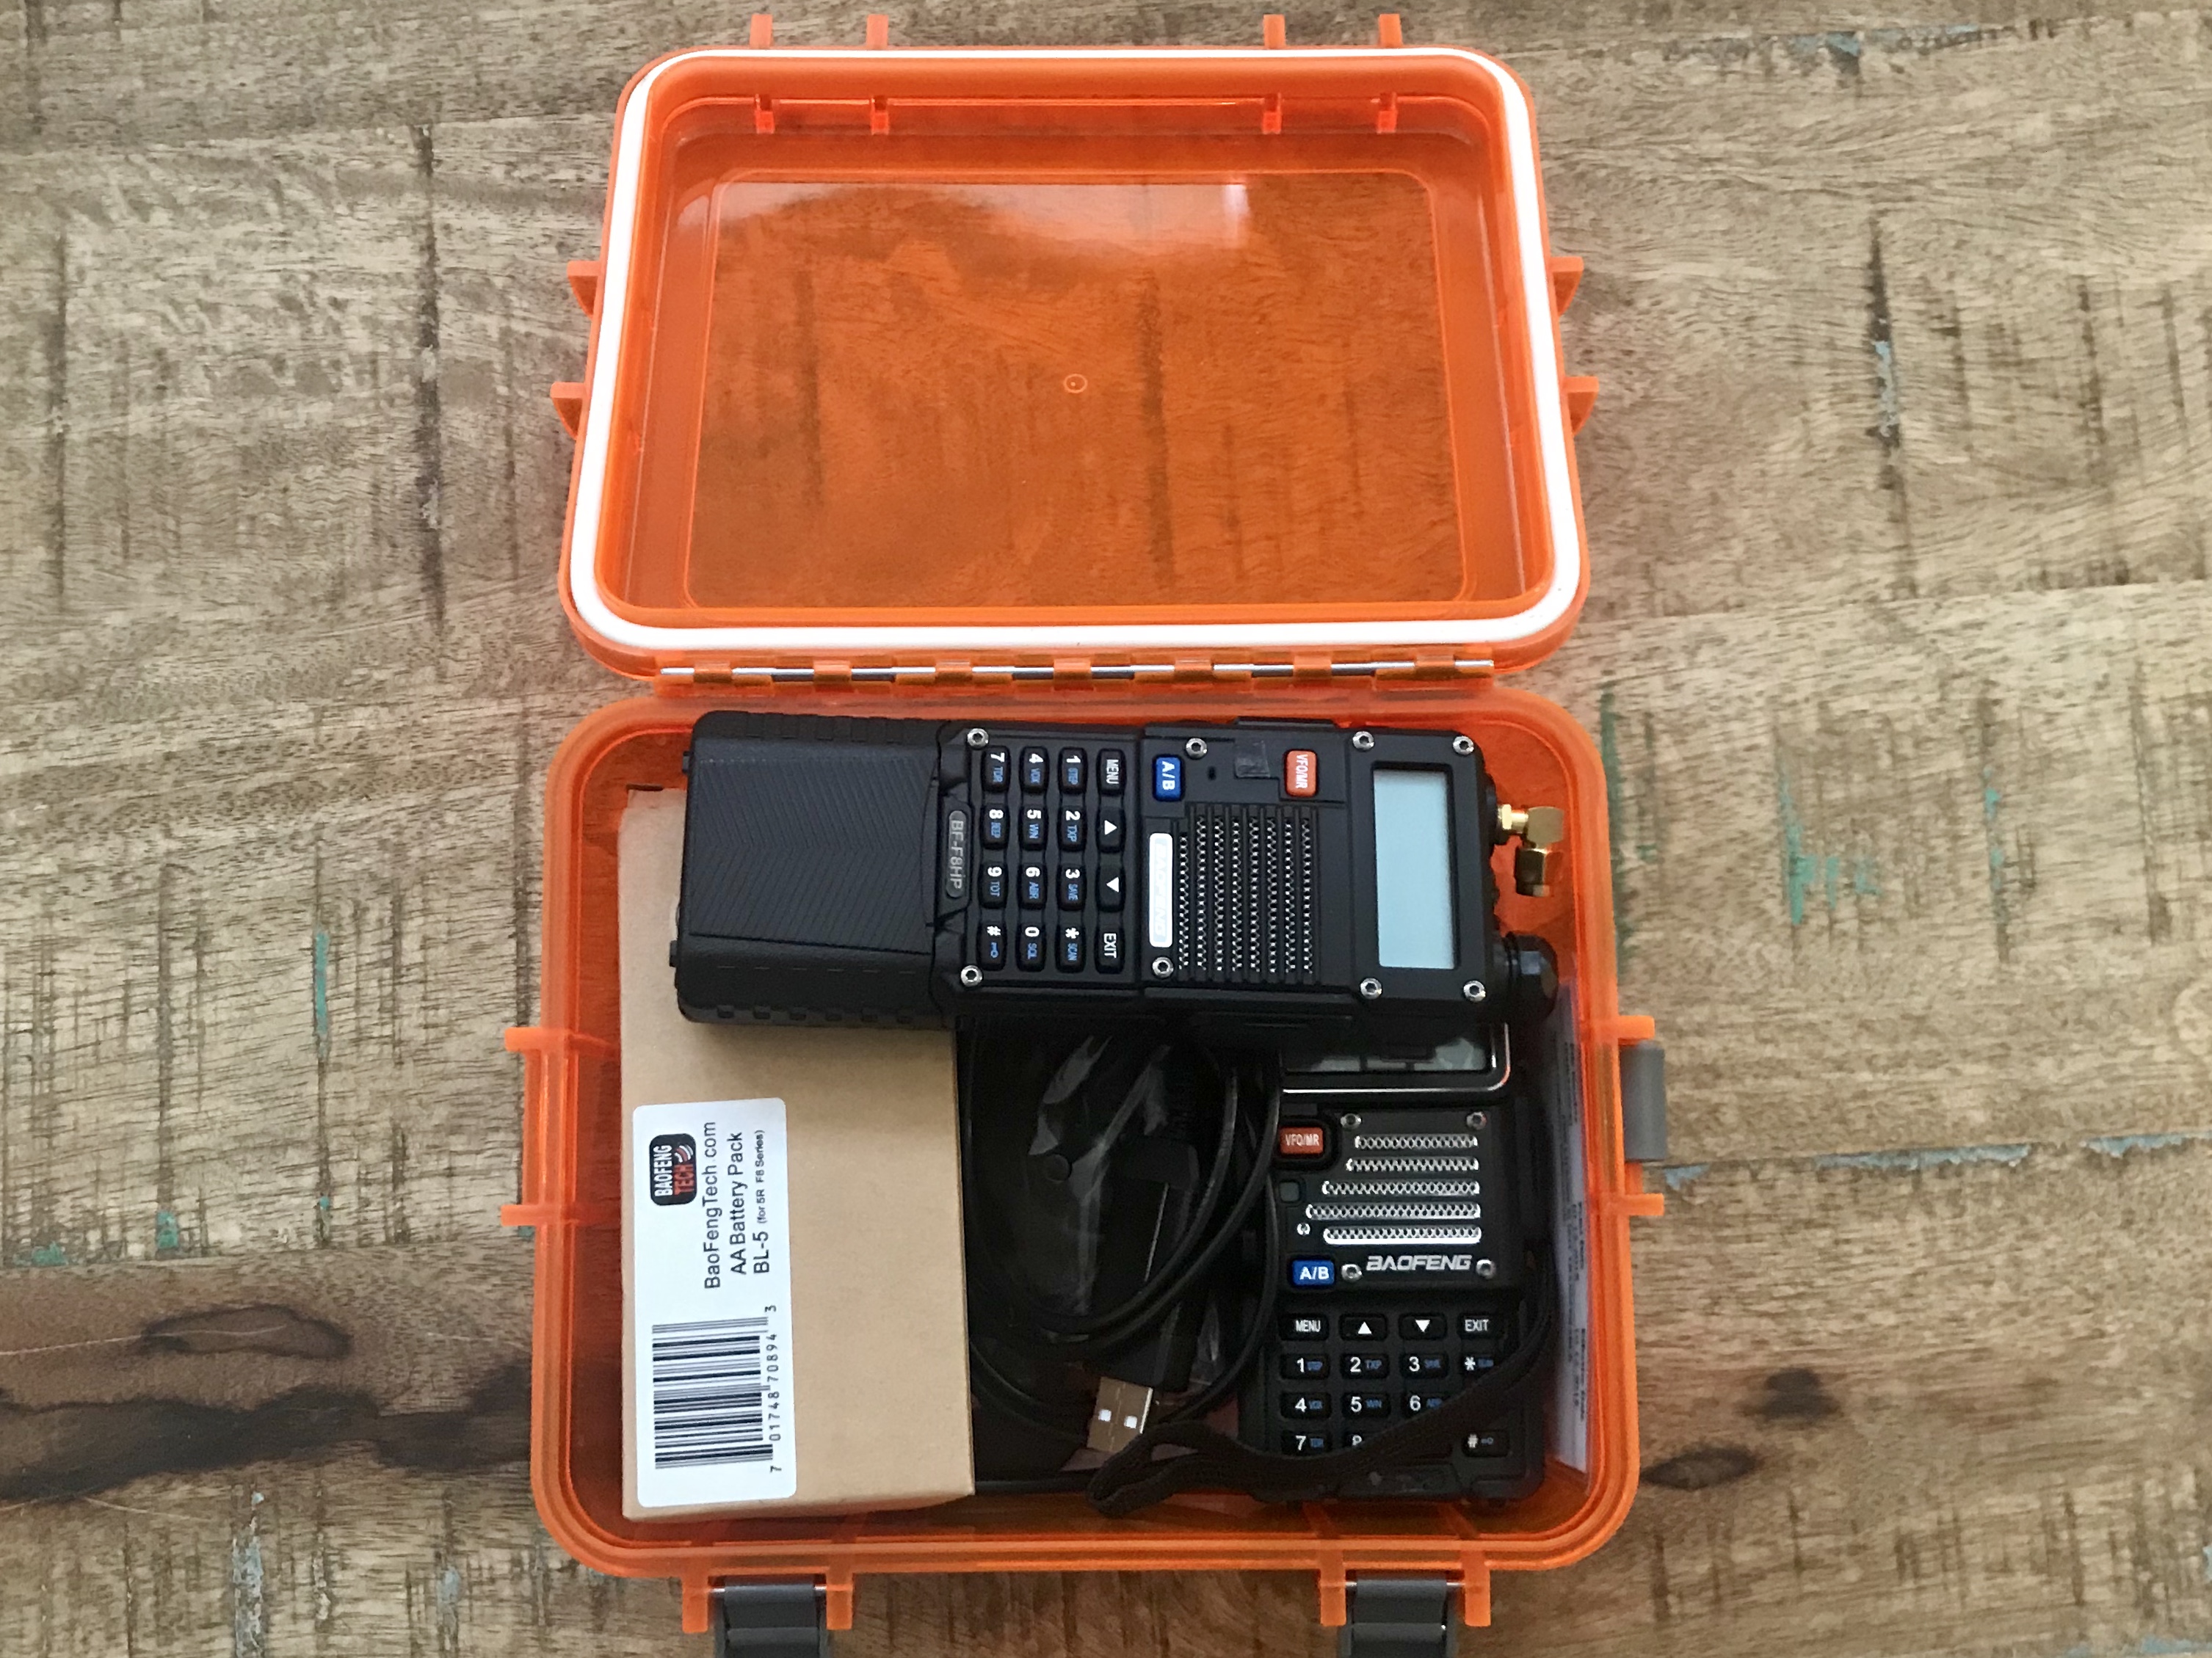
Vehicle Kit Components
Click for Larger Pic

Packed Up
Click for Larger Pic

Basic Kit: Simple and Cheap

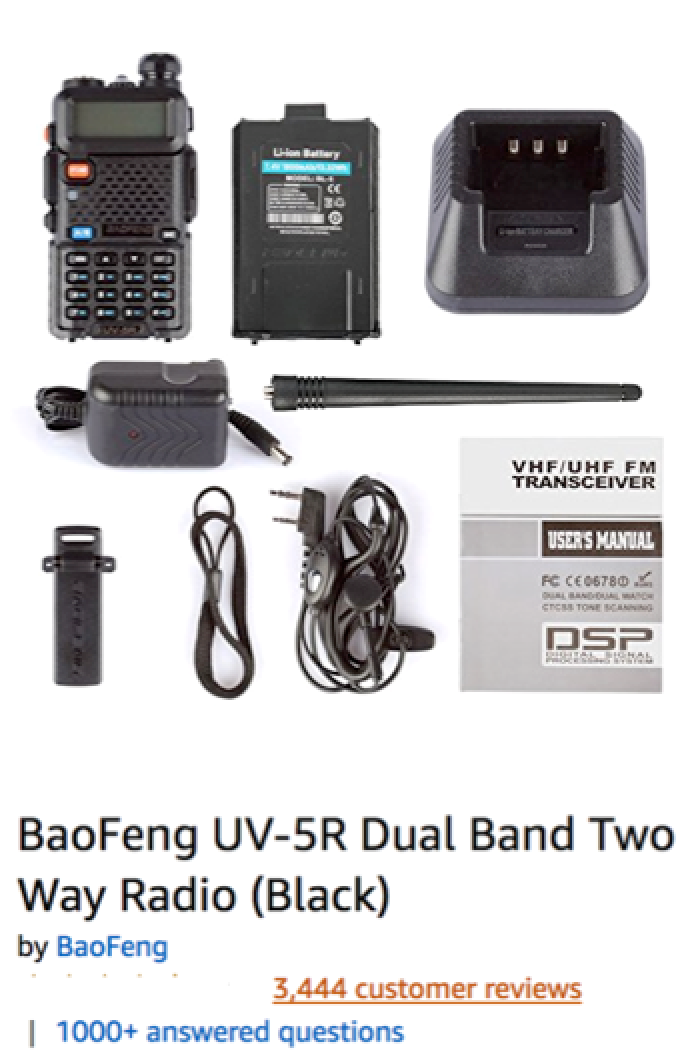
  1. Baofeng UV-5R radios are the cheapest building block to start your kit with, and can usually be found in the $30 range. These are dual-band handheld radios, meaning they transmit on the 2m VHF band (144-148MHz) and the 70cm UHF band (420-450MHz). The U.S. has a lot of VHF and UHF repeaters that could be helpful in an emergency, and the UV-5R can be programmed to access them. These are obviously not the highest quality radios, but they are perfectly adequate for the task and are inexpensive enough for a beginner to begin building a kit from before deciding whether to invest more heavily.

    I recommend putting two UV-5Rs in each vehicle. That way you will have communication if one person needs to stay with the vehicle (due to injury, for example) while another goes for help.

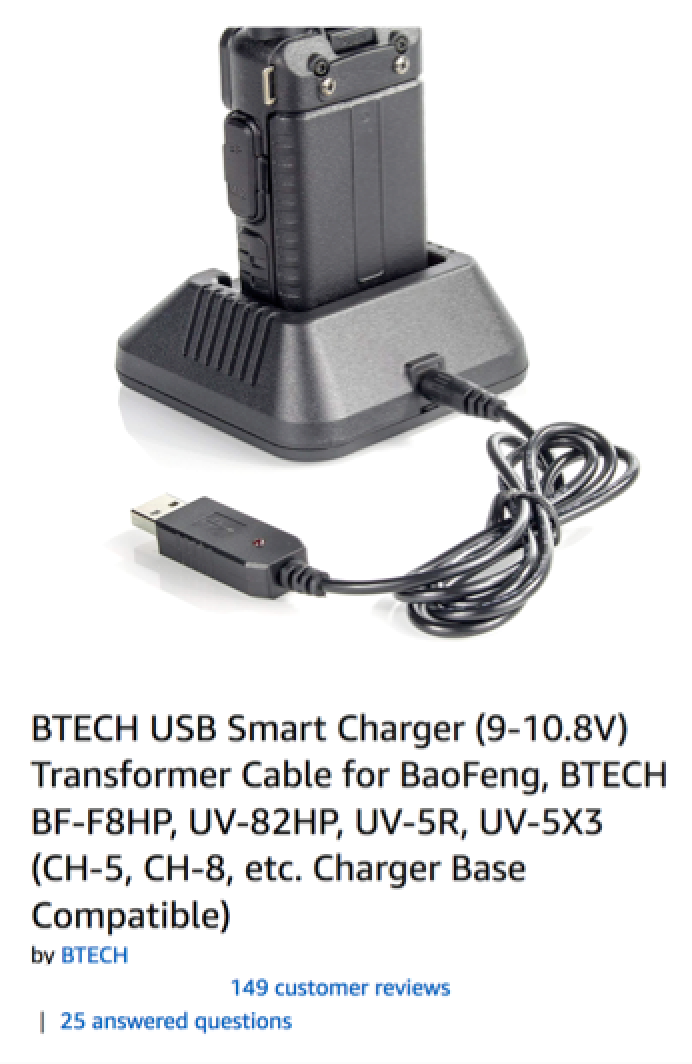
  2. Charging Capability. I recommend having a way to charge your radios from the vehicle. The UV-5R comes with a charging cradle that plugs into a household outlet, but it does not come with an adapter to charge it from a USB or cigarrette lighter outlet. There are a few ways to address this but I'll recommend the cheapest one in this section--just buy a Baofeng Transformer Cable that enables you to use plug the charging cradle that comes with the radios into a USB outlet. It charges much slower than when it's on grid power, but it's intended to be a backup to plugging it into a wall so that's a fair trade.

    In the next section, I'll discuss the Extended Battery and USB Charging Cable that can charge it without the cradle. This gives extra battery capacity and you don't need the charging cradle so it saves space in your kit.

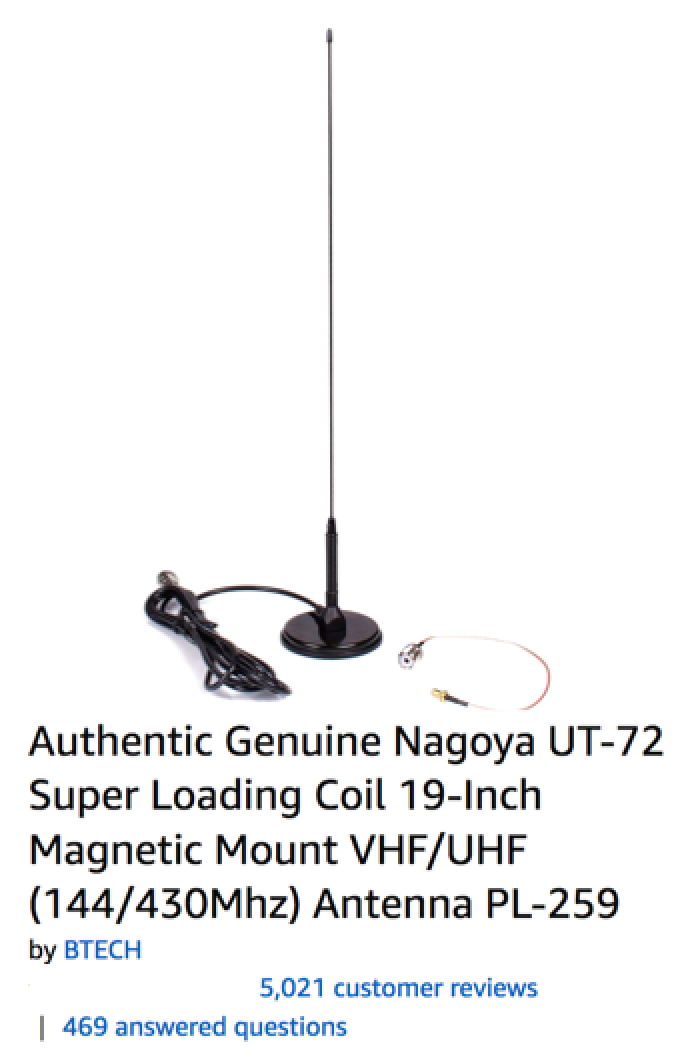
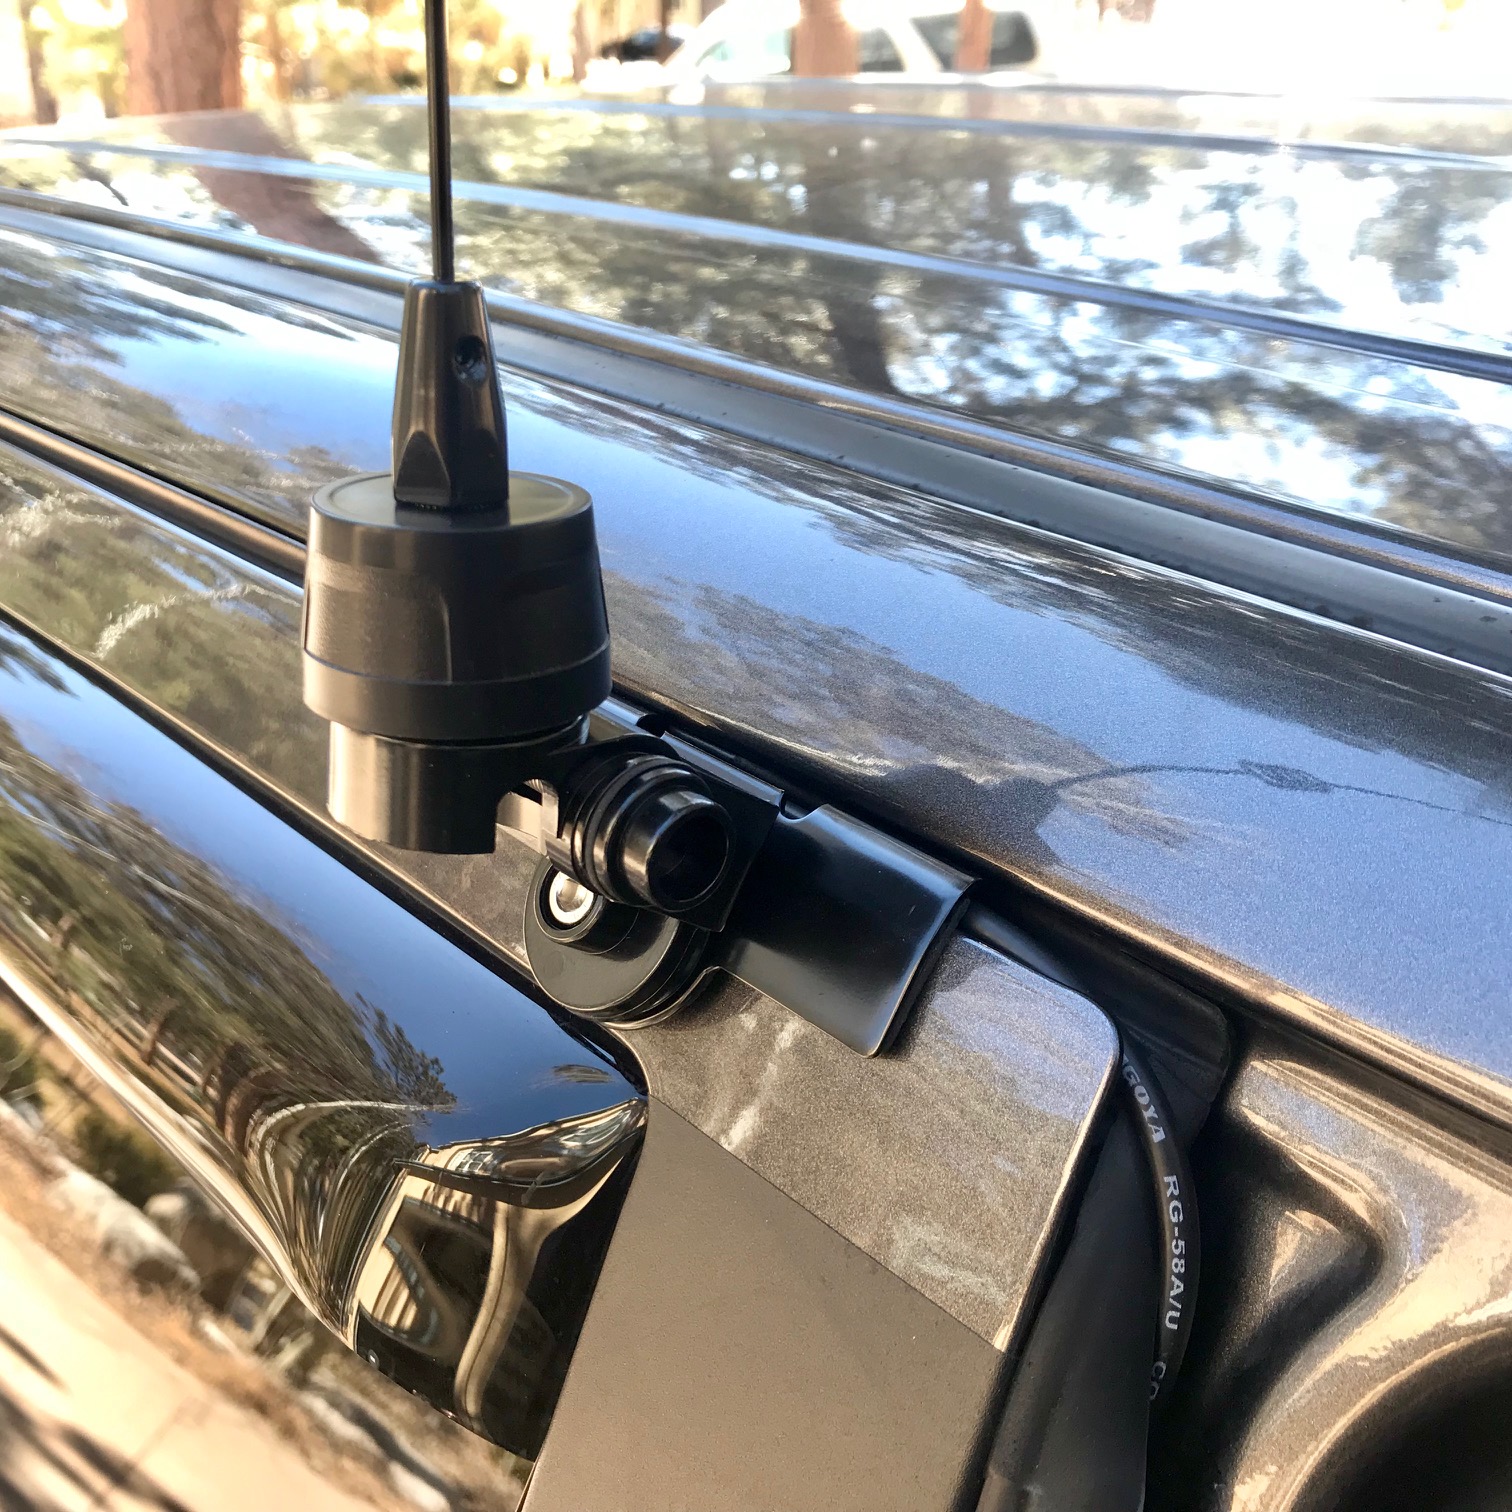
  3. Nagoya UT-72 magnetic-mount antenna. The car is an RF-shielded box, so moving the antenna outside results in much better signal propagation. The mag-mount creates an inductive bond to the roof/trunk/hood, which is a great ground plane. Mag-mounts can damage the paint when dust gets trapped between the mount and vehicle body, so be sure to clean the area if you care about your paint, and be careful using it long-term.
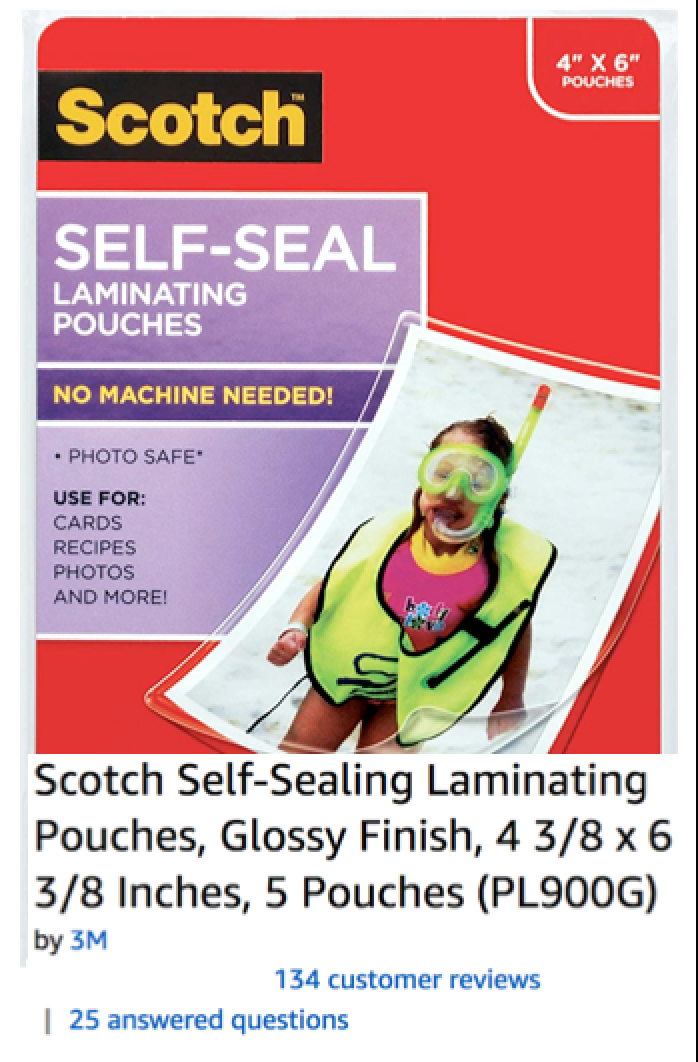
  4. FCC License. I keep a copy of my FCC license in each kit, protected with self-sealing laminated pouches. I use these pouches for the 4"x6" EMCOMM Card described below, too.
  5. Reference Materials. Although it's important to program your radios and make a plan before considering yourself prepared, adding reference materials enables you to adapt the plan as needed.

    • Instruction Manual. Having the radio's instruction manual will help to reprogram new repeaters if you can't reach the ones already programmed into radio. Better yet, print off this Baofeng manual because it's a lot better than the manufacturer's poorly-translated one.
    • Band Plans. Having your state's Band Plans will tell you which simplex frequencies are likely to be in use if you can't raise someone on the 146.52 calling frequency. Here's what Colorado's 2m Band Plan looks like.

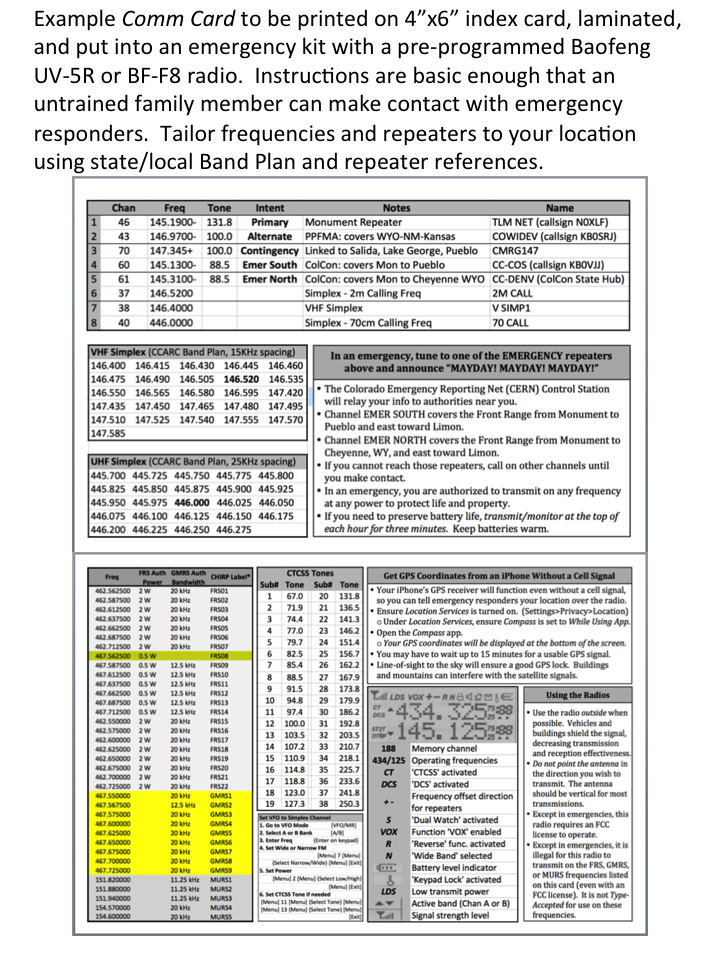
    • EMCOMM Card
      Click for Larger Image
    • EMCOMM Card. I printed an Emergency Communications (EMCOMM) Card with instructions that will enable my family members to request help over the radios, even though they're not familiar with ham radio operations. I organized it like the military's PACE Plan with Primary-Alternate-Contingency-Emergency options. The Emergency options are repeaters that cover most of this state, and are monitored 24/7 by the Colorado Emergency Reporting Net, which will relay calls for help to the appropriate 911 or other appropriate First Responder organization. Check for a similar organization in your state and tailor the EMCOMM Card for the locations where you're likely to travel.

      I put in pre-determined simplex frequencies (coordinated from the Band Plan) so we can talk point-to-point without tying up the repeater, or in case we want a tiny bit more privacy than telling everyone listening to the repeater what our plans are (but nothing you send over the airwaves is secure, and it's a violation of FCC regulations to encrypt transmission...or even use code words).

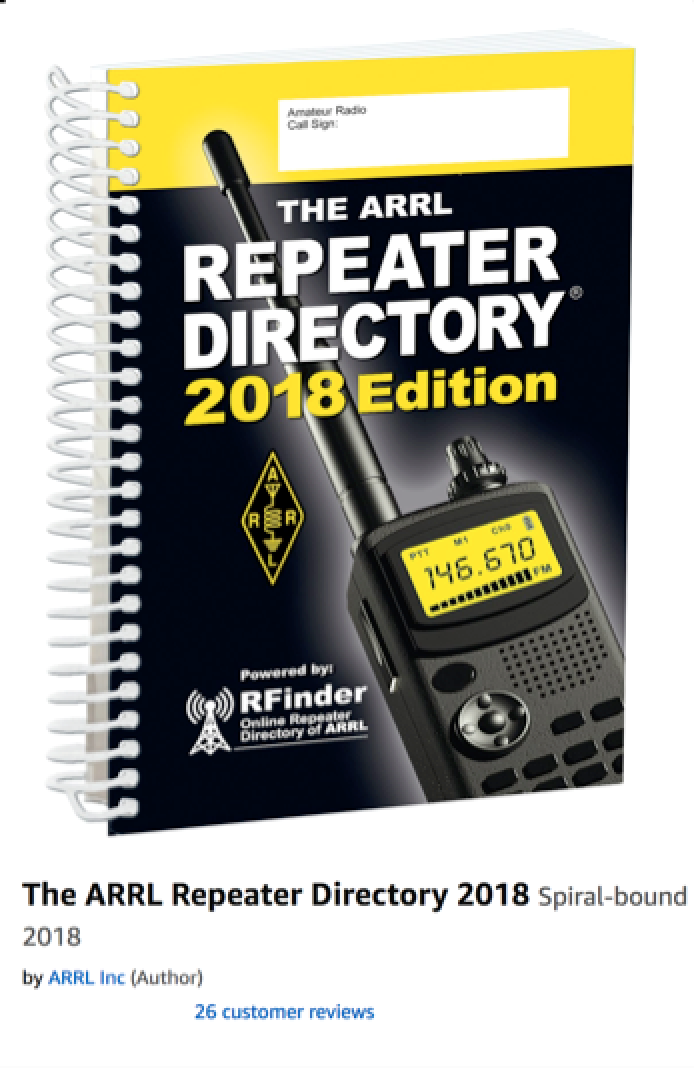
    • Repeater Directory. I also bring a copy of the ARRL Repeater Directory when I travel out of state. I just have one copy so it's not in each of my vehicles, though. While much of this information can be found for free online, the purpose of the emergency kit is to help when you can't access the cell phone network. If you make frequent trips along the same route, it would be helpful to make copies of the repeaters along that route for each kit.

      The UV-5R holds 127 channels in memory, so you can preprogram many of the repeaters in there for a given trip. But I like to keep all the FRS/GMRS/MURS frequencies in there for emergency use, which takes up 36 of those spots, so memory becomes a limiting factor. More expensive radios have more memory slots.

  6. Container. I use the Outdoor Products Watertight Box from the Walmart camping section. (You can also order it from Amazon at that link.) Lots of people use a 30mm ammo can because it's waterproof and very rugged. I'm not a fan of the military look for everything, so something like an Apache 2800 hardcase would be suitable as well, and it comes with pick-n-pluck foam to protect the radios. I haven't tested this particular case yet, I'll probably get one when I add HF capability as a separate kit, because I'm not putting an HF radio in every vehicle.

Products Recommended in this Section

Check Out These Related Pages!

Upgraded Options and Additional Capabilities
  1. Upgrade Radios. There are a lot of really nice handheld radios from Kenwood, ICOM, and Yaesu (the big three), but you'll pay for them. This article focuses on an inexpensive basic emergency kit, so I won't address them here. However, Baofeng offers two good upgrade options at roughly the same price point.

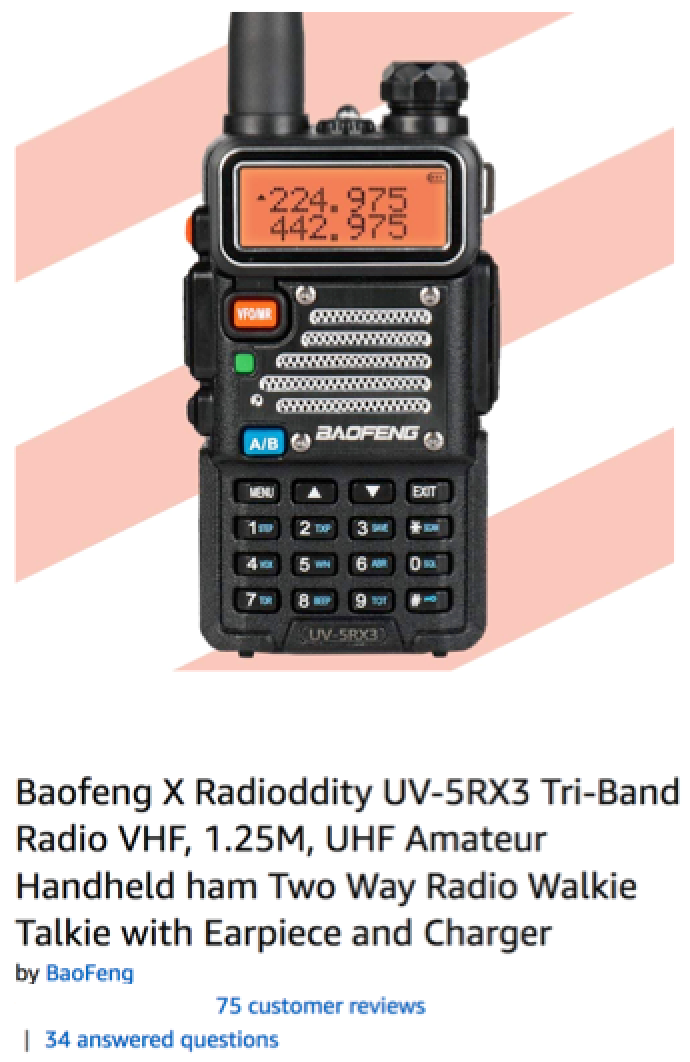
    I recommend upgrading from the UV-5R to the Baofeng UV-5RX3. This radio has the same menus, interface, and form factor as the UV-5R, but it's a tri-band radio so you can communicate on 1.25m (222-225MHz) as well. This band is not as popular as the 2m and 70cm bands, but it is still useful in many areas. Also, since it's not as popular, you're less likely to be overheard if you use a simplex 1.25m frequency for simplex communications.

    Note: The UV-5X3 is technically a different radio but it looks like it has the same capability.

    Note: To program the UV-5RX3 with CHIRP, you'll need to ensure your version is a recent one. Click Radio->Download from Radio as normal, but in the pop-up dialog box you'll need to choose Radioddity from the "Vendor" drop-down menu (not Baofeng). If you don't do this, CHIRP will give an "out of range" error when you try to enter 220MHz-range frequencies. More info here. Also note that the UV-5RX3 is not the same as the BTECH UV-5X3, which has more features.

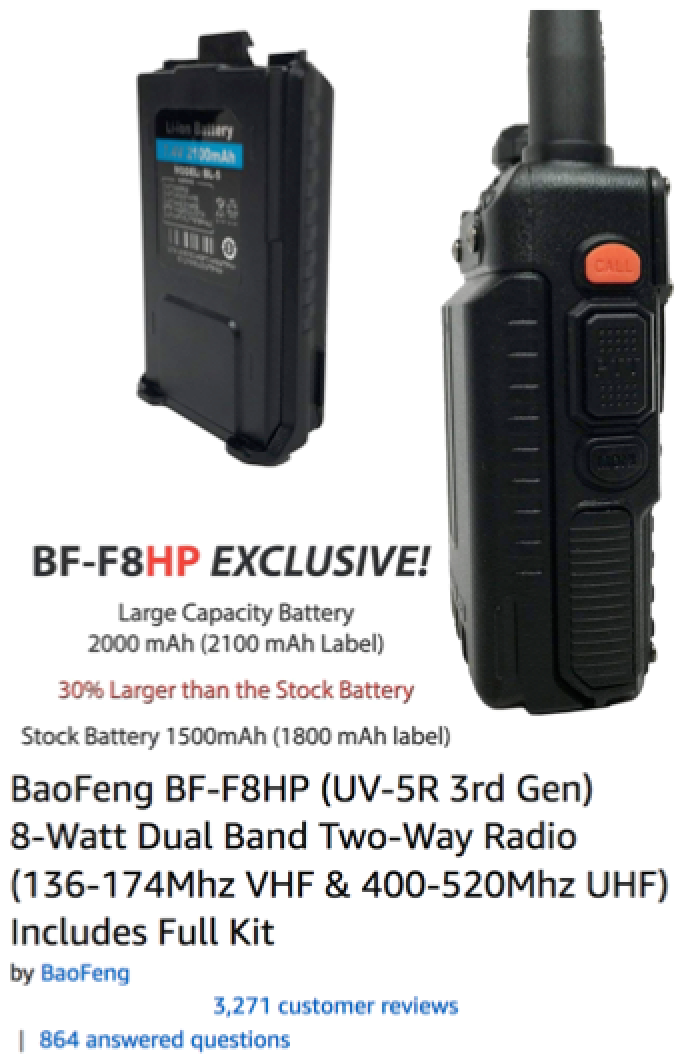
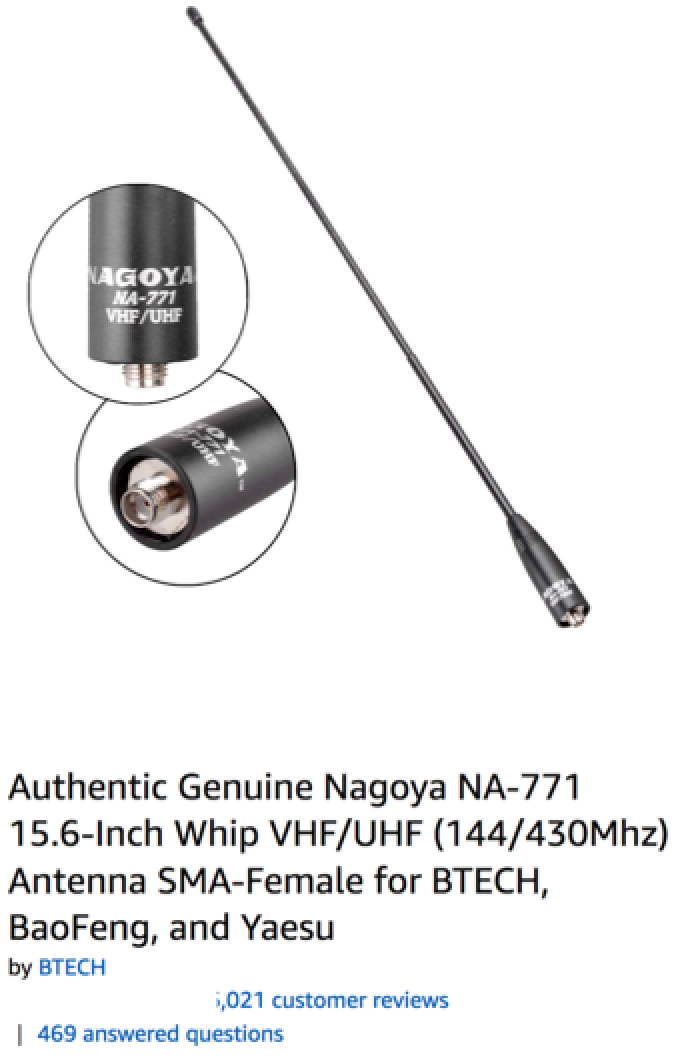
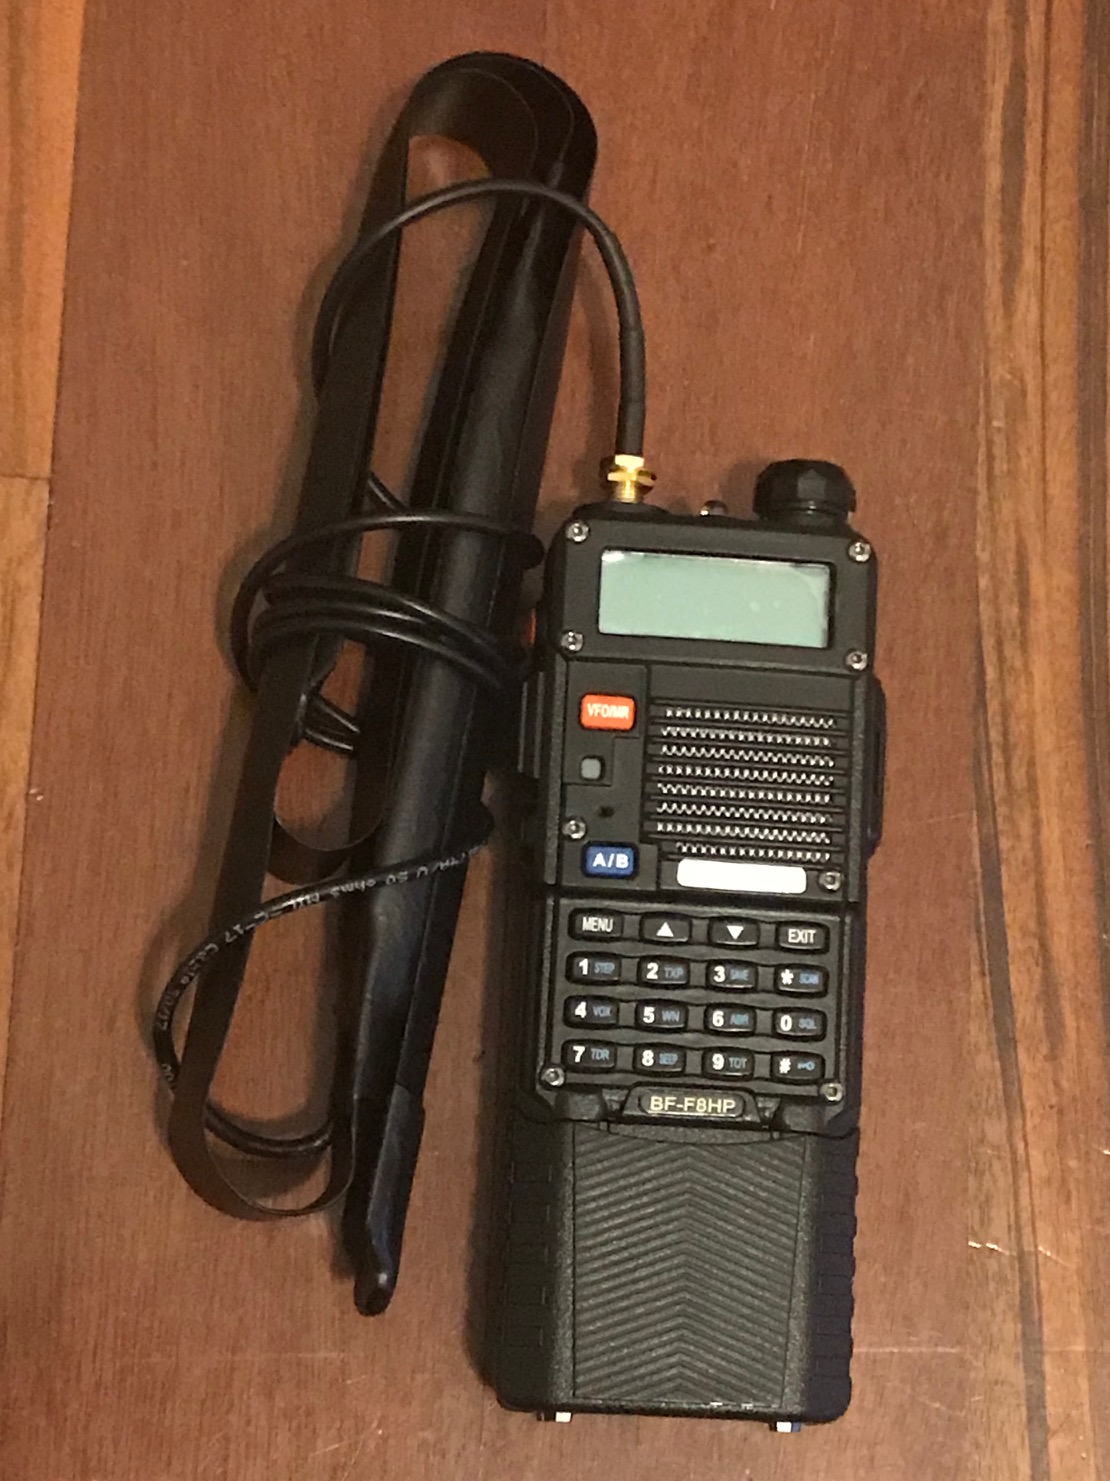
    Alternatively, Baofeng offers the BF-F8 with an additional 3W of transmitting power. The BF-F8 is in the UV-5R platform family, but feels a little bit more rugged and transmits at 8 Watts. But an extra 3W makes very little difference in the received audio at a given distance, so this in itself is not enough to justify the purchase in my opinion. If I were choosing between the UV-5R and BF-F8 on a limited budget, I'd probably go with the UV-5R and spend the price difference on a better antenna like the Nagoya NA-771 discussed below. That would give more transmission capability than the BF-F8 with a rubber ducky antenna. (That said, I have two BF-F8s with NA-771 antennas so you don't have to limit yourself. Go crazy!)

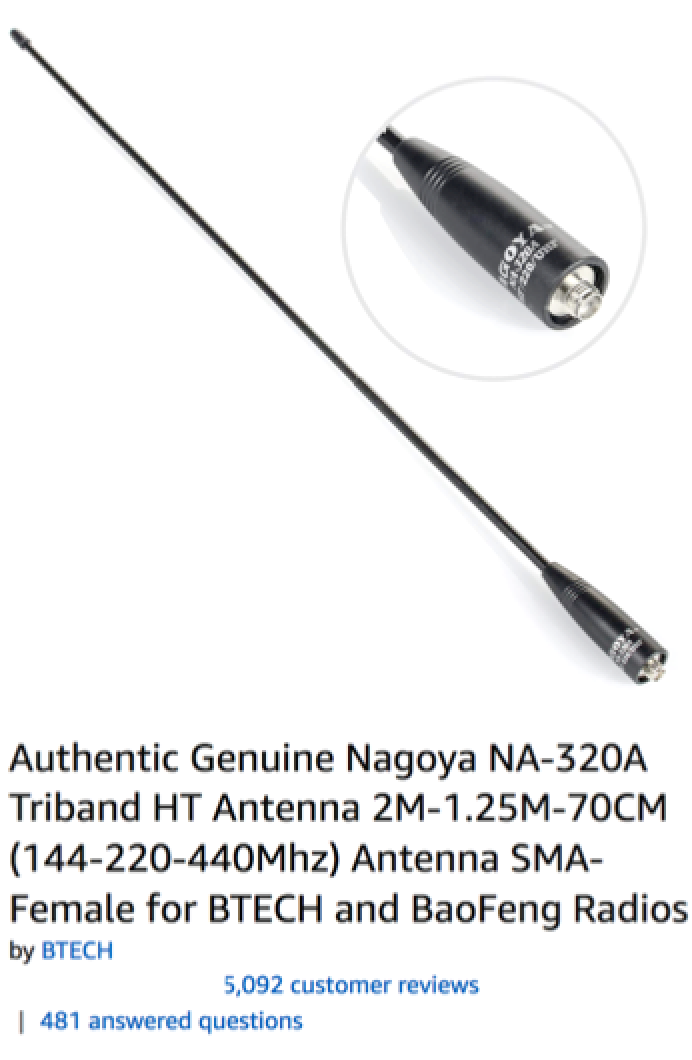
    Or better yet, get the UV-5RX3 and the tri-band Nagoya NA-320A antenna and have more capability (also discussed below).

  2. Upgrade the Radio's Antenna. There are an infinite number of ways to upgrade a Baofeng's antenna. The Nagoya NA-320A is a very respectable antenna in this category, and it's a tri-band antenna so it works with the UV-5RX3's 1.25m capability. I'd recommend getting at least one NA-320A and one mag-mount antenna for a basic kit. (A previous draft of this paragraph mistakenly said the NA-771 is a tri-band antenna, but it's a dual-band. I meant to recommend the NA-320A isntead.)

    If you don't want the tri-band capability, pairing the NA-771 with a regular UV-5R will save some expense, or pairing the NA-771 with a BF-F8HP radio will give you the extra three watts and a better antenna.


  3. Amazon Link

    Dual-Band

    Amazon Link

    Tri-Band
  4. Upgrade Battery and Charging Capability. (See a more detailed discussion of Baofeng Battery and Charging Options.)

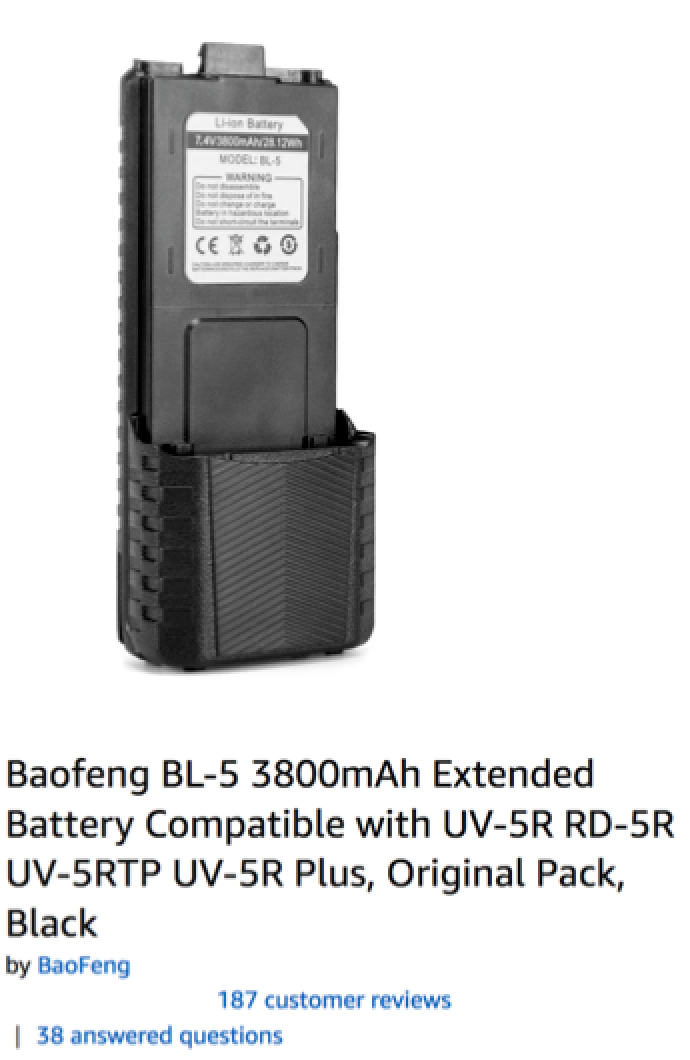
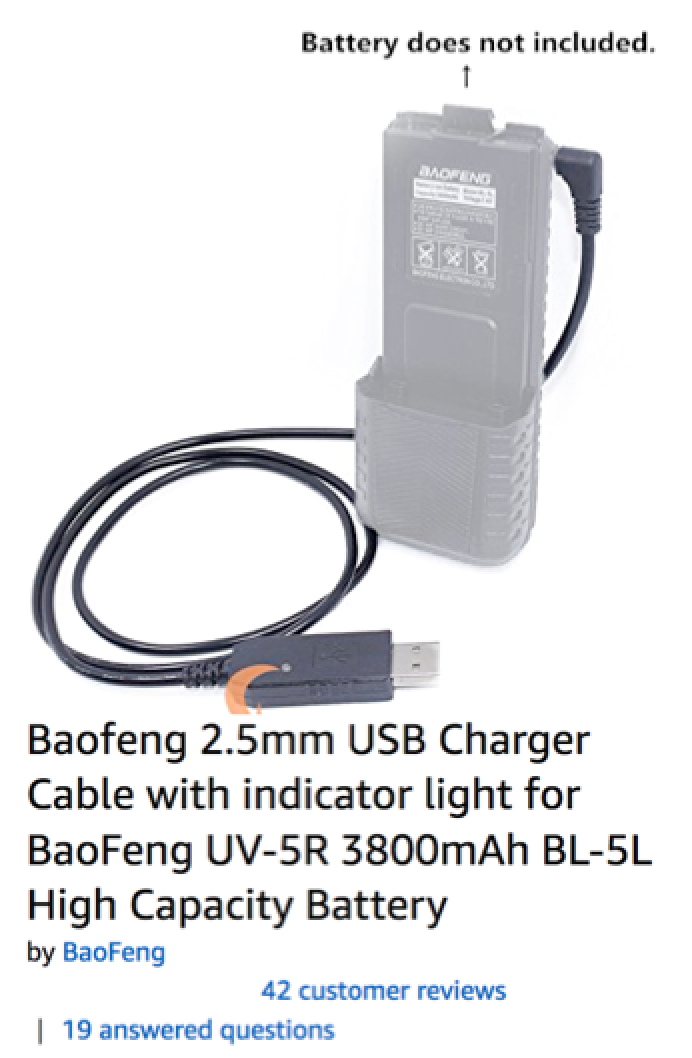
    • Extended Battery (3800mAh). The battery that comes with the Baofengs is 1800mAh (milli-Amp-hours). For a few dollars more, you can get this extended battery that more than doubles your operable time. Just as importantly, this battery can be charged without the charging cradle by using this USB Charging Cable (which is different from the one designed for use with the charging cradle). If you get these batteries for both radios, you can leave the charging cradle at home and fit everything into a smaller container. Also, this gives the ability to charge the battery with any power source with a USB outlet. This is good for multi-tasking power sources to keep things like cell phones flashlight batteries charged while you travel.
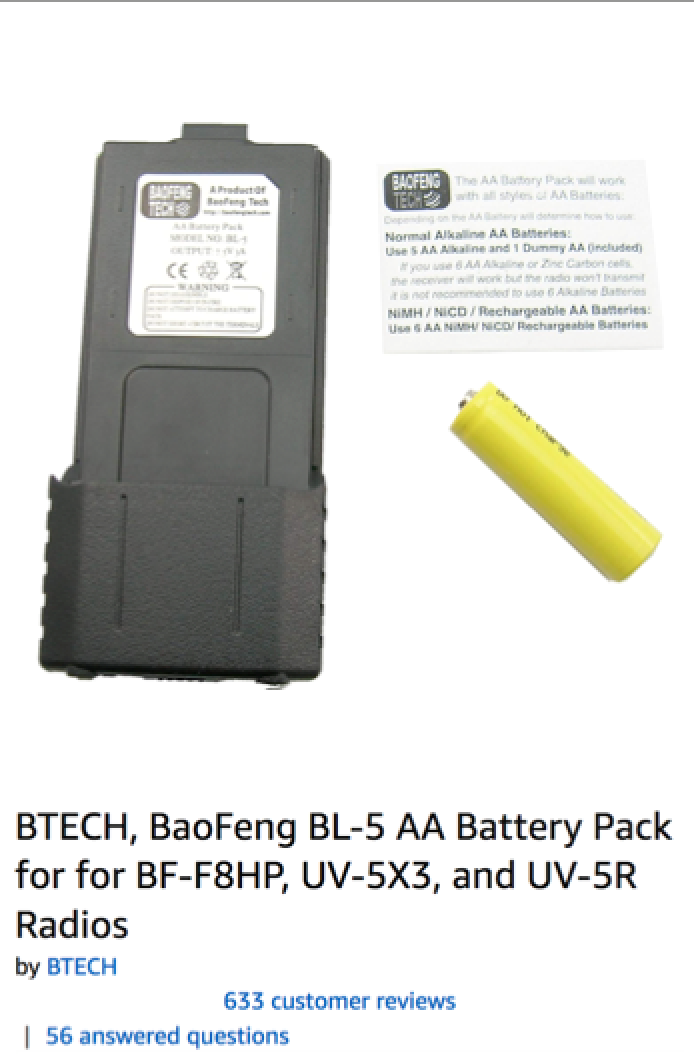
    • 5xAA Battery Pack. This enbales the UV-5R platform Baofengs (including the BF-F8, UV-5RX3, etc.) to operate on regular AA batteries from a convenience store or, better yet, the regular rechargeable AAs I keep in the vehicle for multiple uses like flashlights. This pack slides onto the radio just like the extended battery. Coupling it with a solar charger would add even more insurance.
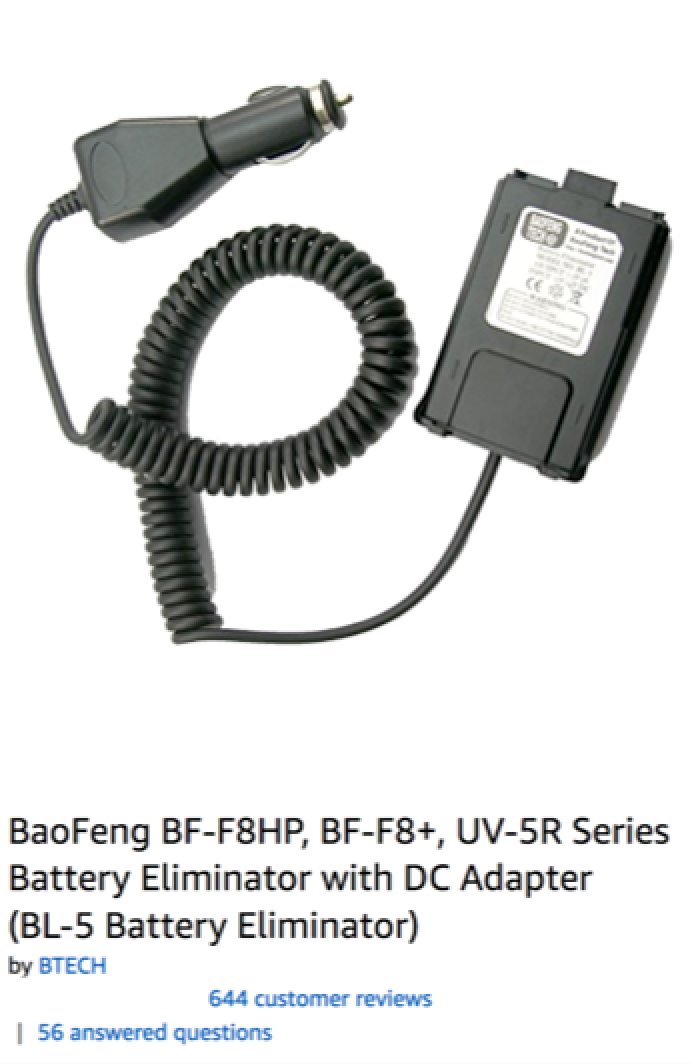
    • BL-5 Battery Eliminator. This is sort of a misnomer because it doesn't eliminate the need for a battery, it just enables the radio to use the vehicle's battery (via the cigarrette lighter outlet) instead of the radio's battery. This could be ideal in many situations, but it ties you to the vehicle (unless you also bring the radio's battery in the kit), and using the vehicle's power might introduce electrical interference into the radio. Still, it's a good option for certain scenarios.
  5. Upgraded Antenna Options (in addition to what's on the handheld).

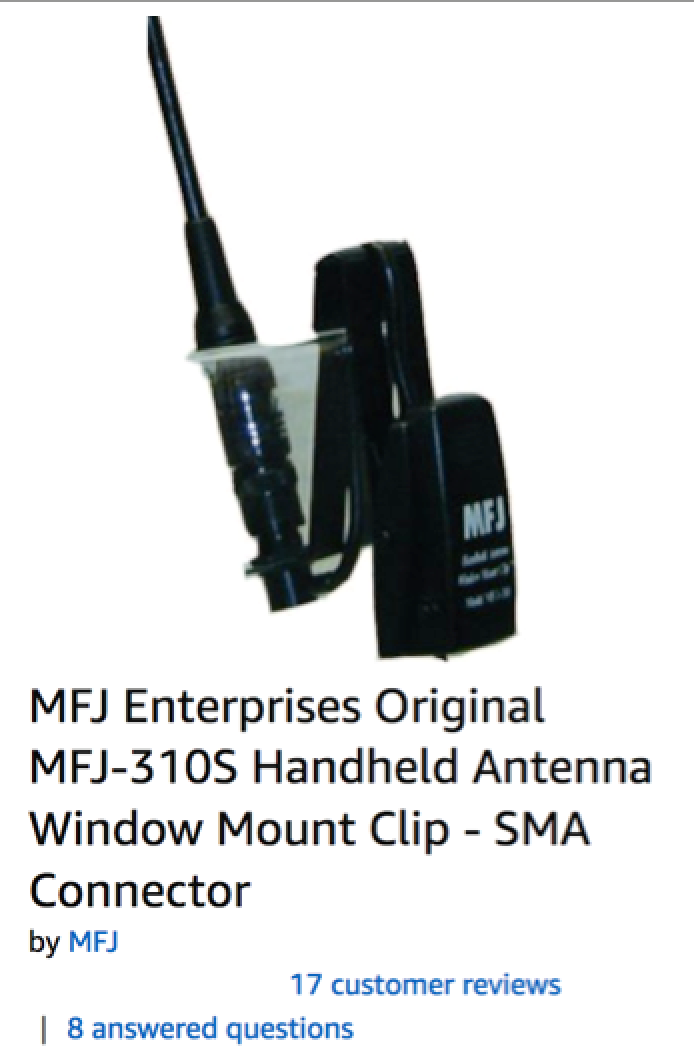
    • The MFJ Handheld Antenna Window Clip Mount lets you forego the magmount antenna by moving the radio's antenna outside the RF-shielded box of the vehicle's interior, while keeping the radio in a relatively convenient position for use. You simply hang the Clip Mount on the window and roll it up. Since every antenna is a compromise, you trade this convenience for the lack of a good ground plane when compared to the mag mount option. With no effective ground plane, this option gives roughly the same propagation characteristics (e.g., range) as a regular handheld instead of the increased effectiveness of using a mag mount. There's no right answer here--just different trade-offs. If you click the link, you'll see overwhelmingly positive reviews so it's a good product if it fits your use case.
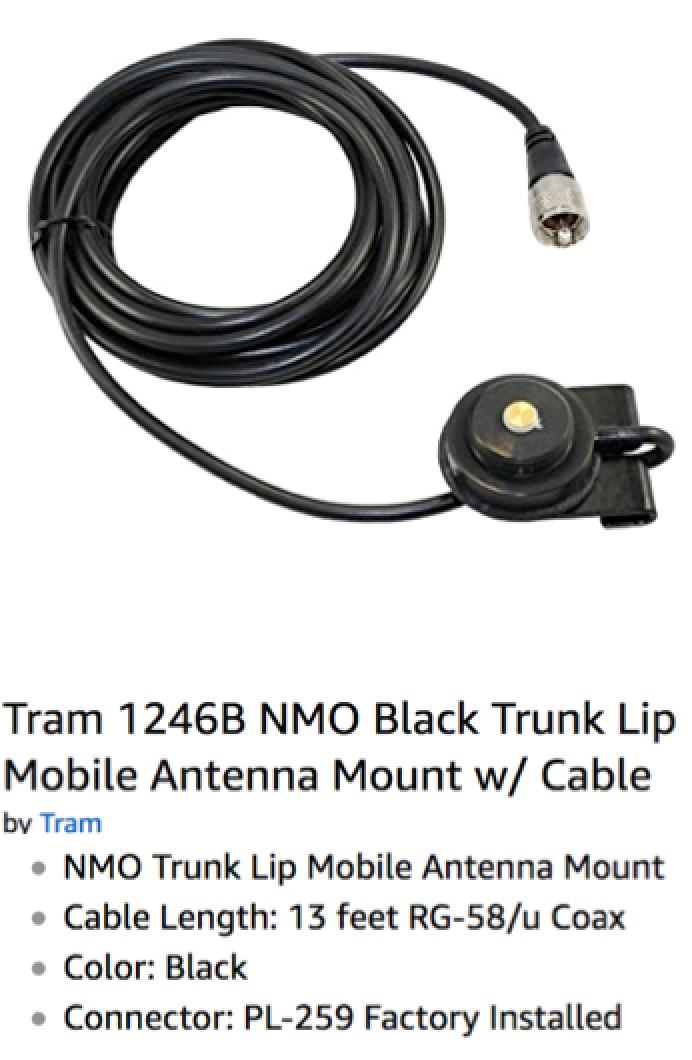
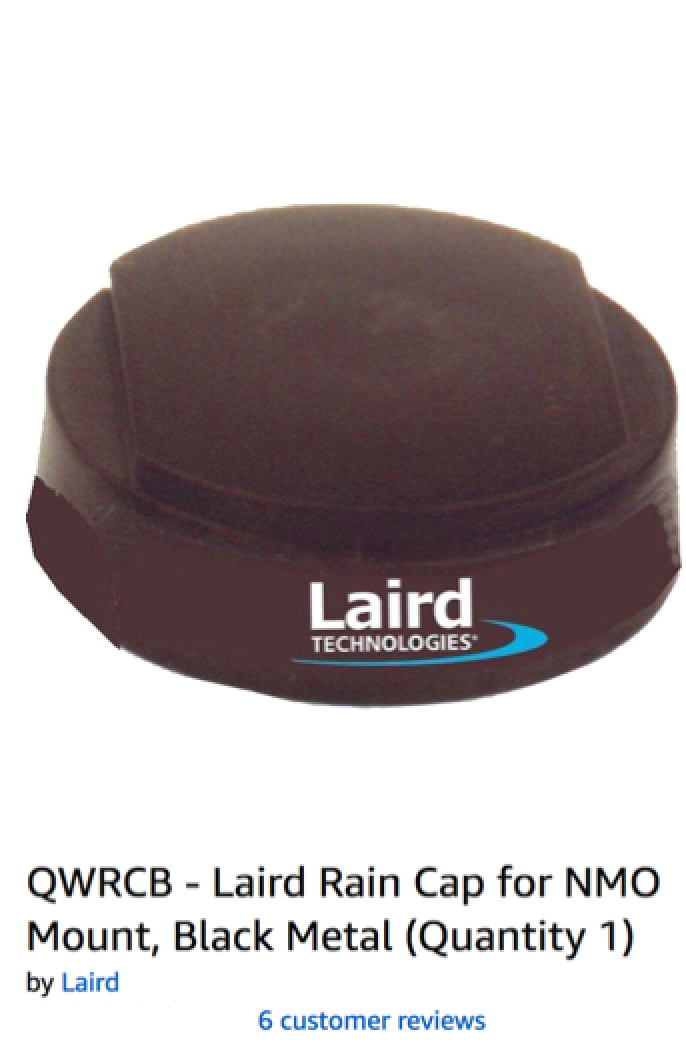
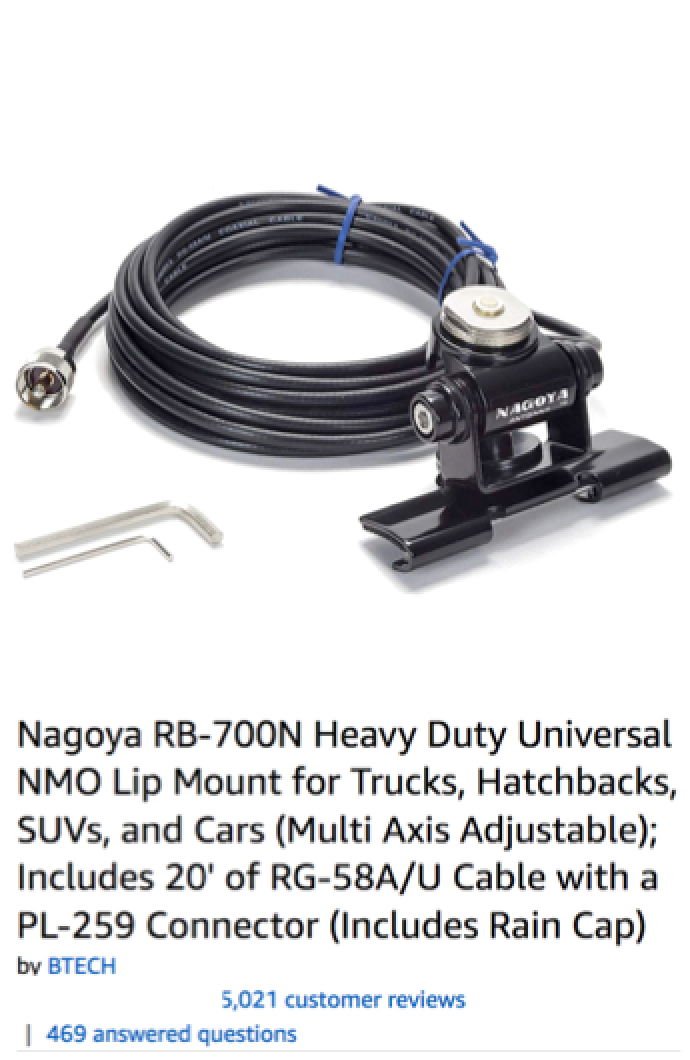
    • (Semi) Permanently-mounted Vehicle Antennas. If you want to commit to a slightly more permanent installation but don't want to drill into your vehicle's body, there are also more options than I'll discuss in this article. I've installed two of these: the Trunk Lip Mount on the hood of my Jeep Wrangler (which leverages the hood's surface as a ground plane) and the Nagoya Multi-Axis Mount on my truck's rear passenger door (using the roof and part of the door as ground planes). (See how I installed the multi-axis mount here.) These particular installations require the more weather-resistant NMO-mounted antennas; I used the Nagoya NMO-72 dual-band antenna. In case I need to remove the antennas, like if I want to go through low brush or into a car wash, I got an NMO Rain Cap to protect the antenna mount from moisture.
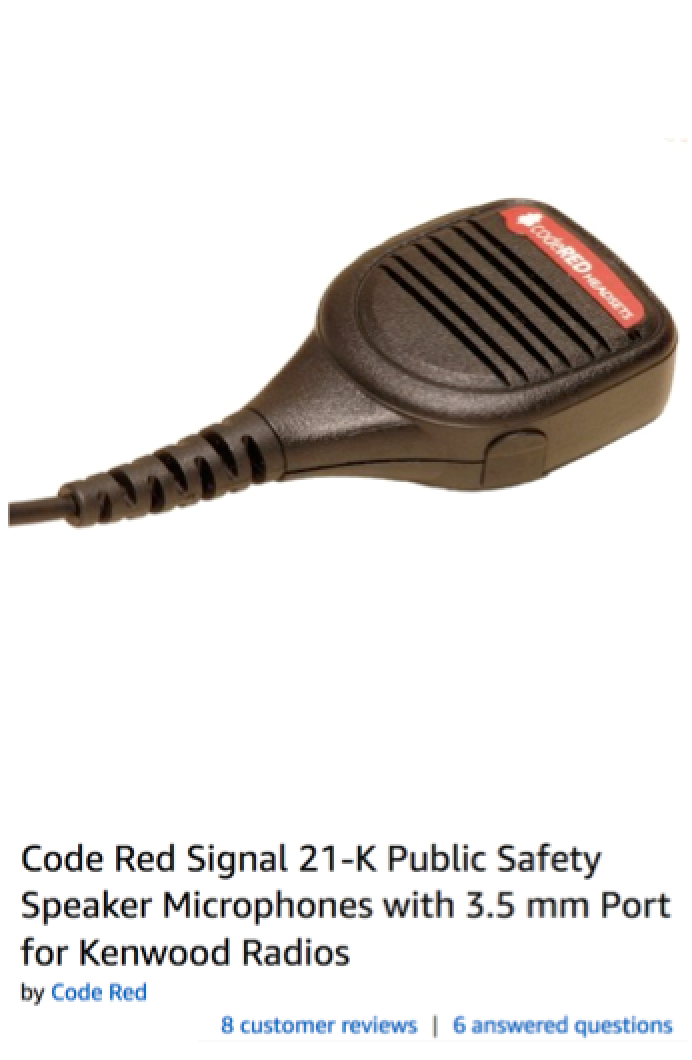
  6. Code Red Signal 21-K hand mic. This is usually on the radio installed in the vehicle rather than a dedicated part of the kit, but it's really helpful to use this while I'm driving. Otherwise, the antenna cable is connected to the handheld radio, which makes it inconvenient to talk on. I use this mic on my backpacking radio setup, too. You can see one version of that on the Halfwave Dipole page.

    I tried the cheap Baofeng hand mic but it's terrible--the sound quality is low on both transmit and receive. I wouldn't recommend wasting your money on this one.

Final Recommendations

So to sum up, here's what I'd buy for a starter kit if I were to do it again, knowing what I know now.

Products Recommended in this Section

Popular Pages

What did I miss?

Please email me with any questions about this project and I'll try to answer them!

Back to the Amateur Radio Homepage

Top of Page | Site Map | Privacy Policy
© 2005 to Present | Email Me